If you're new to sewing, the sewing machine bobbin can feel like the most mysterious part of your machine. But once you understand how it works, you'll wonder why you ever stressed about it. This guide covers everything from winding and inserting to fixing tension problems, so you can get back to transforming your thrifted finds.
What Is a Sewing Machine Bobbin?
A sewing machine bobbin is a small spool that holds the thread for the bottom of your stitch. It works with the top thread to create a lockstitch, which is the standard stitch used in most home sewing machines. Without a properly wound and inserted bobbin, your machine won't stitch correctly. Bobbins come in different sizes and materials, but most modern home machines use either Class 15 (also called A-style) or L-style bobbins. Always check your machine's manual before buying new ones.
How to Wind a Bobbin Correctly
Winding a sewing machine bobbin is usually straightforward, but a few common mistakes can cause problems later. Start by placing an empty bobbin on the winder spindle. Guide the thread from the spool through the tension disk (there's usually a small groove or clip) and then wrap the thread around the bobbin a few times clockwise. Push the winder engagement lever to start winding. Most machines have a stop when the bobbin is full, but keep an eye on it. Avoid overfilling – the thread should be level with the rim, not bulging over. If the winding is uneven (more thread on one side), check that the thread is properly seated in the tension disk. An uneven bobbin can cause tension issues later.
How to Insert a Bobbin
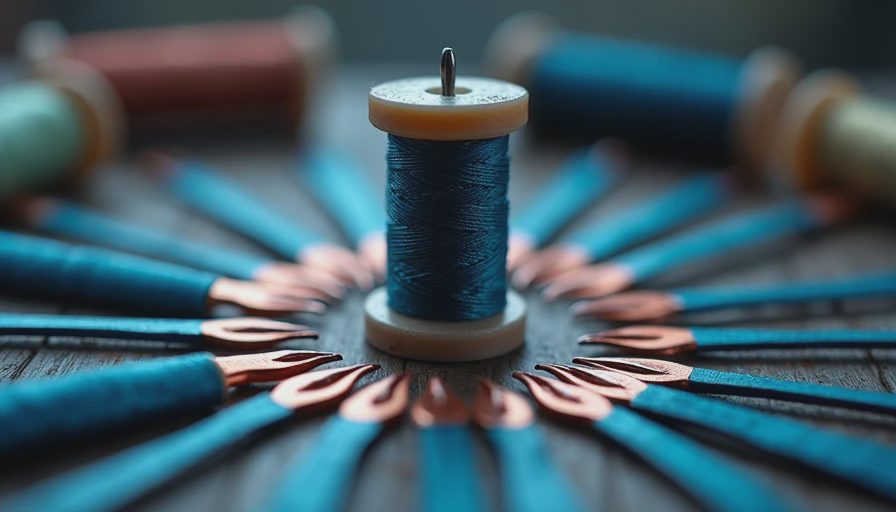
Inserting the sewing machine bobbin correctly is crucial for smooth stitching. First, make sure your machine is off and the needle is raised. Open the bobbin cover (usually a sliding plate or door under the needle plate). Drop the bobbin in so the thread unwinds in the correct direction – check your manual if unsure, but most machines have the thread coming off counterclockwise from the front. Pull the thread through the tension spring slot (you'll see a small metal leaf spring) and then through the guide notch. Some machines also require you to pull the thread under a tension finger. Once threaded, replace the cover and give the handwheel a slow turn to bring the needle down and up again. This will pick up the bobbin thread. You can then pull both threads to the back before you start sewing.
Common Bobbin Problems and Fixes
Even experienced sewists run into bobbin trouble. Here's what usually goes wrong with a sewing machine bobbin and how to fix it.
- Bobbin tension too tight or too loose: If the top thread is looping under the fabric, the bobbin tension may be too loose. If the bobbin thread is showing on top, it's too tight. Adjust the tiny screw on the bobbin case – turn clockwise to tighten, counterclockwise to loosen. Only make quarter-turn adjustments.
- Bobbin thread jams or tangles: This often happens when the bobbin is inserted incorrectly or the thread isn't properly seated in the tension spring. Remove the bobbin and re-insert, making sure the thread slides into the tension slot.
- Bobbin runs out mid-seam: Either the bobbin wasn't full enough or you're sewing a very long project. Always wind a fresh bobbin before a big project, and keep spares on hand.
- Machine makes a clicking noise: Check if the bobbin is damaged or if debris is caught in the bobbin case. Clean the case with a small brush.
Bobbin Types and Compatibility
Not all bobbins are the same. Using the wrong sewing machine bobbin can cause tension problems and even damage your machine. Here are the most common types:
- Class 15 (A-style): Used by Singer, Brother, Janome, Kenmore, and many others. Plastic and metal versions are available.
- L-style: Used by some older Japanese machines and a few European brands.
- M-style: Found in some vintage machines and newer heavy-duty models.
- F-style: Mostly for older Singer featherweights.
Always match the bobbin to your machine. Plastic bobbins are fine for most home sewing, but metal ones are more durable and less likely to warp. If you thrift a vintage machine, be sure to get the correct bobbin type – many vintage machines use different sizes than modern ones.

Tips for Upcyclers and Thrifters
If you're into thrifting sewing machines, you'll often find they come without bobbins or with mismatched ones. Here's what to do:
- Buy a multipack of Class 15 bobbins – they fit most vintage and modern machines, so it's a safe bet.
- Test your bobbins before committing to a thrifted machine. Bring a known good bobbin with you when shopping.
- Don't assume plastic bobbins are inferior – they're lightweight and work well for most fabrics. But if you're sewing heavy denim or canvas, metal bobbins handle the tension better.
- Always clean the bobbin area of a thrifted machine before using it. Old lint and thread bits can cause tension nightmares.
Frequently Asked Questions
Q: Why does my bobbin thread keep bunching up on the bottom?
A: This usually means the top tension is too loose or the bobbin isn't threaded correctly. Re-thread both the top and bobbin, and adjust the top tension if needed.
Q: Can I use any bobbin in my sewing machine?
A: No. Using the wrong size or type can cause poor stitch quality and even damage the machine. Always check your manual or look up your machine model online.
Q: How often should I clean my bobbin area?
A: After every few projects or whenever you notice lint buildup. A small brush or canned air works well.
Q: My bobbin winder isn't spinning. What's wrong?
A: The winder might be disengaged or the rubber tire on the winder may be worn. Check your manual for the correct winding procedure. If the tire is smooth, replace it – they're inexpensive and easy to swap.
Hopefully, this guide has demystified the sewing machine bobbin. Remember, there's no such thing as a stupid question here – let's walk through it together. Happy sewing!



No notes yet — write the first one.