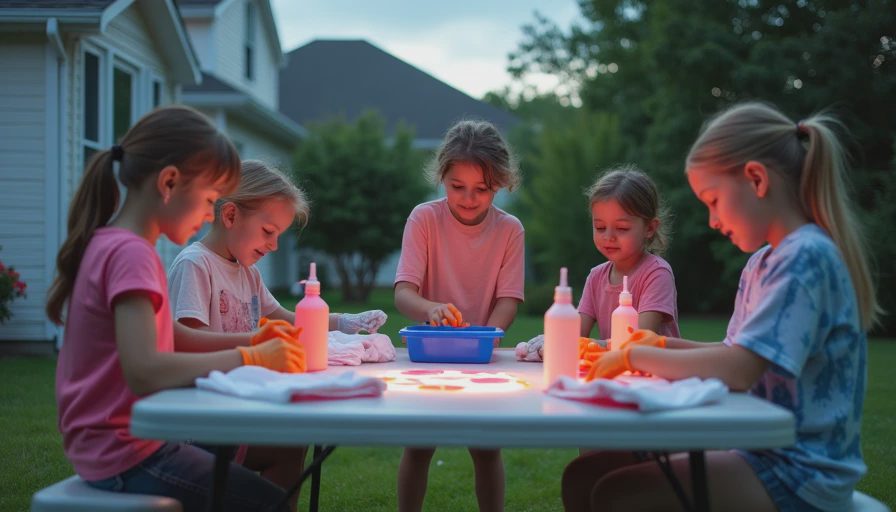
If you have been staring at thrifted tees, pillowcases, or faded cotton dresses and wondering which tie and dye materials are actually worth buying, you are in the right place. No such thing as a stupid question here — let's walk through it. A good tie-dye setup does not need a giant craft haul. You mainly need the right fabric, the right dye type, a few basic tools, and a clean way to prep and rinse your pieces so the color sticks.
A lot of beginner frustration comes from using the wrong combo. The most common fail? Beautiful folds on polyester fabric with a dye that only bonds well to cotton. The pattern looks great for one wash, then fades fast. Here's what belongs and what doesn't, so you can spend smart and get results that feel worth the effort.
Start With Fabric That Can Actually Take Dye
The first thing in your tie and dye materials list should be the fabric itself. Natural fibers are your easiest win. Think 100% cotton, rayon, linen, hemp, and silk. Cotton is usually the most beginner-friendly because it is easy to find at thrift stores, takes color well, and stands up to washing. Old white tees, men’s button-downs, cotton sheets, and canvas tote bags are great practice pieces.
Blends can work, but they are less predictable. A 60/40 cotton-poly shirt will usually dye, but the polyester fibers may stay lighter, creating a muted or heathered look. That can be cool if you want a softer vintage finish. If you want bright, punchy spirals, stick with mostly natural fibers.
Here's what went wrong + how I fixed it: I once tried to dye a thrifted athletic top without checking the tag. It was mostly polyester, and the color barely held. Since then, I keep fabric content at the top of my tie and dye materials checklist. Before you buy dye, check the care label. It saves money and disappointment.
The Best Dye Types for Bright, Washable Results
The most important purchase in your tie and dye materials pile is the dye itself. For cotton and other plant-based fibers, fiber-reactive dye is the gold standard. Brands like Procion MX are popular because they create strong, lasting color when used correctly. Many beginner kits also use fiber-reactive formulas, which is why they usually outperform all-purpose dye for classic tie-dye projects.
All-purpose dye can work for some experiments, especially if you are dyeing solid color rather than doing detailed tie patterns, but it often gives less vibrant results on cotton and tends to fade faster over time. If you are choosing between a cheap shortcut and a reliable result, go with fiber-reactive dye.
You will also see pre-mixed squeeze bottle kits from craft stores. These are convenient and beginner-friendly, especially for one weekend project. The tradeoff is shelf life. Once mixed with water, dye does not stay powerful forever. If you only dye occasionally, buy smaller amounts.
For stronger results, soda ash matters too. It helps the dye bond to the fabric. Some kits include it; some do not. If your colors have ever looked washed out, missing or weak soda ash prep may be the reason.
Small Tools That Make the Process Easier
Good tie and dye materials are not just about color. The little tools do a lot of heavy lifting. At minimum, you want squeeze bottles, rubber bands or string, gloves, a plastic table cover, and something to keep the fabric damp while batching. Zip-top bags, plastic wrap, or a lidded bin all work.
Squeeze bottles give you more control than pouring dye straight from a cup. Rubber bands are the easiest way to hold spirals, scrunches, and bullseye folds in place. Gloves are non-negotiable unless you want stained hands for two days. A dollar-store plastic tablecloth is one of the best low-cost supplies you can buy because dye splashes farther than you think.
If you want to level up, add a small funnel for mixing powder into bottles, a rack to keep pieces from sitting in puddles, and a dedicated bucket for soda ash soak. None of these are fancy, but they make cleanup less chaotic.
Here is a simple tie and dye materials starter kit for one or two projects:
- 3 to 5 fiber-reactive dye colors
- Soda ash
- 4 to 6 squeeze bottles
- Rubber bands or sinew
- Gloves
- Plastic table cover
- Zip bags or plastic wrap
- Old towels for cleanup
Prep Steps That Change the Final Result
Even the best tie and dye materials will disappoint if the prep is rushed. Wash your item first to remove softener, dirt, or factory finish. Do not skip this. Fabric that feels clean is not always dye-ready. If you are using secondhand pieces, pre-washing matters even more.
Next, soak in soda ash if your dye method calls for it. Wring the item so it is damp, not dripping. Damp fabric helps the dye travel, but soaking wet fabric can make colors bleed together too much. Then fold, twist, or scrunch and secure it.
This is also the moment to think about color placement. Beginners often use too much dye everywhere, which can turn a design muddy. Leave a little white space if you want contrast. Apply dye slowly and flip the item to check the back.

After dyeing, let the piece batch for several hours, often overnight, in a warm spot. Rinse with cold water first, then warmer water as the loose dye washes out. If you rush the rinse or wash too soon, your work can lose intensity.
Budget-Friendly Ways to Build Your Supply Stash
You do not need a giant cart of supplies to gather solid tie and dye materials. If you are starting from scratch, a basic setup can often stay in the $25 to $50 range depending on the dyes you choose and whether you already have gloves, buckets, and cleanup supplies at home. A beginner kit from a craft store is easy, but building your own stash can be more cost-effective if you plan to keep going.
Thrift stores are ideal for blanks. Look for white or light-colored cotton shirts, oversized button-downs, slip dresses, sheets, and denim with high cotton content. Old stained items are especially good candidates because dye can give them a second life.
For tools, check what you already own before buying more. Takeout bottles can work if cleaned well. Old baking racks can become drip racks. A laundry basket lined with plastic can help keep projects contained. The smartest tie and dye materials are often the ones that solve a problem without adding clutter.
Common Mistakes to Avoid on Your First Project
A few mistakes show up again and again with tie and dye materials. One is choosing the wrong fabric. Another is using too little dye or too much water. A third is expecting every fold to look crisp on the first try. Tie-dye has a learning curve, and that is normal.
Another common issue is letting dyed pieces dry out too fast while batching. If the fabric dries before the dye fully reacts, colors can come out dull. Keep the item wrapped or bagged so it stays damp.
Finally, do not judge your project too early. Wet dye looks darker, rinsing looks messy, and the first reveal is not always the final story. Some of my favorite upcycles looked questionable right up until the first full wash and dry. If you are building a beginner stash, focus on dependable tie and dye materials, not perfection. Start with cotton, fiber-reactive dye, soda ash, and simple tools, then grow from there. That setup gives you the best chance at bold color, cleaner patterns, and a thrift flip you will actually want to wear.

No notes yet — write the first one.