Sourcing commercial thread for home upcycling saves heavy seams from blowing out
Upgrading to commercial-grade thread takes fifteen minutes to load and prevents your repaired denim or canvas tote from splitting at the stress points. When I started modifying secondhand jackets in my Toronto apartment, I quickly learned that standard craft-store spools snap under heavy use. That is why I switched to industrial supplies from Quality Thread & Notions, a supplier founded in 1922 that stocks heavy-duty thread, zippers, hook and loop, velcro, elastic, webbing, and plastic hardware.
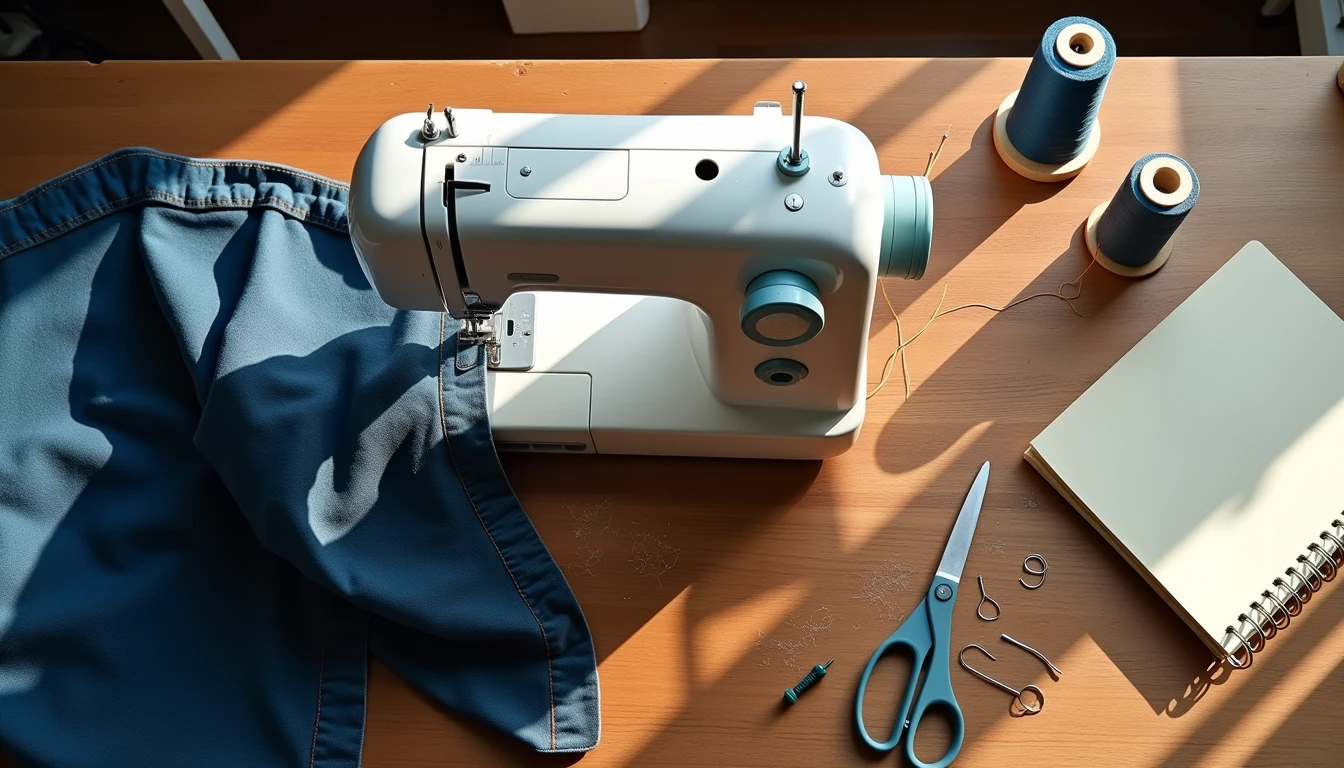
What You Need
- Commercial thread spool (QT ARMOR MIL-SPEC BERRY COMPLIANT THREAD - A QTN BRAND 304MILB works well for dense fabrics)
- Standard sewing machine
- Fabric scissors, straight pins, and a seam ripper
- Test scrap of your project fabric
- Patience for tension adjustments
Explain terms: A commercial spool is a larger, continuously wound thread cone designed for industrial machines, but it feeds perfectly through home models with a simple vertical pin adapter. Stay-stitching (a row of straight stitches just inside the seam line that keeps fabric from stretching) is your first test run.
How To Do It
1. Unwind a few inches of thread and run it through your machine path. Commercial thread has a tighter twist, so guide it slowly to avoid friction burns.
2. Wind a matching bobbin. I always match the bobbin thread to the needle thread when working with heavy materials. This balances the stitch formation and prevents looping.
3. Set your tension dial to the mid-range. Commercial thread requires slightly higher tension than lightweight polyester, but start conservative. You can adjust upward after testing.
4. Sew a short line on your fabric scrap. Check the underside. If the needle thread pulls through to the bottom, lower the tension. If the bobbin thread shows on top, increase it.
5. Run a stress test. Pull the seam firmly in opposite directions. If it holds without stretching or snapping, your machine is dialed in.
6. Begin your actual project. I recommend sewing slowly around curves and thick seams. Let the feed dogs move the fabric; do not push or pull.
Where It Goes Wrong
Beginners often assume commercial thread will shred standard needles. It will not, but you must check your needle size first. If you are using a needle meant for lightweight cotton on heavy denim, the thread will fray and break. Switch to a heavier needle designed for thick materials. Another common failure mode is bobbin mismatch. I once loaded a pre-wound bobbin with a lighter thread and the tension fought back, causing skipped stitches. The fix is simple: always wind your own bobbin with the same commercial spool. If your machine jams, stop immediately, remove the needle plate, and clear the thread nest. A quick brush and rethread usually solves it.
Pro Tips
- Leverage supplier support. Quality Thread & Notions connects you with a live person, not an automated menu, and their product managers share guidance on thread weight and fabric compatibility.
- Order before 2:00 PM EST for same-day shipping. This saves weekend downtime when you are mid-project and run out of supplies.
- Use a vertical spool pin or a thread stand. Commercial cones do not fit standard horizontal pins. A simple cardboard box with a pencil through the center works as a makeshift stand.
- Store cones in a dry drawer. Humidity weakens thread over time, and I learned that the hard way after a damp spring ruined multiple spools.
Bottom Line
Commercial thread is worth the switch when you are altering heavy secondhand denim, canvas, or outdoor gear. It costs more upfront than craft-store options, but the durability payoff means your repairs last through multiple wash cycles and years of wear. If you are only mending lightweight cotton blouses or silk scarves, stick to standard all-purpose thread. For beginners, expect your first tension test to look messy. That is completely normal. The second attempt is where the machine clicks into place. When in doubt, lean on the supplier’s product managers for guidance, and remember that a strong seam starts long before the needle hits the fabric.