Hey Thrift & Stitch fam,
I’ve been staring at sewing tutorials for months but was too scared to start. Then I found this huge, soft gray T-shirt at Goodwill for $3 and thought… why not? This is literally my very first clothing transformation. It’s not perfect, but I’m so proud of it and I want to share every single step (and every single oops) so other newbies feel brave enough to try.
Summary:
From oversized men’s XL to a flattering fitted tee in one afternoon. Real photos, real mistakes, zero experience needed.
I started with a shirt that looked like a tent on me. Super soft, good quality cotton, but it swallowed my whole body.
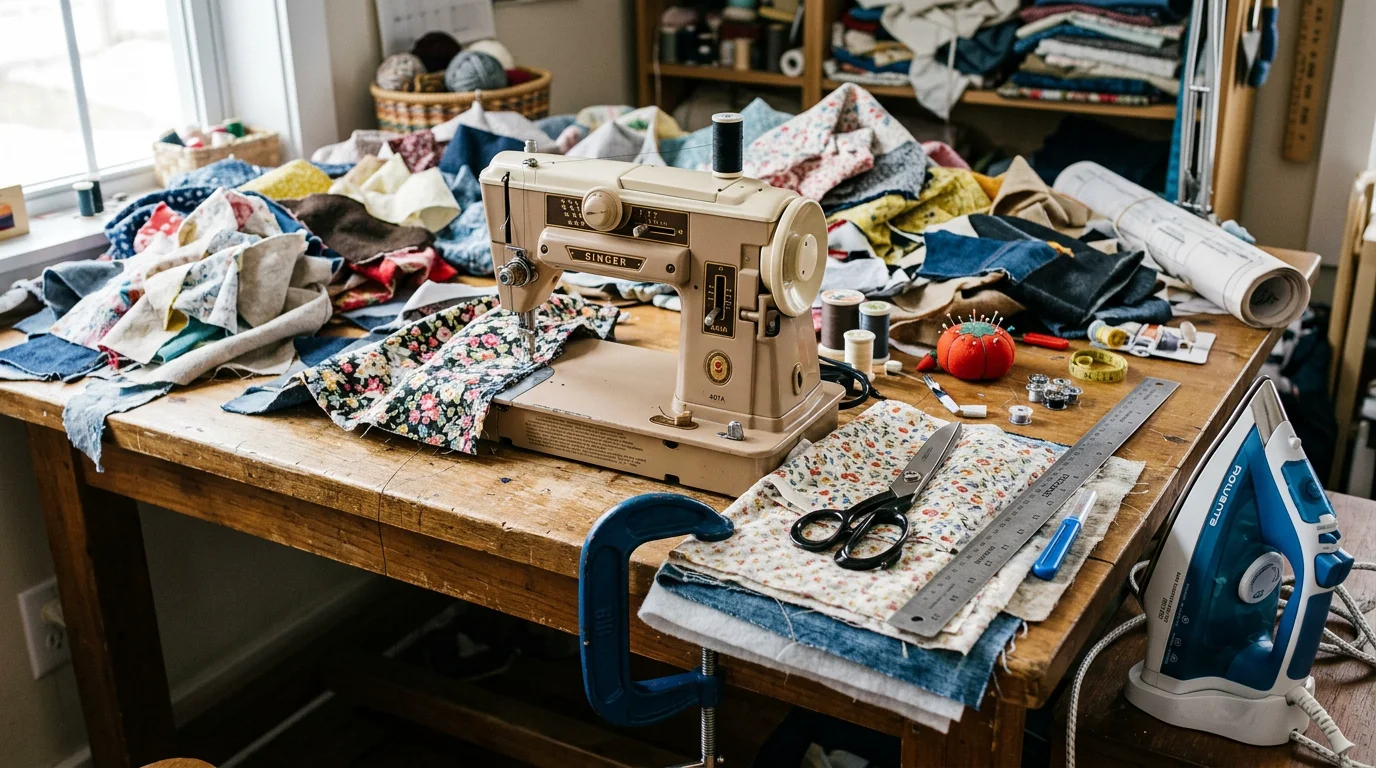
How I Did It (My Messy Beginner Process)
I laid the shirt flat on my living room floor and put on my favorite fitted tank top over it to use as a guide. Then I traced the shape of the tank onto the big T-shirt with chalk. Sounds smart, right? Except I forgot to add seam allowance…
I pinned along my chalk lines, but I pinned way too tight and the fabric bunched up. Took everything out and repinned more gently.
Then came the scary part — cutting. I cut about 1.5 inches outside my pins (finally remembered seam allowance this time). The scissors felt so loud. I kept whispering “please don’t ruin it” the whole time.
Next I sewed the new side seams. I used a regular straight stitch first because I was nervous about the zigzag. Big mistake. When I tried it on, the sides looked puckered and weird.
So I unpicked the whole thing (which took forever) and did it again with a narrow zigzag stitch. Much better! The stretch moved with the fabric this time. I don’t know if this makes sense but I felt like I just leveled up in real life.
For the sleeves, I wanted them a bit shorter and more fitted. I cut a tiny bit off the ends and did a simple double fold hem. My first hem looked wavy. I laughed so hard because it looked like I’d sewn it while riding a rollercoaster. Ripped it out and tried again slower. Second try was way better.
The bottom hem was the easiest part. I just folded it up twice and stitched all the way around. I did catch a little bit of the front and back together in one spot (oops), but I fixed it with a quick hand stitch.
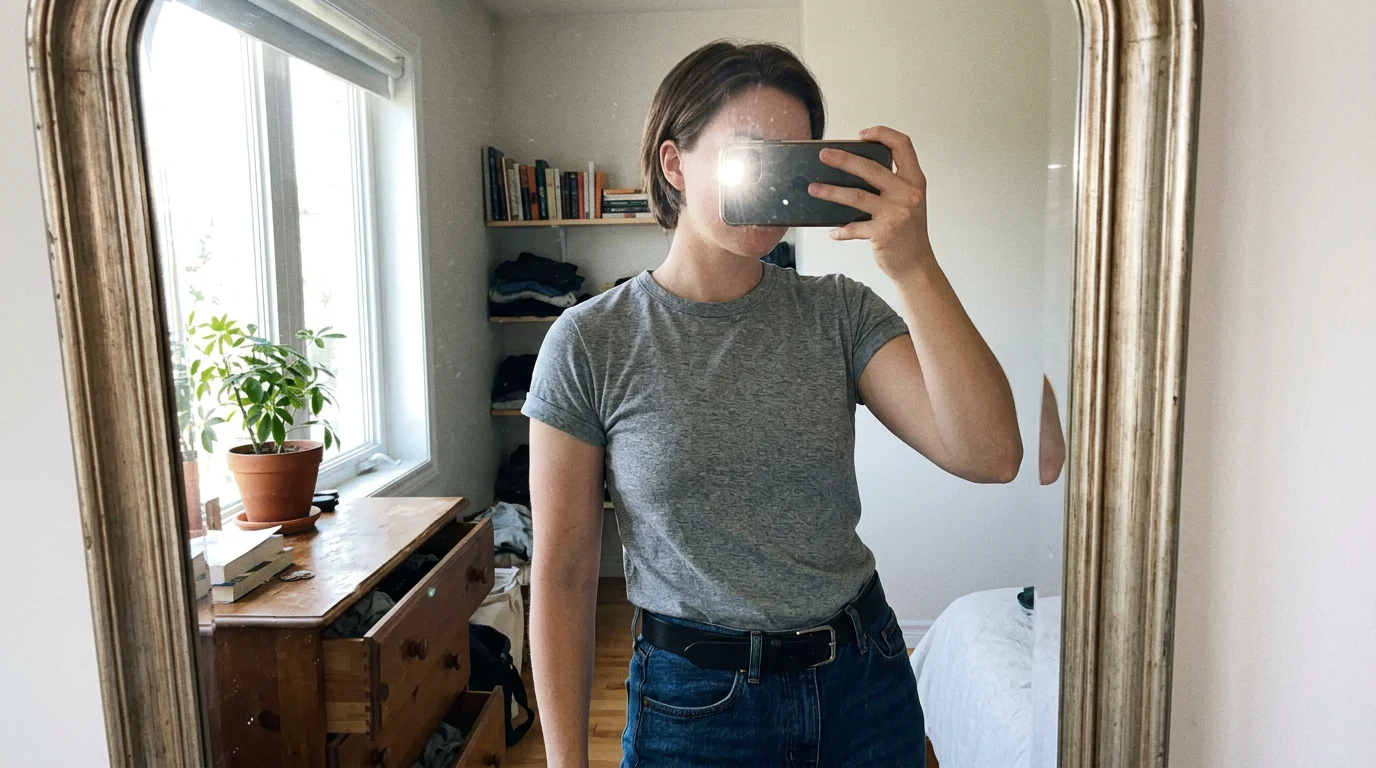
Final Result + What I Learned
I tried it on and actually squealed. It fits! Not super tight, but shaped and flattering. The gray color looks so much better now that it’s not drowning me.
Here are the biggest lessons from my very first project:
Always add seam allowance. Always.
Test stitches on scrap fabric first (I learned this the hard way).
Don’t be afraid to unpick — it’s not failure, it’s part of the process.
Soft old T-shirts are actually very forgiving for beginners.
I spent maybe 3 hours total, including all my mistakes. Total cost: $3 + the thread I already had.
If you’ve been wanting to try your first transformation but feel nervous, please just go for it. Start with a cheap thrift shirt like I did. Even if it turns out wonky, you’ll learn so much.
Welcome to the club, newbies.