If you are figuring out **embroidery machine and sewing** for the first time, you are not behind and you are definitely not asking a silly question. A lot of thrift-flip beginners want one machine that does everything, then get overwhelmed by listings, model names, and features they may never use. No such thing as a stupid question here — let's walk through it. The short version is this: sewing and embroidery overlap, but they are not the same job, and knowing the difference can save you money, space, and a lot of frustration.
What sewing does well and what embroidery does well
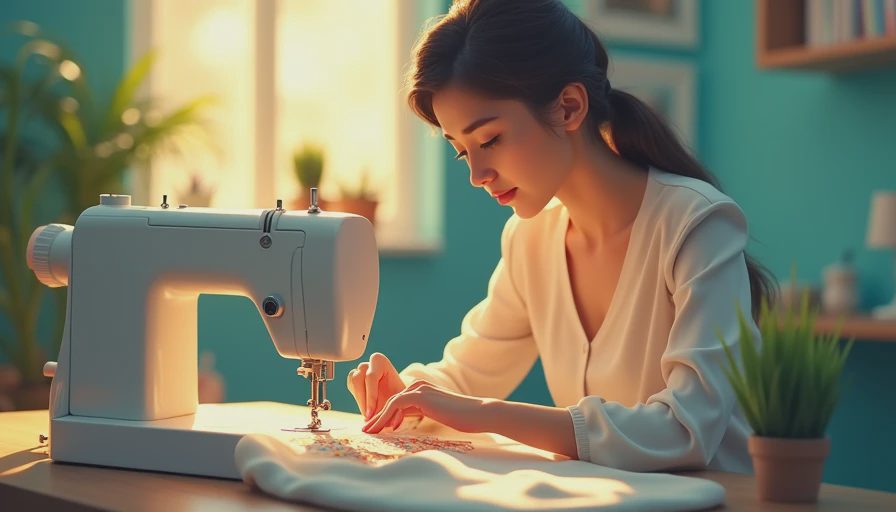
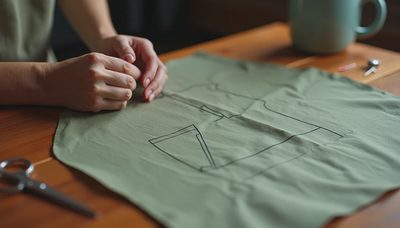
A regular sewing machine is built for construction and repair. That means hemming jeans, taking in a vintage dress, replacing a zipper, patching a tote, or turning oversized thrifted pieces into something you will actually wear. If your main goal is upcycling secondhand clothes, sewing is the foundation skill and the machine you will reach for most often.
An embroidery machine is different. Its job is decorative stitching: names, flowers, borders, patches, and small art designs. Some combination models can sew and embroider, but even those usually switch modes rather than doing both jobs at once. Here's what belongs and what doesn't: if you want strong seams, topstitching, buttonholes, and basic garment work, that is sewing territory. If you want to monogram a denim jacket or add a stitched motif to a thrifted sweatshirt, that is embroidery territory.
A lot of beginners buy an embroidery-first machine and then realize it is not ideal for everyday alterations. Here's what went wrong + how I fixed it: I started with too much focus on decorative features and not enough on basic stitch quality. For thrift flips, a dependable sewing machine gave me better results faster.
Should you buy one machine or two?
For most people, the smartest entry point is one solid sewing machine first. If your budget is under $300, that money usually goes farther on a basic Brother, Janome, Singer, or similar beginner-friendly sewing model than on a cheap combo machine loaded with features but weak on reliability. Look for straight stitch consistency, adjustable stitch length, zigzag, reverse, and a one-step or four-step buttonhole. Those features matter more than dozens of decorative stitches.
If you already sew regularly and want custom details on jackets, jeans, canvas bags, or gifts, then adding embroidery makes sense. A dedicated embroidery machine can be worth it when you know you will actually use hoops, stabilizer, design files, and thread changes. Used prices vary a lot, but a decent secondhand sewing machine may land around $75 to $200, while embroidery-capable machines often start higher, especially if accessories are included.
Combination machines can work for small spaces, but be realistic. They are convenient, yet setup takes longer, and beginners sometimes get discouraged by the extra steps. If your main projects are mending and refitting thrift finds, keep embroidery as the bonus feature, not the core requirement.
What to check when buying used
Buying used fits the StitchSwapTalk mindset perfectly, but you want to inspect machines with a calm checklist. First, plug it in and test it. Sew a few lines on woven cotton if possible. The stitch should look even on top and bottom, without looping, skipping, or bunching. Turn the handwheel slowly and listen for grinding or hard resistance.
For embroidery machine and sewing setups, ask what accessories are included. Missing presser feet, hoops, bobbin cases, power cords, or embroidery arms can turn a bargain into a hassle. Also ask whether the manual is available online and whether the machine still has easy-to-find needles, bobbins, and replacement parts. A machine with common accessories is much easier for a beginner.
Watch out for dried lint, old thread jammed in the bobbin area, or yellowed plastic from rough storage. Those issues do not always mean the machine is bad, but they tell you it may need cleaning or service. Test results inside: if the seller cannot show it sewing at all, price it like a repair gamble, not a ready-to-use tool.
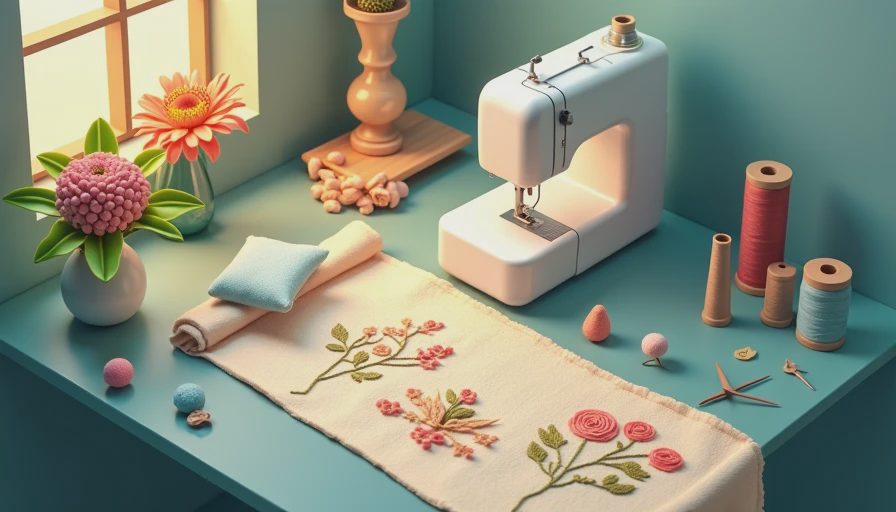
Starter supplies that actually matter
You do not need a giant craft haul to begin. For sewing, start with universal machine needles in a couple sizes, good polyester thread, sharp fabric scissors, clips or pins, a seam ripper, measuring tape, and an iron. The iron is not optional if you want clean thrift flips. Pressing seams as you go makes a homemade project look intentionally finished.
For embroidery, add stabilizer, embroidery needles, embroidery thread, bobbin thread if your machine calls for it, and the correct hoop size. Stabilizer is one of those beginner items people skip, then wonder why the design puckered. On thrifted garments, especially tees and sweatshirts, stabilizer matters a lot because stretchy fabric shifts under the needle.
If your budget is tight, spend on the basics before buying fancy feet and gadget bundles. A $10 seam ripper, a pack of quality needles, and thread that does not shred will help more than a drawer full of extras. With embroidery machine and sewing projects, simple tools used well beat a cluttered setup every time.
Best beginner projects for thrifted clothes
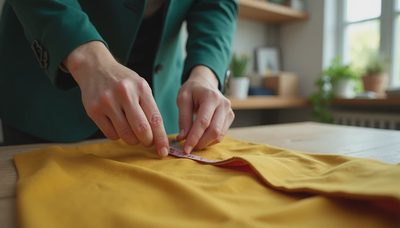
Start with projects that teach control without risking your favorite vintage piece. Good first sewing projects include hemming pants, cropping a boxy tee, adding patches, tapering a simple skirt, or turning jeans into shorts. These jobs teach measuring, pressing, seam finishing, and fabric handling.
For beginner embroidery, think small and forgiving. Add a name or tiny motif to a tote, pocket, cuff, or denim back panel. Practice on stable fabrics first, like cotton canvas or denim, before jumping to thin rayon or super-stretch knits. If you are using a treasured thrift find, test your design on scrap fabric with similar weight first.
The big win with embroidery machine and sewing is personal style. A plain thrifted jacket can become a signature piece with a clean fit and one thoughtful embroidered detail. You do not need to cover everything in stitches. A small, well-placed design often looks more polished than an overworked project.
A realistic buying path for beginners
If you are still stuck, here is the simplest path I would recommend. First, buy or borrow a reliable sewing machine and complete three practical clothing projects. Learn threading, bobbin winding, needle changes, and basic troubleshooting. Once that feels normal, decide whether you truly want embroidery or whether patches, appliqué, or decorative topstitching already give you the look you want.
If you do want embroidery, shop with purpose. Look for a machine with available hoops, easy threading, and support resources like manuals and tutorial videos. Keep your first budget practical instead of chasing every feature. A clean used machine plus the right supplies often beats a flashy machine you do not understand.
Embroidery machine and sewing can absolutely live in the same creative space, especially for upcycling. Start with the machine that solves your most common problem, build skills on thrifted practice pieces, and upgrade when your projects demand it. That is the low-stress way to make clothes feel like yours.
No notes yet — write the first one.