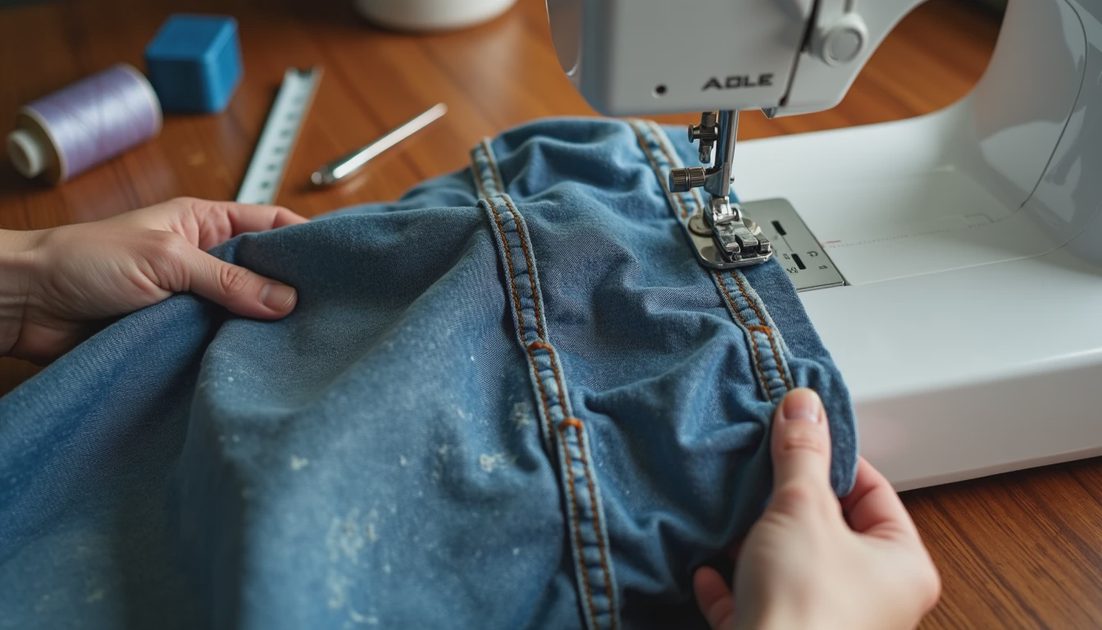
Time required: 1–2 hours (depends on your sewing speed).
Skill level: Beginner-friendly – but requires patience with measuring and stitching close to the hem.
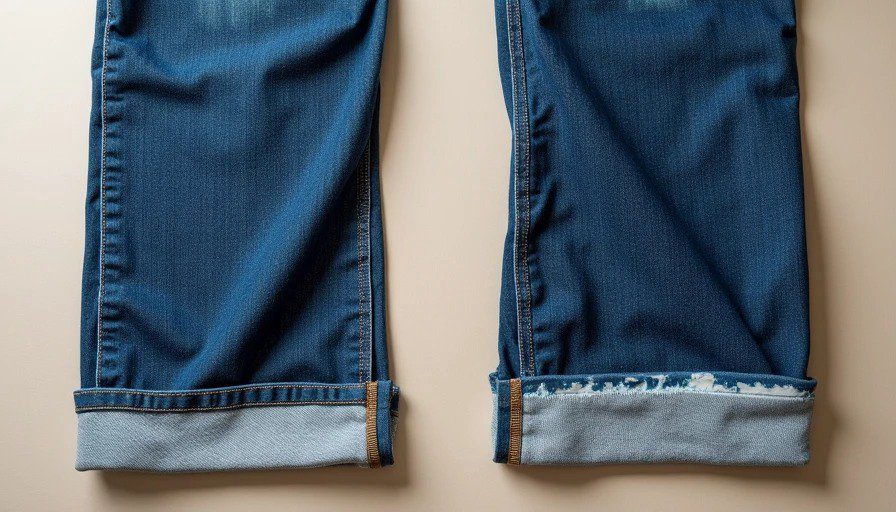
Why bother? Keeping the original hem preserves the factory wear, distressing, and contrasting thread that makes your thrifted or favorite jeans look "right" – not freshly altered.
What You Need to Hem Jeans the Right Way
Before you start, gather these tools:
Measuring tape
Pins (lots of them)
Seam ripper
Hand sewing needle
Thread that matches the denim color (for the new seam)
Thread that matches the original hem thread (usually gold/orange or contrast)
Serger (optional – nice for finishing raw edges)
Zipper foot (highly recommended – helps you sew right next to the bulky hem ridge)
Beginner note: A zipper foot is a presser foot that lets your needle stitch extremely close to thick edges (like that rolled hem bump) without skipping stitches or breaking needles.
Why Keeping the Original Hem Matters for Thrifted Jeans
When you do a standard double-fold hem, you lose that worn-in fade line. The new hem looks "too new" compared to the rest of the leg.
The solution? The Original Hem Fold Method – you create a new seam just above the original hem, so the outside still shows the factory edge with all its character.
Method 1: The Original Hem Fold Method (Step-by-Step)
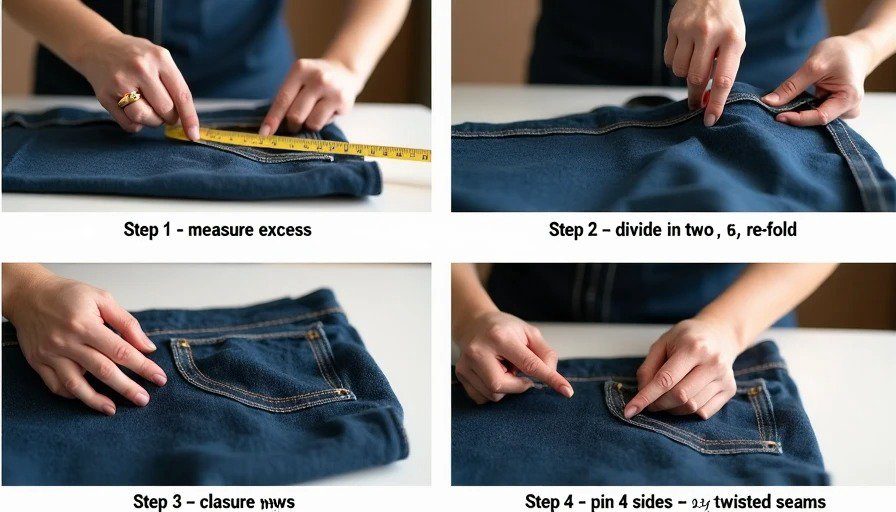
This is the most reliable technique for beginners. It works on both straight-leg and slightly tapered jeans.
Step 1: Measure the Excess Length
Put the jeans on and fold up the amount you want to shorten.
Measure that folded amount – that's your "excess length."
Pro tip: The source recommends leaving the hem itself out of this measurement because jeans often shrink in length over time. But honestly, the hem is only about 3/5 of an inch (1.5 cm), so it won't break your alteration either way.
Step 2: Divide the Excess by Two (The "Math Trick")
Here's the secret to this method: you're folding the excess in half.
Example: If you need to shorten by 2 inches → half is 1 inch.
Example: If you need to shorten by 5 cm → half is 2.5 cm.
Remove your pin, re-fold the cuff to that half amount, and pin it again.
Step 3: Pin on All Four Sides of Each Leg
This is where beginners usually rush – and it leads to twisted seams.
Pin the fold at the 4 "corners" of the leg (front outseam, front inseam, back outseam, back inseam).
Why 4 sides? Jeans legs twist easily. Pinning all around ensures your side seams align perfectly so the alteration looks invisible.
Step 4: Sew the Seam Close to the Original Hem (Crucial)
Stitch as close as possible to the original hem – but do NOT sew on the original stitch line.
Use a zipper foot and thread that matches the denim color (not the contrast hem thread).
Pause and check: Flip the jeans to the outside. Do the side seams match? Is the hem even? If yes, proceed. If not, re-pin now before trimming anything.
Step 5: Trim (or Don't Trim) the Excess Fabric Inside
Once the new seam is sewn, you'll have extra fabric on the inside.
The source recommends using a serger to clean the raw edge.
However: If you're unsure about the final length, skip this step. The extra fabric won't hurt, and it gives you a safety net if you need to let it down later.
Step 6: Secure the Fold with Hand Tacks
To stop that inside fold from flipping up during washing or walking, hand-sew a couple of tiny stitches at the side seams.
Place them so they don't poke through to the outside.
Alternative: If you have a perfect blue thread match, you can topstitch on the face side instead – but hand tacks are safer for beginners.
That's it. From the outside, you still see the original hem – fading, distressing, and all. The alteration completely disappears.
Method 2: The Binding Hem (Alternative – Not Fully Covered Here)
The source mentions a second "binding hem" method, but the instructions cut off mid-way. Rather than give you incomplete steps that lead to frustration, I recommend sticking with Method 1, which is fully detailed and beginner-proven.
If you have the full binding hem instructions, paste them in and I'll rewrite them in the same clear, step-by-step style!
Where It Goes Wrong (and How to Recover)
These are the 5 most common beginner mistakes when hemming jeans with the original hem – and exactly how to fix them.
Mistake | Sign | Fix |
|---|---|---|
Twisted side seams | The outseam/inseam doesn't line up at the fold; the hem looks rotated. | Go back to Step 3. Re-pin all 4 sides, matching the original seams exactly before sewing. |
Stitching on the original hem | You see a messy "double line" right on the ridge. | Use a seam ripper to remove that section and re-stitch as close as possible without touching it – use that zipper foot! |
New seam too far from the hem | You see a noticeable "DIY ridge" band above the hem. | Re-stitch closer to the original hem line. Check the outside before trimming any excess. |
Trimmed the inside too early | You're unsure about the length, but the fabric is already cut. | Prevention: Follow Step 5 – if in doubt, don't trim until you've worn the jeans for a day. |
The fold flips up during wear | The inside fold doesn't stay flat after washing. | Add those hand stitches at the side seams (Step 6). They make all the difference. |
Pro Tips for a Flawless Invisible Hem
Treat "measure, divide, re-fold" as sacred. This is the core math. Rush this, and the whole hem twists.
Check from the outside before you commit. The source explicitly checks side seams and appearance before moving on – do this, and you'll save yourself from unpicking.
Don't panic if you don't have a serger. You can zigzag the raw edge or simply leave it if the excess is small. The source says trimming is optional when you're uncertain.
Hand tacks are your quiet hero. A couple of invisible stitches at the side seams keep everything behaving without wrestling bulky topstitching.
When to DIY vs. When to Outsource
Your Situation | Verdict |
|---|---|
You love the faded look and have basic sewing supplies | DIY – Method 1 is very doable with careful pinning. |
Your jeans have a heavy taper or extreme stretch | Be cautious – tapered legs twist more. Double-check pinning. |
Your side seams keep twisting no matter what | Hand it to a tailor – the goal is an alteration that disappears, not a battle. |
FAQ – Original Hem Jeans Alteration
Q: Can I hem jeans without losing the original hem?
A: Yes – the "fold method" creates a new seam above the hem, keeping the original edge fully visible.
Q: What if I don't have a zipper foot?
A: You can still do it, but it's much harder to get close to that bulky hem ridge. A universal zipper foot costs under $10 and is worth the investment.
Q: How much does it cost to have a tailor keep the original hem?
A: Usually $20–$40 per pair. DIY costs you only thread and an hour of time.
Q: Will the jeans be shorter but still have the original fade line?
A: Exactly. That's the whole point – you keep the distressed fade exactly where it was.




No notes yet — write the first one.