Learning how to knit a hat is one of the most satisfying first projects because the shape is simple, the materials are affordable, and you get something wearable at the end. No such thing as a stupid question here — let's walk through it. This guide uses circular knitting needles and a basic ribbed brim, but you can adapt the method for straight needles if that is what you already have.
Gather yarn, needles, and a few useful tools
For a first hat, choose a smooth, medium-weight worsted yarn. Wool, acrylic, or a wool-acrylic blend will all work. Smooth yarn makes it easier to see individual stitches, while fuzzy yarn can hide mistakes until you are several rows farther along. A 100-gram skein is usually enough for one adult hat, with some leftover for a pom-pom or repair patch.
You will also need circular needles, ideally 16 inches long, in a size recommended on the yarn label. Many worsted yarns pair well with US size 7 or 8 needles, but your knitting tension matters more than the label. Add a stitch marker, a tapestry needle, and scissors. If you do not own double-pointed needles, a long circular needle can be used with the magic loop method when the crown becomes too small.
Before you begin, measure the intended wearer’s head around the widest part, keeping the tape comfortably snug. A finished hat should usually be 1 to 2 inches smaller than the head measurement so it stretches without sliding off. A 22-inch head, for example, generally needs a finished circumference near 20 or 21 inches.
How to knit a hat from the brim upward
The first step in how to knit a hat is casting on. Use a stretchy cast-on, such as the long-tail cast-on, and place 88 stitches on your circular needle for a typical adult worsted-weight hat. Cast on 80 stitches for a smaller adult or teen size, or 96 stitches for a larger fit. The stitch count should be divisible by four if you want a simple knit-two, purl-two rib.
Join the stitches into a circle carefully. Make sure the cast-on edge is not twisted around the needle. This is the mistake that causes the dreaded Möbius hat, a loop that cannot lie flat. Place a stitch marker at the beginning of the round and knit two stitches, then purl two stitches, repeating that pattern all the way around.
Continue the ribbing for about 2 to 3 inches. A shorter brim gives a relaxed beanie shape, while a taller brim can fold upward for extra warmth. Keep your stitches loose enough to move along the needle, but not so loose that large gaps appear between the purl stitches.
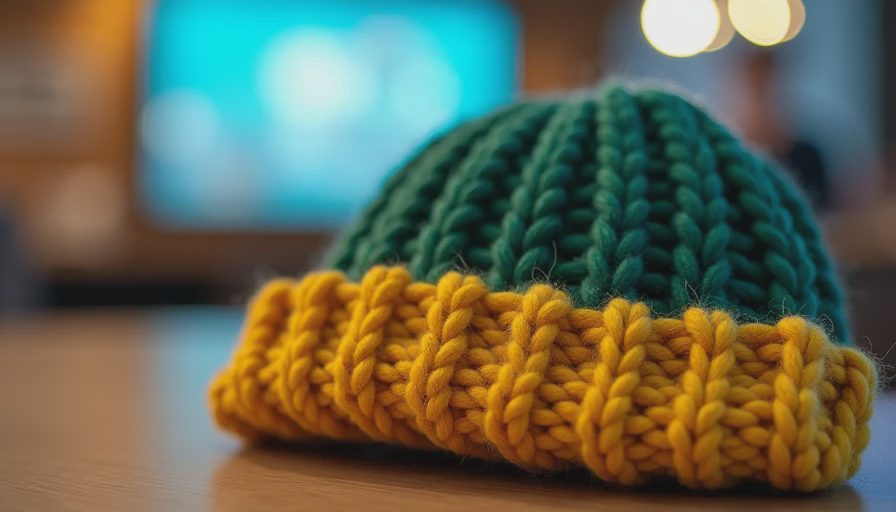
Once the brim is complete, knit every stitch around. This creates the smooth stockinette body of the hat. Work until the piece measures approximately 6 to 7 inches from the cast-on edge, depending on whether you want a close-fitting cap or a slouchier style. Try it on if possible, or compare it with a hat that fits well.
Shape the crown without panic
The crown shaping is where many beginners feel nervous, but it is simply a series of decreases. Divide the round into eight sections. For an 88-stitch hat, you can place markers every 11 stitches. On a decrease round, knit to two stitches before the next marker, then knit two stitches together. Repeat this around the hat. You will remove eight stitches during each decrease round.
Knit one plain round between decrease rounds at first. When the crown begins narrowing, work a decrease round every other round until about half the original stitches remain. Then decrease on every round. Switch to double-pointed needles or magic loop when the circular needle becomes too crowded.
When roughly 8 to 12 stitches remain, cut the yarn, leaving a 10-inch tail. Thread the tail through a tapestry needle, slide it through the remaining stitches, and pull gently to close the opening. Take the needle to the inside, weave through several stitches, and trim the excess. Do not pull so tightly that the crown puckers into a hard knot.
Here's what went wrong + how I fixed it: my first crown looked lumpy because I decreased too quickly and skipped the plain rounds. The fix was to unravel back two rounds and space the decreases more gradually. Hats are forgiving, and wool or acrylic can usually be unraveled without damage if you work patiently.
Troubleshooting common beginner mistakes
If the brim twists before you join the round, stop immediately and lay the cast-on edge flat. Twisting becomes much harder to correct after several inches. If you discover a dropped stitch, use a crochet hook to pull the loose loop upward through the nearby horizontal strands. For a small mistake, a safety pin can hold the stitch temporarily while you finish the round.
If your hat feels too tight, your gauge is probably smaller than the pattern’s gauge, or you cast on too few stitches. For the next attempt, use needles one or two sizes larger or add four to eight stitches. If the fabric feels floppy and the hat stretches too much, use smaller needles instead. Avoid judging the fit from the flat knitted fabric alone; ribbing contracts and often looks much narrower before it is worn.
Learning how to knit a hat also means accepting that the first version might not be perfect. Uneven tension often improves after washing and blocking. Soak the finished piece in cool water with a small amount of gentle wool wash, press out water in a towel, and shape it over a bowl or hat form. Let it dry completely before removing the form.
Customize the finished hat
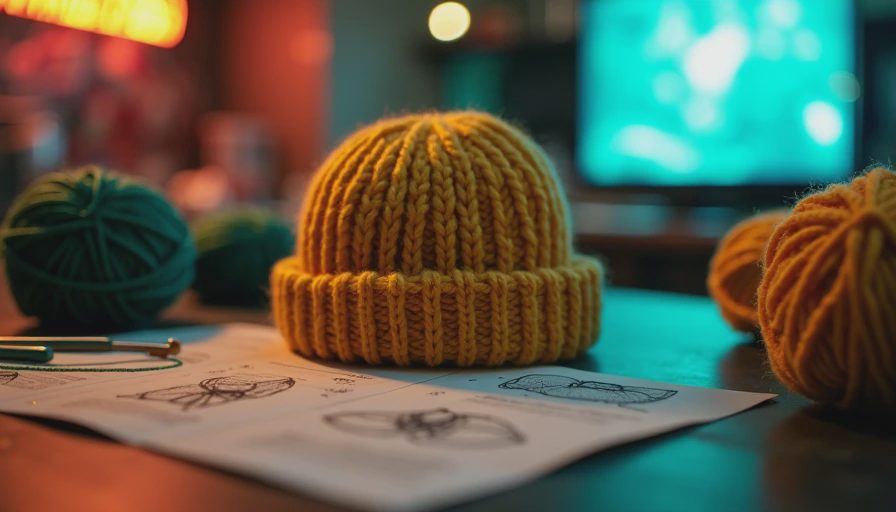
Once you know how to knit a hat, small changes make the project feel personal. Add stripes by changing colors at the beginning of a round, carrying unused yarn loosely up the inside. Use a contrasting color for the brim, or sew on a leather, fabric, or embroidered patch from your scrap collection. A thrifted sweater that is too damaged to wear can provide yarn for a creative accent, although unraveling machine-knit fabric takes time and produces shorter lengths.
For a slouchy hat, add 2 to 3 inches to the body before beginning the crown. For a folded cuff, knit 5 or 6 inches of ribbing and fold it inward. A removable pom-pom is practical if you want to wash the hat easily; attach it with a snap or a long secured thread rather than permanent glue.
A simple finishing checklist
Before calling the project finished, check that the brim stretches comfortably over the head, the crown closes without a large hole, and the yarn ends are woven securely. Look inside for loose floats or knots that could catch on earrings, glasses, or coat zippers. Wash the hat according to the fiber’s care instructions, then reshape it while damp.
Keep your notes for the next project: yarn brand, needle size, cast-on number, finished measurements, and how many inches you knitted before decreasing. That information is more useful than a generic pattern because it records what worked for your hands and your preferred fit.
The best part of learning how to knit a hat is that every mistake gives you a practical clue for the next one. Start with inexpensive yarn, take breaks when your hands feel tired, and give yourself permission to unravel a few rows. With one finished cap, you will have the skills to try cables, colorwork, recycled yarn, or a matching scarf.





No notes yet — write the first one.