Learning how to measure shoulders is one of those small sewing skills that makes thrift shopping much less frustrating. A shoulder measurement can tell you whether a vintage blazer will sit neatly, whether a denim jacket will restrict your arms, or whether a shirt pattern needs adjusting before you cut fabric. No such thing as a stupid question here — let's walk through it.
You will need a flexible tape measure, a flat surface, and either a well-fitting garment or a helper. A rigid carpenter's tape is too awkward for this job. If your tape measure has a metal tip, keep it flat rather than letting it curl underneath the fabric. Wear a thin shirt or measure a garment laid completely flat for the most useful result.
How to measure shoulders on your body
The easiest body measurement runs across your upper back from the end of one shoulder bone to the other. Stand naturally with your arms relaxed. Do not puff out your chest, pull your shoulders backward, or raise your arms, because each of those changes the measurement.
- Find the bony point at the top of one shoulder. This is near where a sleeve seam would normally sit, not at the base of your neck.
- Place one end of the tape at that point.
- Run the tape across the upper back, following a straight line rather than dipping into the curve of your neck.
- Stop at the matching bony point on the opposite shoulder.
- Record the number in inches, and repeat the measurement once.
When learning how to measure shoulders, it helps to have another person hold the tape. Trying to reach across your own back can pull the tape diagonally and produce a number that is too long. If you are alone, stand with your back to a mirror and use two pieces of painter's tape to mark the shoulder points before measuring between them.
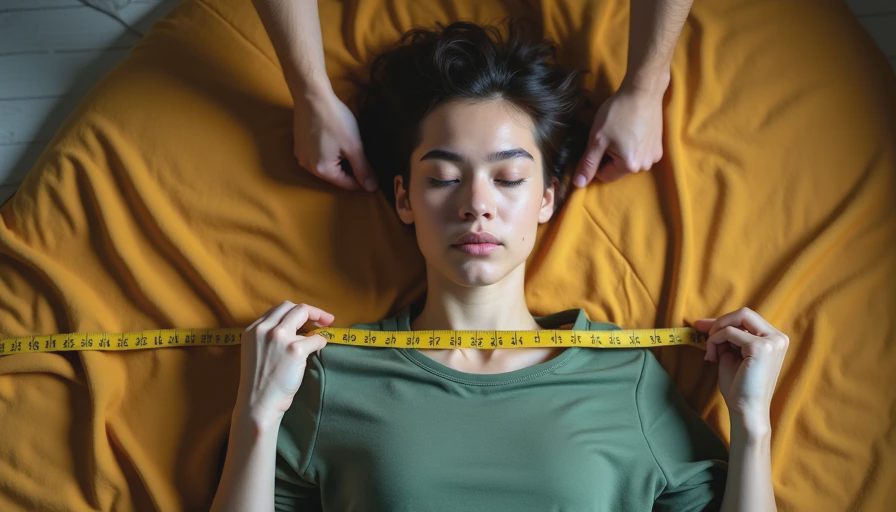
For a body measurement, the tape should touch the body or a thin base layer without squeezing. If you get 15 inches one time and 17 inches the next, the issue is probably tape placement rather than your actual frame. Take three readings and use the two closest numbers. Write down whether the measurement came from your body, a jacket, or a shirt; those numbers are not interchangeable.
How to measure shoulders on a shirt or jacket
A garment measurement is often more useful when buying secondhand clothing online. Lay the item face down on a table, smooth the collar and shoulder seams, and fasten buttons or a zipper. Do not stretch the fabric. How to measure shoulders on a garment is simple: measure straight across the back from one shoulder seam to the other.
Look for the point where the sleeve joins the shoulder. On a set-in sleeve, that seam is usually easy to see. Start at the outer edge of one seam and measure to the outer edge of the opposite seam. If the seam is hidden, estimate the shoulder endpoint by following the line from the armhole toward the collar. Keep the tape level and avoid measuring along the slope of the shoulders.
For drop-shoulder sweaters, oversized sweatshirts, and raglan sleeves, there may be no conventional shoulder seam. In that case, measure from the collar edge to the sleeve seam on one side, then across the garment as the seller describes it. Ask for pit-to-pit, sleeve length, and total length too. A shoulder number by itself cannot explain the fit of a deliberately oversized piece.
Compare the number with a garment you already love
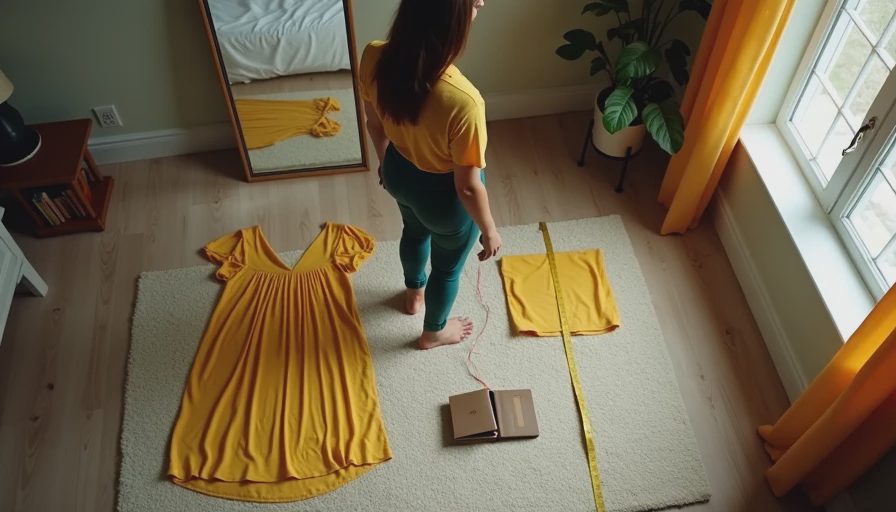
The most reliable online-shopping method is to measure a garment that fits you well. Spread that item flat and measure it using the same technique. Then compare the result with the listing rather than comparing the number with a generic size chart.
For example, suppose your favorite casual jacket measures 17 inches across the shoulders. A vintage wool blazer measuring 15 inches will probably feel restrictive, even if both labels say medium. A 19-inch measurement could give you a dramatic oversized look, but it might also create extra fabric at the upper arm. Shoulder width is especially important in structured clothing because tailoring it smaller can be expensive and reshaping a narrow shoulder is often impractical.
When you are figuring out how to measure shoulders for a resale listing, include the measurement method in your message. Ask, “Could you measure straight across the back from shoulder seam to shoulder seam with the garment flat?” That wording reduces confusion between shoulder width and sleeve length.
Common measuring mistakes and easy fixes
The biggest mistake is measuring from the neck instead of the shoulder point. The neck-to-shoulder slope is a different measurement and can make a garment appear wider than it really is. Another common error is following the curve of the back. Keep the tape in a straight line across the garment, even if the fabric itself is slightly shaped.
Thick clothing also creates misleading results. A puffer coat, lined wool coat, or fleece hoodie includes loft that affects how the garment fits. Measure the item flat without compressing it, then compare it with a similar garment from your closet. Do not assume that adding an inch to a thin shirt measurement will accurately predict a winter coat's comfort.
Wrinkles cause smaller but still annoying errors. Smooth the back, align the side seams, and make sure the collar is not twisted. If a jacket has shoulder pads, leave them in place during the measurement because they are part of the garment's structure. When learning how to measure shoulders, consistency matters more than chasing a perfect fraction of an inch.
Use shoulder measurements for sewing and alterations
Shoulder width is useful when choosing a commercial pattern or deciding whether a thrifted item is worth altering. If a pattern's shoulder area is too wide, the sleeve cap and armhole may sit low, causing diagonal wrinkles across the chest. If it is too narrow, the garment can pull across the upper back and restrict movement.
For a simple alteration, a tailor or experienced home sewist can sometimes narrow the shoulder seam and adjust the sleeve. This is easier on an unlined shirt than on a lined blazer with padding, vents, and carefully balanced lapels. Before buying a project piece, inspect the seam allowance. Extra fabric inside the shoulder seam gives you more options; a narrow finished seam leaves less room to work.
If you are drafting or modifying a pattern, take your shoulder measurement in the same posture each time. Make a test version from inexpensive muslin before cutting into vintage fabric. Denim, silk, and old wool can be difficult to replace, so a $5 thrifted sheet is a safer testing material.
A quick checklist before you buy
When deciding how to measure shoulders for an online purchase, check these details:
- Confirm whether the seller measured the body or the garment.
- Ask whether the item was measured flat and fully buttoned or zipped.
- Request shoulder seam to shoulder seam, pit-to-pit, sleeve, and length measurements.
- Compare those numbers with a garment you own instead of relying only on the label.
- Check for dropped shoulders, raglan sleeves, shoulder pads, or unusual construction.
- Leave room for movement, especially in coats and structured jackets.
A seller who cannot provide a shoulder measurement may still have a great piece, but the purchase becomes more of a gamble. For expensive vintage, ask for photos of the shoulder seams and collar. Those images can reveal stretching, repairs, or a shape that measurements alone do not show.
Measure once, shop with confidence
Knowing how to measure shoulders turns vague phrases like “fits like a medium” into useful information. Take a careful body measurement, keep a record in your phone, and measure a favorite garment for comparison. The process takes only a few minutes but can prevent return shipping, disappointing thrift hauls, and alterations that cost more than the jacket.
Your number does not need to match an online listing perfectly. Fabric weight, ease, sleeve construction, and your preferred silhouette all matter. Use the measurement as a practical starting point, ask clear questions, and remember that a slightly imperfect fit can often become a great upcycling project.
No notes yet — write the first one.