Gluing cloth to cloth is a handy way to repair, decorate, or reshape a thrifted garment without reaching for a sewing machine. It works especially well for patches, lightweight hems, costume details, fabric labels, and small upcycling projects. No such thing as a stupid question here — let's walk through it. The main trick is choosing a glue that stays flexible after drying and preparing the fabric so the bond has a fair chance.
Choose the Right Fabric Glue
Start with a permanent fabric glue rather than school glue, super glue, or standard craft glue. Products such as Aleene's Fabric Fusion, Beacon Fabri-Tac, and Dritz Unique Stitch are common choices for clothing and fabric projects. Read the label before buying because some formulas are washable only after curing for a specified amount of time, while others are intended for décor that will not go through a washing machine.
For gluing cloth to cloth, match the adhesive to the material. A flexible fabric glue is suitable for cotton, canvas, denim, felt, and many polyester blends. Thin rayon, silk, satin, and stretchy knits need a lighter application because excess glue can leave a dark or stiff patch. Avoid hot glue on areas that bend often. It can hold a costume embellishment temporarily, but the dried bead tends to feel rigid and can peel away during washing.
Check the finish, too. Some adhesives dry clear, while others can remain slightly glossy. That shine is barely noticeable under a patch but can look messy along an exposed hem. A small bottle often costs about $5 to $12, and that is usually enough for several small repairs.
Before starting, wash and fully dry the fabric unless the care label warns against it. Dirt, skin oil, fabric softener, and lint all interfere with adhesion. Press the cloth flat with an iron on the appropriate setting, then place cardboard or wax paper behind the work area so glue cannot seep through both layers.

How to Glue Cloth to Cloth Step by Step
Step 1: Test first. Cut two scraps from the same fabrics, or use an inside seam allowance if scraps are unavailable. Apply a tiny amount of glue, press the pieces together, and let the test cure. Pull the pieces apart and check for discoloration, stiffness, or bleeding through the weave. This quick test can save a vintage blouse from a permanent shiny mark.
Step 2: Mark the placement. Use tailor's chalk, a washable pen, or small pieces of low-tack painter's tape. Make sure the patch or second fabric is positioned correctly before spreading adhesive. Once glue touches cloth, sliding the piece around can create a visible smear.
Step 3: Apply a thin, even layer. A narrow zigzag or small dots usually work better than a thick puddle. Leave a tiny margin around the edge so glue does not squeeze out when pressed. For a patch on denim, cover the center and trace the perimeter carefully. For a hem, work in sections about two to three inches long.
Step 4: Press firmly. Place wax paper over the fabric and smooth from the center toward the edges. A clean book, acrylic ruler, or flat cutting board can provide gentle pressure. Do not rub hard enough to stretch knits or distort a printed design.
Step 5: Let it cure. Drying and curing are different: the surface may feel dry in an hour, but the full bond can take 24 to 72 hours. Follow the bottle's instructions and keep the project flat. Do not test the bond every few minutes; that is how edges lift before the adhesive has finished setting.
For gluing cloth to cloth on a frequently handled item, add a few hidden hand stitches at stress points after the glue cures. Adhesive is useful, but stitches provide extra security around pockets, straps, elbows, and bag corners.
Match the Method to the Fabric
Cotton and canvas are the easiest beginner materials because their stable weave gives glue a broad surface to grip. Denim also responds well, although thick seams require more pressure and a longer cure. Felt usually bonds neatly, but applying too much adhesive can make the area feel like cardboard.
Stretch fabric is more challenging. If the glued area must expand, use a flexible adhesive and avoid placing it across a high-stretch seam. Apply the smallest workable amount, then let the fabric rest in its natural shape while curing. Gluing cloth to cloth on elastic waistbands or jersey sleeves often fails because the adhesive cannot move as much as the fabric.
Waterproof nylon, coated fabric, and very smooth satin can reject ordinary fabric glue. Roughening the hidden side very lightly with fine sandpaper may help, but test first because delicate fibers can fray. In many cases, a few stitches are more dependable than adhesive alone.
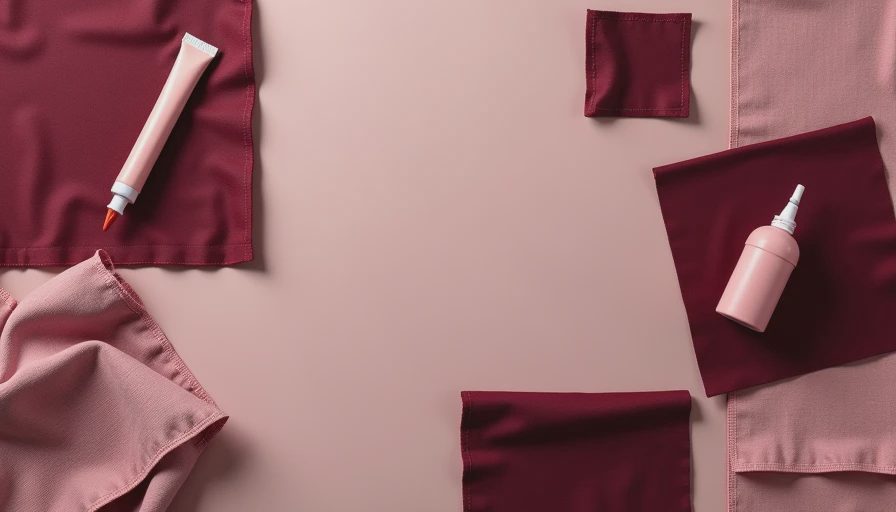
Here's What Went Wrong and How to Fix It
If the glue shows through, the usual cause is applying too much product or working on a thin, loosely woven fabric. Do not add another layer to hide it. Let the piece cure, then check the care instructions for the adhesive. Some washable fabric glues can be softened with water before they fully set, but once cured, removal can damage the fibers. For a valuable vintage item, stop and test an inconspicuous area instead of pulling the layers apart forcefully.
If an edge lifts, clean away loose lint and apply a very small amount under the lifted section with a toothpick. Press it flat under wax paper and use a book as a weight. If the whole patch is peeling, the surface may have been dirty, the adhesive may not suit the fabric, or the piece may have been washed too soon. In that situation, remove only what comes away easily and reinforce the perimeter with a whipstitch or running stitch.
If the fabric feels stiff, the application was probably too heavy. You cannot always restore the original softness, so this is one reason testing matters. A narrow decorative patch can hide a stiff spot better than an exposed glued hem.
Washing and Caring for the Finished Project
Give the bond its full cure time before wearing or washing the item. When possible, turn clothing inside out, choose cold water, and use a gentle cycle. Skip harsh bleach and avoid placing a freshly repaired piece in a hot dryer. Heat can soften some adhesives and encourage edges to peel.
Air-drying is the safest routine for glued patches and appliqués. Hang the garment only after it is no longer heavy with water, because a wet patch can pull against the bond. If the item will be washed often, sew around the glued area once it has cured. The adhesive keeps the layers aligned while stitching makes the repair more durable.
For bags, hats, and décor, wipe-clean care is often easier than machine washing. Store the finished piece flat or supported so the fabric does not fold sharply along the glued line.
When Gluing Is Better Than Sewing
Gluing cloth to cloth makes sense when you need a quick no-sew repair, want to attach a detailed appliqué, or are working with a child who is not ready to use needles. It is also useful for stabilizing fabric before sewing, holding a folded hem in place, and testing a design on a thrifted jacket before committing to permanent alterations.
It is not the best choice for load-bearing seams, fitted clothing, underwear, activewear, or anything that will receive constant pulling. A stitched seam distributes force through thread and fabric, while glue creates a bonded surface that can crack or peel. For those high-stress areas, use a sewing machine or hand stitches, with glue only as a temporary positioning aid.
The most reliable beginner formula is simple: clean fabric, a compatible flexible adhesive, a thin application, firm pressure, and enough curing time. With those five habits, gluing cloth to cloth becomes a practical part of your repair kit instead of a frustrating last-minute experiment. Start with scraps, learn how your chosen product behaves, and then give that thrifted find its second life.



No notes yet — write the first one.