If you searched for home sew ideas, you are probably holding a thrifted shirt, pair of jeans, or vintage skirt and wondering what to do next. Good news: you do not need a fancy studio or years of experience. Home sewing can start with a needle, thread, sharp scissors, and one imperfect garment. No such thing as a stupid question here — let's walk through it.
What home sew means in practical terms
Home sew is less about owning a particular machine and more about making useful changes where you live. That could mean replacing a missing button, shortening jeans, taking in a loose waist, patching a worn elbow, or turning an oversized dress into a skirt. A basic project can cost under $10 if you already have thread and pins, while a small sewing machine often costs roughly $120 to $250.
Start with an item you can afford to experiment on. A cotton button-down from a thrift store is friendlier than slippery satin, stretchy jersey, or an old leather jacket. Look at the seams before cutting. Straight side seams, generous hems, and simple construction give you room to correct mistakes. When a garment has lining, darts, zippers, or unusual fabric, save it for later rather than making your first project unnecessarily difficult.
The best home sew projects solve a real wardrobe problem. If your jeans fit through the hips but gap at the waist, a small center-back adjustment may help. If a sweater has a tiny hole, visible mending can make the repair part of the design. If a shirt is too long, mark a new hem while wearing the shoes you normally pair with it.
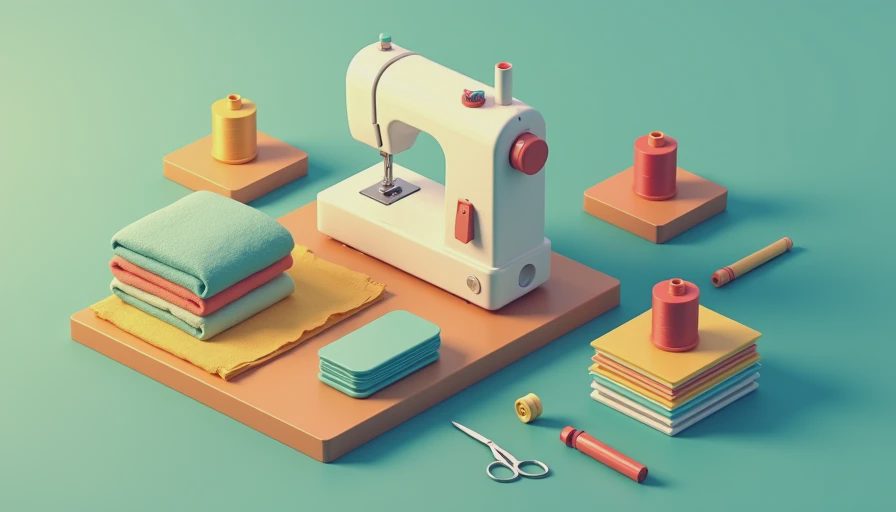
Build a useful beginner sewing kit
You do not need every tool in the craft aisle. Begin with fabric scissors reserved for fabric, a small pair of thread snips, hand-sewing needles, polyester all-purpose thread, glass-head pins or clips, a flexible measuring tape, and tailor's chalk or a washable fabric marker. A seam ripper is essential. It is not a sign that you failed; it is how experienced sewists undo one wrong line without destroying the garment.
For a machine, a reliable straight stitch and adjustable stitch length matter more than dozens of decorative settings. Brother, Janome, Singer, and similar mainstream brands offer beginner models, but individual machines differ in noise, threading, and build quality. Before buying used, test whether the hand wheel turns smoothly, the needle moves correctly, and the machine can form an even stitch on woven fabric. A machine that skips stitches or smells hot is not a bargain at any price.
Thread quality also matters. Cheap, brittle thread can snap while you sew and create confusing tension problems. Choose a general-purpose polyester thread in a close color, then test it on a scrap. Keep an iron nearby as well. Pressing a seam before topstitching often makes a homemade alteration look dramatically cleaner.
A simple home sew alteration, step by step
Try shortening a thrifted woven shirt. First, wash and dry the shirt according to its care label so later shrinkage does not ruin your measurement. Put it on, tuck the excess under, and mark the desired finished length with pins. Take it off and measure from the existing hem around the garment so the new line stays even.
Next, add about one inch below the finished line for a new hem allowance. Draw the cutting line with chalk and cut slowly. If the shirt has side seams, match them before pinning. Fold the raw edge under one-half inch, press it, then fold it another one-half inch and press again. Stitch close to the upper folded edge using a straight stitch. Remove pins before the needle reaches them, and backstitch at the beginning and end.
Here is what went wrong + how I fixed it: on an early home sew project, I skipped pressing and pinned the hem while the fabric was twisting. The finished edge waved instead of lying flat. I unpicked the seam, pressed the folds carefully, and stitched with less fabric gathered under the presser foot. The fix was not a stronger machine; it was better preparation.
Make thrifted clothing easier to fit
Fit changes should be gradual. For a loose side seam, turn the garment inside out and pin a temporary line from the existing seam toward the waist or hip. Baste that line with a long stitch, turn the garment right side out, and try it on before trimming anything. Sit, bend, and raise your arms. A shirt that looks fitted while standing may feel restrictive when you move.
For jeans, hemming is usually safer than changing the rise or crotch. Mark the length with the shoes you will wear, and consider preserving the original hem if the denim has fading or decorative wear. A tailor's tack, safety pin, or contrasting basting thread can mark your line without leaving permanent dots. If you are shortening pants by more than two inches, check that the leg opening still looks balanced.
Visible mending is especially useful for vintage pieces that should not look brand new. A denim patch inside the garment can stabilize a weak area, while small running stitches on the outside can add texture. Match the thread for a quiet repair or contrast it deliberately. The goal is to stop the damage from spreading while keeping the garment wearable.
Home sew projects that use what you already own
An oversized men's shirt can become a cropped button-up, elastic-waist shorts, or a simple tote bag. A worn tablecloth may provide enough cotton for pocket bags, patches, or a scarf. Before cutting, inspect stains, holes, and fabric grain. Place paper pattern pieces or rough templates on the garment to confirm that the usable area is large enough.
A useful home sew rule is to cut only after you have tried the temporary version. Pin a sleeve cuff, tuck a hem, or tie a knot where you think the finished detail belongs. Photograph the garment from the front and side. The picture often reveals an uneven hem or an accidental change in proportion that is hard to notice in a mirror.
When working with stretch fabric, use a narrow zigzag or stretch stitch if your machine offers one, and avoid pulling the fabric as it passes under the presser foot. For woven fabric, a regular straight stitch is usually enough. Test every stitch on a scrap containing the same number of layers as the project. Two layers of cotton behave very differently from denim folded four times.
Fix common beginner problems without panic
If the thread bunches underneath, rethread the upper thread with the presser foot raised and check that the bobbin is inserted in the correct direction. If the needle breaks, stop and look for a bent needle, excessive force, or fabric that is too thick for the current setup. Replace a dull or bent needle rather than pushing through. Universal needles work for many woven fabrics, while ballpoint needles are designed to reduce snagging on knits.
If the seam puckers, loosen the upper tension slightly, use a fresh needle, or reduce the pressure of your hands. Do not drag fabric behind the presser foot. If a cut edge frays heavily, finish it with a zigzag stitch, pinking shears, or a folded seam. None of these fixes requires embarrassment. Every experienced sewist has sewn a sleeve shut, stitched through a finger guard, or discovered that the supposedly matching fabric was upside down.
Start your next home sew project
Choose one garment, one problem, and one finish. Gather the tools before cutting, wash the fabric when appropriate, and make a test seam on scraps. Write down the needle type, stitch length, and thread that worked so the next project begins faster. You can also share a before-and-after photo with a sewing community and ask a specific question about fit or technique.
The most satisfying home sew results are not always the most complicated. A repaired pocket, shortened sleeve, or reinforced seam can return a favorite thrifted piece to regular rotation. Begin with a change you can reverse, leave yourself extra fabric where possible, and expect the first attempt to teach you something. That is how a pile of secondhand finds slowly becomes a wardrobe that fits your life.

No notes yet — write the first one.