If you have ever found a great thrifted jacket with a tiny stain, a pair of jeans that needs personality, or a plain tote that feels unfinished, embroidery stitches can help. Hand embroidery is inexpensive, portable, and forgiving enough for beginners. You need a needle, thread, fabric, and a little patience—not a dedicated sewing room. No such thing as a stupid question here—let's walk through it.
Start with the right fabric and tools
The easiest place to practice embroidery stitches is a tightly woven cotton shirt, denim jacket, canvas tote, or scrap of quilting cotton. Avoid stretchy jersey at first because the fabric can pucker while you work. Lightweight linen is beautiful but tends to show uneven tension, so it is better after you have practiced on something stable.
Your basic kit can cost about $10 to $25. Pick up embroidery floss, a sharp embroidery needle, small scissors, a washable fabric marker, and a 4- to 6-inch wooden or plastic hoop. DMC six-strand cotton floss is widely available and easy to separate, while a vintage button tin makes a perfectly useful storage container. A hoop is not mandatory, but it keeps the cloth flat and makes consistent tension much easier.
Before touching a favorite thrift find, test embroidery stitches on a scrap of similar weight. This catches problems such as thread that bleeds, a needle that is too thick, or fabric that develops holes. Wash the test piece the same way you plan to wash the finished garment. That small experiment can save an otherwise perfect vintage shirt.
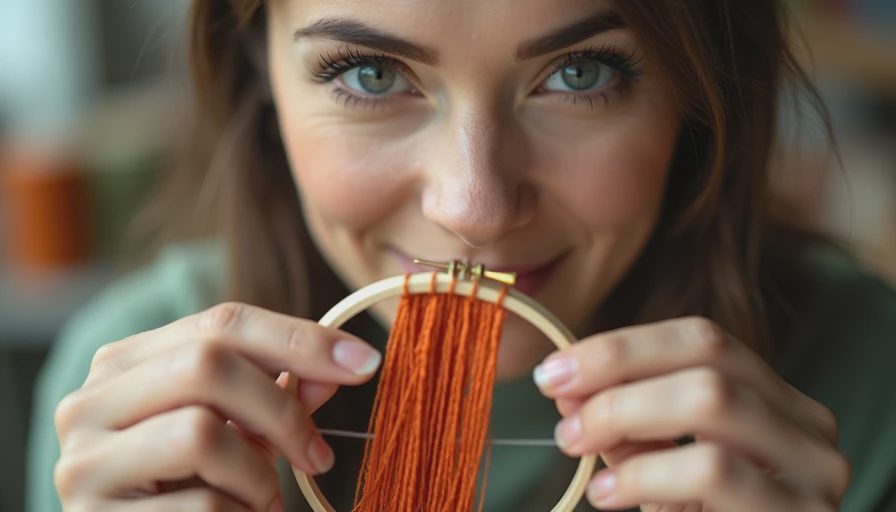
Five embroidery stitches worth learning first
Running stitch is the simplest option: bring the needle up, take it down a short distance away, and repeat. Use it for outlines, lettering guides, quick repairs, or a deliberately dashed effect. Keep the spaces and stitches similar if you want a tidy line, or vary them for a more handmade look.
Backstitch creates a stronger continuous outline. Bring the needle up, make one stitch forward, then bring it up at the end of the previous stitch and continue. It works especially well around leaves, pockets, small flowers, and simple patches. For a thrifted denim jacket, backstitch in gold, rust, or cream floss gives a visible design without requiring advanced skill.
Split stitch makes a soft, slightly textured line. After bringing the needle up, split the middle of the previous stitch before pulling the thread through. It is useful for curved stems and illustrated outlines. Chain stitch forms connected loops and looks cheerful on cuffs, collars, and tote bags. Satin stitch fills small shapes with parallel strands, but use it on small areas first; large fills can become uneven and consume more thread than expected.
French knots are excellent for flower centers, dots, eyes, and scattered accents. Wrap the floss around the needle once or twice, hold the thread gently, and pull the needle through close to where it emerged. If the knot becomes a loose bump, your holding tension is probably too relaxed. Practice on scrap rather than unpicking a knot from delicate vintage fabric.
How to transfer a design without expensive supplies
Start with a simple motif no larger than your palm. A three-leaf sprig, tiny star, mushroom, heart, or row of dots is easier to finish than an ambitious full-back illustration. Draw it on paper, place the paper over a sunny window, and trace the design onto fabric with a washable marker. For dark denim, tailor's chalk or white transfer paper can work better.
Place the fabric in the hoop with the design centered and the surface smooth, not stretched drum-tight. Separate your floss into two or three strands for most clothing projects. Six strands create a bold line, while two strands are better for delicate cotton or detailed lettering. Knotting the back is acceptable for a beginner, although short woven-in ends create a flatter finish that is more comfortable against skin.
Work from the background toward the foreground when the design overlaps. Outline a leaf first, add the stem, and then fill only the small areas that need color. Turn the piece over every few minutes. Long threads crossing the back can snag on jewelry, zippers, or washing-machine agitators, so keep the reverse side as tidy as the front.
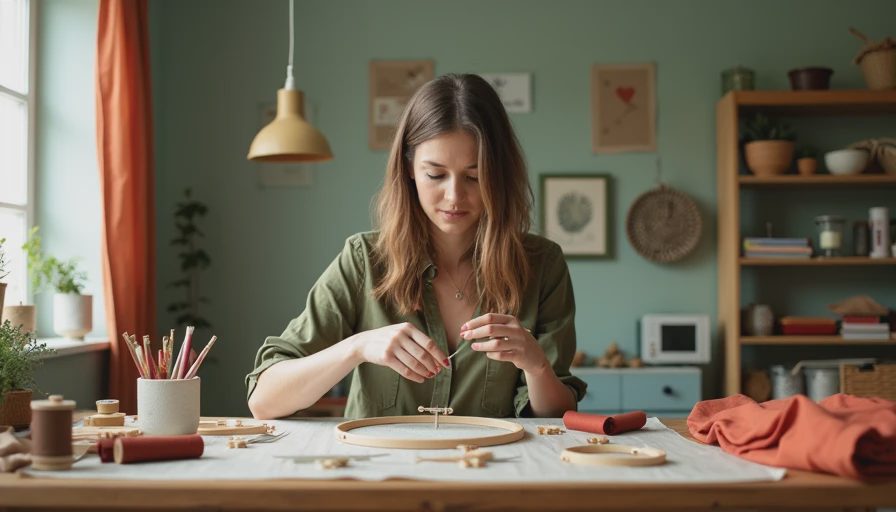
Here's what went wrong and how to fix it
The most common beginner problem is puckering. It usually comes from pulling each stitch too tightly or leaving the hoop tension uneven. Remove the hoop, smooth the fabric flat, and rehoop without tugging. If the puckering remains, cut out the worst section and redo it with shorter stitches. A repair is not a failure; it is part of learning how the fabric responds.
Another frequent issue is tangled floss. Cut a working length of roughly 16 to 20 inches rather than using the entire skein. Let the needle hang occasionally so the thread can unwind. If a knot forms, stop pulling. Loosen it with the needle tip, then continue. Aggressive tugging can distort denim and leave a permanent crease.
If your embroidery stitches look uneven, check the thread angle before blaming your hands. Pull each stitch in the direction of the line you are creating, and use a slightly larger hoop for broad areas. A blunt needle can also drag fibers instead of sliding cleanly through them. Replace it when the point catches or the eye becomes rough.
Smart projects for thrifted clothing
A visible mend is a great first project. Cover a small hole in a denim pocket with running stitch lines, then add a few French knots so the repair looks intentional. On a plain cotton button-down, embroider a small motif near the cuff or above a chest pocket. Keep designs away from underarm seams and areas that rub against a bag strap, since constant friction can wear the floss.
For a faded canvas tote, chain stitch lettering can create a custom look without buying a new bag. Use a washable marker to draw guidelines, then remove the marks according to the product instructions before heat-drying. On a heavy jacket, use fewer strands and shorter stitches than you think you need. Dense stitching adds weight and can pull the garment out of shape.
When choosing colors, look at the garment under daylight. Three shades from one family create depth, while one contrasting accent can make a small design stand out. Vintage clothing often has warm undertones, so cream may blend more naturally than bright white. There is no requirement to match a traditional palette; the best color is the one that makes you want to wear the piece again.
Finish, wash, and keep practicing
When the design is complete, weave the thread tail under several nearby stitches on the back and trim it close. Do not leave long loose ends. Remove washable markings, take off the hoop, and let the fabric rest flat overnight. Wash the garment inside out in cool water with a gentle detergent, then air-dry when possible. Avoid ironing directly over raised stitching; place a cloth between the iron and the design.
Set aside the first sample instead of judging it too harshly. It shows where your tension improved, which colors worked, and which embroidery stitches you actually enjoyed using. Keep a small swatch book with labeled thread colors and notes about fabric. After a few sessions, you will have a reliable reference for future repairs and upcycling projects.
Start with one pocket, one patch, or one small flower rather than waiting for a perfect idea. Embroidery stitches turn ordinary secondhand pieces into clothing with a history that is visibly yours. Gather a thrifted item, test your materials, and make the first mark. The finished result does not need to look factory-made to be worth wearing.


No notes yet — write the first one.