Learning how to make a balloon dog looks intimidating when an experienced entertainer twists one in seconds, but the process is surprisingly manageable. No such thing as a stupid question here — let's walk through it. You need one long modeling balloon, a pump, and a little patience while your hands learn how much pressure the latex can handle.
A balloon dog is built from connected bubble shapes. You are not tying several balloons together or using glue. Instead, you inflate one balloon, leave an uninflated tail, and twist sections into the head, ears, neck, legs, body, and tail. The first attempt might look more like a bent caterpillar than a puppy. That is normal, and it is usually fixable.
Materials and setup for a successful first try
Choose a 260-style modeling balloon, which is the common long balloon used for simple sculptures. The numbers describe its approximate inflated size: around two inches wide and 60 inches long. Qualatex, Sempertex, and Tillyboo are commonly available brands, but any fresh modeling balloon intended for twisting can work. Avoid ordinary round party balloons because their shape and latex strength are not designed for this project.
Use a hand pump rather than your mouth. A basic plastic balloon pump often costs about $3 to $10 and makes inflation faster, cleaner, and safer. Work on a clear table with no sharp jewelry, rough wood, scissors, or pet claws nearby. Latex can pop loudly, so keep the balloon away from a child’s face and stop if your fingers become tired.
For your first sculpture, inflate the balloon until roughly four inches remain soft at the far end. That uninflated section is not waste. It gives the air somewhere to move as you twist the bubbles. If you inflate all the way to the tip, the balloon has nowhere to release pressure and is much more likely to burst.
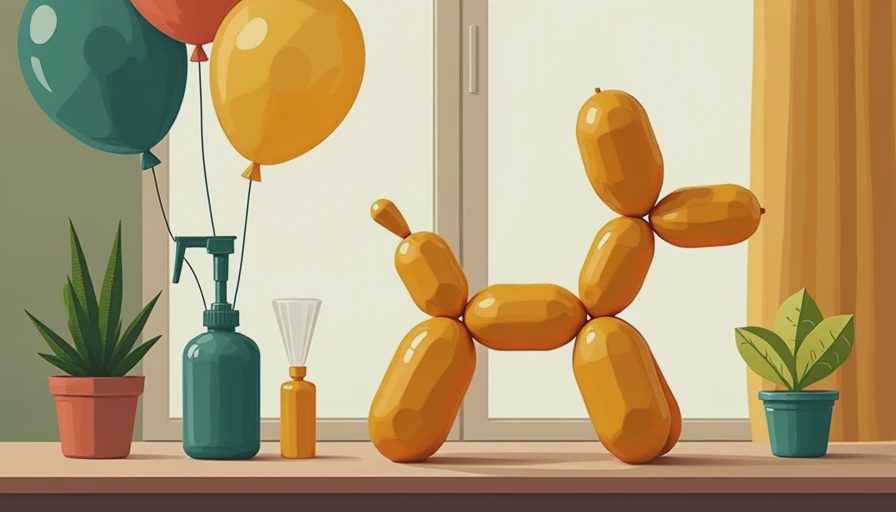
How to make a balloon dog step by step
Start by pinching the nozzle closed with your fingers. Make a small bubble about two inches long near the tied end by pinching and twisting the latex two or three times. This first bubble becomes the dog’s muzzle.
Make a second bubble of similar size right beside the first. Fold the two bubbles together, then twist them around each other at their shared base. These form the muzzle and the first part of the head. The goal is a secure lock twist, not a knot. Hold the connected bubbles while you continue so they do not unwind.
Create two more bubbles, each about two inches long. Fold them beside the first head bubbles and twist the matching bases together. These become the ears. A useful beginner trick is to keep all four head bubbles roughly the same size. Uneven bubbles can still work, but equal sections make the shape look intentional.
After the ears, make a longer bubble, around three inches, for the neck. Follow it with two front-leg bubbles. Fold those legs together and twist their bases so they sit side by side. The front legs should point downward when you hold the sculpture by the neck. If one leg points sideways, gently rotate the connected bubbles rather than forcing the latex.
Next, make a body bubble about four or five inches long. It should be longer than the head sections but not so large that it becomes floppy. Finish with two rear-leg bubbles, fold them together, and lock their bases. The remaining uninflated tail should extend beyond the back legs. Twist a small final bubble at the end if you want a curled tail, or leave the soft tip as a simple tail.
Getting the proportions right
When figuring out how to make a balloon dog, think in pairs. The muzzle bubbles are a pair, the ears are a pair, and each set of legs is a pair. Paired sections need similar lengths because they create balance. A one-inch ear beside a three-inch ear will make the head lean, while matching ears usually straighten themselves when you rotate the sculpture.
The soft tail also controls the final result. If the body feels too tight, gently push some air toward the tail by squeezing the larger bubbles. If the tail is still long and floppy, twist it into a small curl. Do not pinch hard at the narrow connection points; that is where repeated pressure can cause a break.
A good finished dog does not need perfect measurements. Aim for a recognizable profile: a small head, a longer body, four legs below the body, and a tail behind it. Strong silhouettes matter more than exact bubble sizes.
Here's what went wrong and how to fix it
The most common failure is a pop during the first few twists. Usually, the balloon was inflated too fully, the twists were too tight, or the latex was old. Start again with a fresh balloon and leave a larger soft tail, perhaps five or six inches. Twist with two or three turns instead of aggressively grinding the bubbles together.
If your dog keeps untwisting, the lock twist was not secure. Hold the two bubbles together, rotate the pair several times as one unit, and then gently pull the neighboring sections into place. Avoid tying a knot around the twisted area because that can create a weak, sharp point.
If the sculpture looks like a snake, check the legs. Beginners often make the body and legs in one long line without folding the leg pairs. Fold each pair back toward the body before twisting. That changes a straight chain into a four-legged shape.
If a bubble is too large, do not panic. Carefully squeeze it and push a little air into the uninflated tail. This works best before all the sections are locked. If the latex feels thin, sticky, or stretched pale, stop adjusting and use another balloon rather than trying to rescue it.
Practice plan for your first three balloons
Use the first balloon to learn pressure. Do not worry about the final appearance; notice how the air shifts when you twist. With the second, focus on matching the head and ear bubbles. On the third, concentrate on keeping the front legs and rear legs paired. This staged approach is much less frustrating than demanding a polished sculpture immediately.
For a party, inflate and twist a few practice balloons before guests arrive. Keep unopened balloons in a cool drawer, away from direct sunlight and heat. Store completed sculptures out of hot cars and near rough surfaces. A finished balloon dog can last for hours or sometimes longer indoors, but temperature and handling affect its life.
Once you understand how to make a balloon dog, experiment with color and proportions. A white balloon can look like a classic puppy, while bright blue, red, or yellow creates a playful display. Add small drawn eyes only with a marker approved for balloons, and never attach tiny loose pieces if young children or pets could access them.
The best part of this project is that mistakes teach your hands faster than explanations do. Make one, find the weak twist, and try again. With a pump, a fresh 260 balloon, and a soft tail left for pressure, how to make a balloon dog becomes a repeatable little skill instead of a mysterious party trick.




No notes yet — write the first one.