If you are trying to figure out how to make sleeve holes on flannel smaller, the good news is that you usually do not need to remake the whole shirt. In most thrifted flannels, the problem is not the fabric itself. It is the fit around the arm opening, the sleeve seam, or the extra bulk that makes the shirt sit wider than you want. No such thing as a stupid question here — let's walk through it. With a seam ripper, some pins, and a little patience, you can make the shirt feel closer to your body without turning it into a project that never gets worn.
What the fit problem really is
Before you cut anything, figure out whether the opening is actually too big or whether the shirt just feels boxy. Flannel is usually a woven cotton, so it does not stretch much. That means a loose armhole can come from a wide side seam, a bulky sleeve cap, or a shirt that was cut for layering over a hoodie. If the shirt pulls across the chest when you lift your arms, the armhole itself may be the issue. If it only looks sloppy at rest, the sleeve seam may be wider than it needs to be.
For a normal button-up, the simplest fix is often to take in the side seam and sleeve seam together so the shape stays balanced. That keeps the underarm from twisting. If the shirt is a vintage piece you care about, stop and press the seams flat first. Sometimes the extra room is just a seam that was sewn too wide at the factory, and a cleaner seam line can change the whole look.
The cleanest machine-sewing fix
When I first learned how to make sleeve holes on flannel smaller, the cleanest fix was not to chop the sleeve. It was to sew a new seam line, test the fit, and only trim after I liked the shape. Turn the shirt inside out, put it on over the type of layer you actually wear, and pin along the underarm from the body into the sleeve. Use a washable marker or tailor’s chalk to mark a smooth curve, then remove the shirt and stitch slowly on a regular sewing machine.
A basic Brother or Singer machine handles this kind of alteration fine as long as you use an all-purpose polyester thread and a fresh 80/12 universal needle. Start with a longer stitch, around 3 to 3.5 mm, so the seam does not pucker as you sew. If you want extra control, baste first by hand or with a long machine stitch. Once the new seam feels right, trim the excess to about 1/4 inch, then finish the raw edge with a zigzag stitch or a serger if you have one. Press the seam toward the back with steam so the curve settles cleanly.
How to measure before you stitch
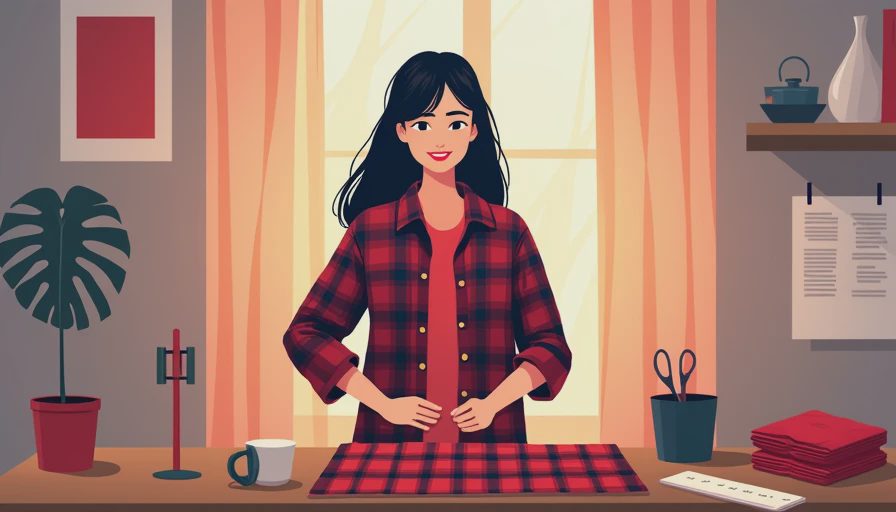
The biggest mistake is guessing. Measure from the original seam to your new seam at the underarm, the mid-sleeve, and the lower opening if the shirt has one. A half inch taken in on both sides can change the whole silhouette without making the shirt hard to move in. If you are working on a shirt with a shoulder yoke, check that both sleeves match before you sew anything permanent. Even a small mismatch shows up fast once the shirt is buttoned.
I like to pin one side, try it on, and move my arms up, forward, and across my chest. If the fabric feels tight only at the underarm, ease the seam slightly lower instead of carving deeper into the curve. Flannel can hide minor shaping mistakes when it is hanging flat, but it will tell on you the second you reach for your coffee. Baste, test, and press before you trim. That order saves a lot of regret.
Low-sew backup options
If you do not have a machine, you still have options. A hand backstitch along the new seam line is sturdy enough for a casual shirt, and it is stronger than a loose running stitch. Use a thimble if the flannel is thick, because thrifted cotton can be surprisingly dense after years of washing. Hand sewing takes longer, but it gives you more control around a curve and makes it easier to stop and adjust before the shape gets too narrow.
For a sleeveless refashion, the same idea works a little differently. Redraw the armhole, cut only after you have checked the shape on your body, and finish the edge with bias tape. Pre-folded bias tape from Wrights or Dritz is easy to find and gives a cleaner finish than a folded raw edge. Fusible tape can hold a hem in a pinch, but on a curved opening it is more of a temporary helper than a real fix. If the shirt is a favorite, sew it properly and skip the shortcut.
Fixing puckers, twists, and one-sided changes
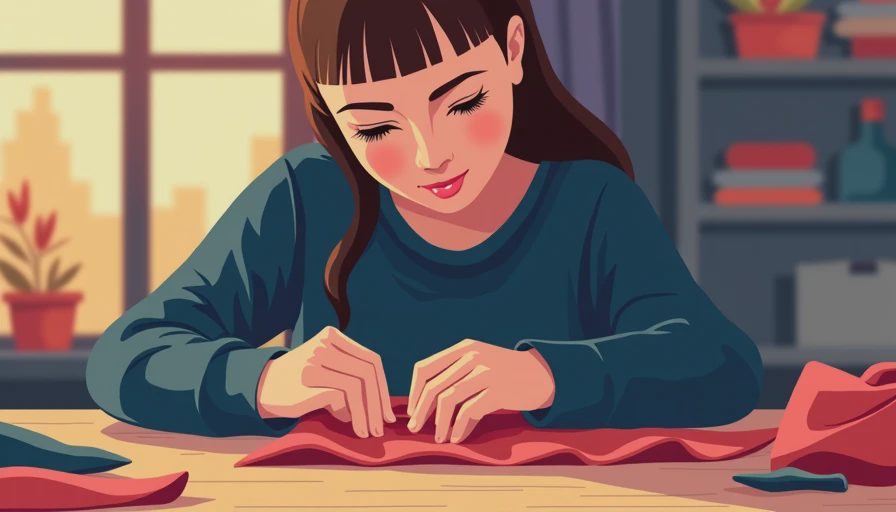
Here is what went wrong plus how I fixed it the first time I tried this on a plaid flannel: I made one sleeve slightly tighter than the other, and the cuff started to twist toward the body. The fix was to open the seam back up, measure from the shoulder point to the underarm on both sides, and resew with the same seam allowance. Plaid actually makes this easier because the lines show when something drifts off center.
Puckers usually mean the seam was sewn too fast or the curve was too sharp for the fabric to ease cleanly. Open that section, steam it flat, and resew with a slightly longer stitch. If the underarm feels tight after sewing, do not keep trimming. Let the seam out a little instead. If you cut too much away, you can add a narrow gusset from matching flannel or a contrast fabric scrap. That is not a failure. It is a normal repair move, and it can make the shirt wearable again.
Final fit check before you wear it out
If you are still deciding how to make sleeve holes on flannel smaller, do one last fit check before you cut the excess thread. Button the shirt, raise both arms, reach forward, and sit down if you plan to wear it to work or school. The shirt should move with you without pulling hard at the underarm. If it does, widen the seam a touch and try again. If it feels good, press the shirt one more time and wear it with confidence.
A thrifted flannel is a great beginner project because the fabric is forgiving and the stakes are low. You are not chasing perfection. You are teaching the shirt to fit your body better, which is exactly what upcycling is supposed to do. Start small, test often, and trust the process. A better fit is usually one careful seam away.




No notes yet — write the first one.