If you've ever wanted to make your own quilted jacket pattern work with a thrifted blanket, you're in the right place. A quilted jacket pattern is the perfect starting point for turning a vintage find into something wearable. No such thing as a stupid question here — let's walk through it together.
Why a Quilted Jacket Pattern Is Perfect for Upcycling
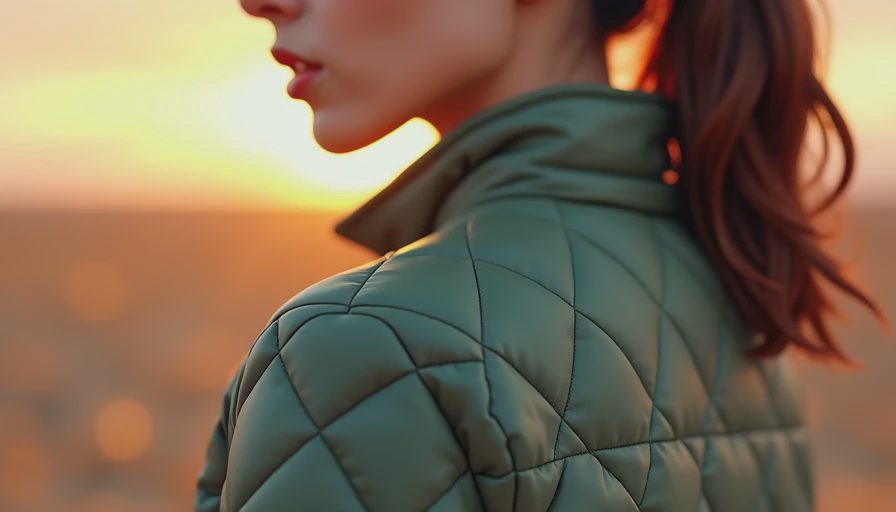
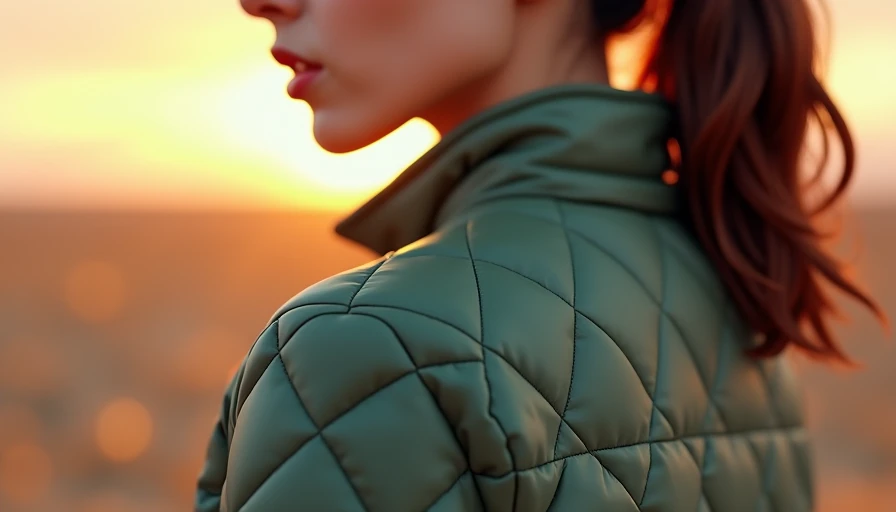
A quilted jacket pattern gives you structure and style while letting the fabric do the talking. Thrifted blankets, old duvets, and even quilted tablecloths can be transformed with the right pattern. The key is choosing a pattern that matches the weight and drape of your fabric. For example, a lightweight cotton quilted blanket works well with a simple boxy jacket pattern, while a heavier wool blanket needs a pattern with more ease. Here's what went wrong + how I fixed it on my first attempt: I used a pattern meant for woven fabric on a stretchy quilted material — the armholes were a mess. Learn from my mistake and check the recommended fabric types on the pattern envelope.
Where to Find Free and Paid Quilted Jacket Patterns
You don't have to spend a lot. Free quilted jacket patterns are available on sites like Mood Fabrics and BurdaStyle, but check the size range — many only go up to a certain size. Paid patterns from indie designers often include detailed instructions and multiple size options. For a beginner-friendly option, try the "Quilted Jacket Pattern" by Paper Theory or the "Luna Jacket" from Sew Liberated. If you're on a budget, look for PDF patterns that you can print at home. No need to buy a pattern for every project — you can trace and adjust one basic pattern for different fabrics.
Step-by-Step: Using a Quilted Jacket Pattern on a Thrifted Blanket
- **Prep your fabric:** Wash and dry your thrifted blanket. Iron it flat. Some quilted fabrics shrink, so pre-washing is essential.
- **Cut your pattern pieces:** Lay the pattern on the fabric, paying attention to the direction of the quilting. Pin or use pattern weights.
- **Cut carefully:** Use sharp scissors or a rotary cutter. Don't rush — a crooked cut throws off the whole fit.
- **Sew the seams:** Use a walking foot if you have one; it helps feed the thick layers evenly. Stay stitch the armholes to prevent stretching.
- **Finish the edges:** Because quilted fabric frays less, a simple zigzag or serger finish works. Or bind the seams for a cleaner look.
- **Add closures:** Buttons, snaps, or a zipper? Test on a scrap first.
Here's a pro tip: if your blanket has stains or holes, plan your pattern layout to avoid them. I once cut right through a beautiful embroidered section — now I always mark the damaged areas before cutting.
Common Mistakes and How to Fix Them
First-time quilted jacket makers often run into a few issues. **Bulk at the seams:** Trim the seam allowances in layers. ** Uneven quilting lines:** Use a quilting guide or mark with chalk. **Jacket is too stiff:** Choose a lighter batting or use a pattern with less seam bulk. **Armholes too tight:** Grade the seam allowances and clip curves. Remember: your first attempt doesn't have to be perfect. My first quilted jacket had one sleeve inside out — I still wear it as a reminder that we all learn by doing.
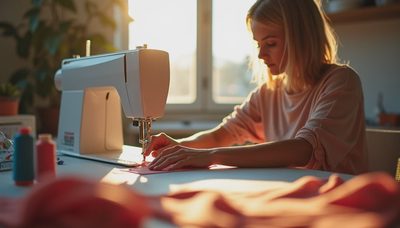
Tools You'll Need for Your First Quilted Jacket
You don't need a fancy sewing machine. A basic mechanical machine with a straight stitch and zigzag will work. Must-haves: walking foot (buy one for your machine model), sharp shears (I use Gingher 8-inch), glass head pins, and a seam ripper (trust me). For a quilted jacket pattern, you'll also need pattern weights (or cans of beans) and a long ruler for cutting straight lines. Optional but helpful: a serger for clean edges and a tailor's ham for pressing curves.
Keep Experimenting and Sharing Your Results
Every quilted jacket pattern you try teaches you something new. Start with a simple design, then graduate to more complex details like patch pockets or collars. Thrift stores are full of fabrics screaming to become a jacket — go find one and make it yours. No such thing as a stupid question, so if you get stuck, drop your question in the comments. Happy stitching!
Frequently Asked Questions About Upcycling with Quilted Jackets
**Q: Can I use a quilted jacket pattern on any thrifted blanket?**
A: Not all blankets work well. Look for fabric that is at least 50% cotton or wool, with a loose weave. Avoid heavy upholstery fabrics — they’re too stiff for a wearable jacket. If the blanket has a dense polyester filling, it may be too hot and bulky.
**Q: Do I need to pre-wash the blanket if it's from a thrift store?**
A: Absolutely. Thrifted items often have dust, stains, or odors. Pre-washing also allows any shrinkage to happen before you cut, so the finished jacket won't warp later. Use cold water and a gentle cycle.
**Q: What if the pattern size doesn't match my measurements?**
A: You can grade between sizes. Many PDF patterns include instructions for adjusting. Alternatively, trace a larger size and do a muslin mock-up first. Cheap muslin is worth the testing time.
**Q: Is a walking foot really necessary for a quilted jacket?**
A: Yes, it makes a huge difference. The walking foot feeds both layers evenly, preventing the thick quilted fabric from shifting or puckering. Borrow one from a friend if you don't want to buy yet.
**Q: How do I handle thick seams at the shoulders?**
A: Trim the seam allowances in tiers and press them open. Use a clapper to flatten the layers. If needed, add a small piece of bias tape to reduce bulk.


No notes yet — write the first one.