Looking for a quick, beginner-friendly project that breathes new life into your thrifted finds? This **headband how to** will walk you through turning an old scarf, fabric scrap, or even a worn-out shirt into a cute, functional headband. Whether you sew or prefer a no-sew method, we've got you covered. No such thing as a stupid question here — let's walk through it.
What You'll Need
Before we start, gather your materials. The beauty of this **headband how to** is that you probably already own most of the supplies:
- A piece of fabric: a thrifted scarf, a square from a vintage sheet, or the sleeve of an old blouse. Cotton, linen, or soft synthetics work best.
- Elastic: about 6 inches of ¼-inch or ½-inch wide elastic (you can cut a strip from an old waistband).
- Scissors, pins, a ruler or tape measure.
- Sewing machine or needle and thread (for the sewn version) or fabric glue (for the no-sew version).
- Iron (optional but helpful).
Step 1: Cut Your Fabric to Size
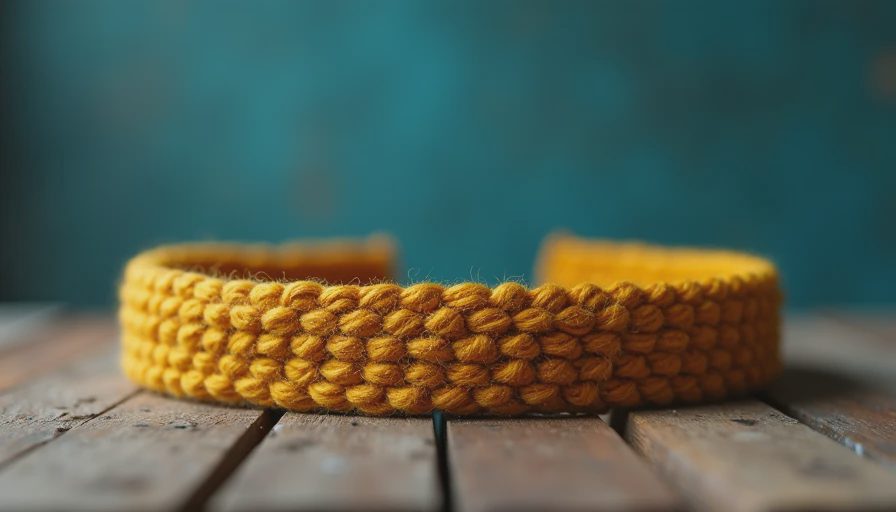
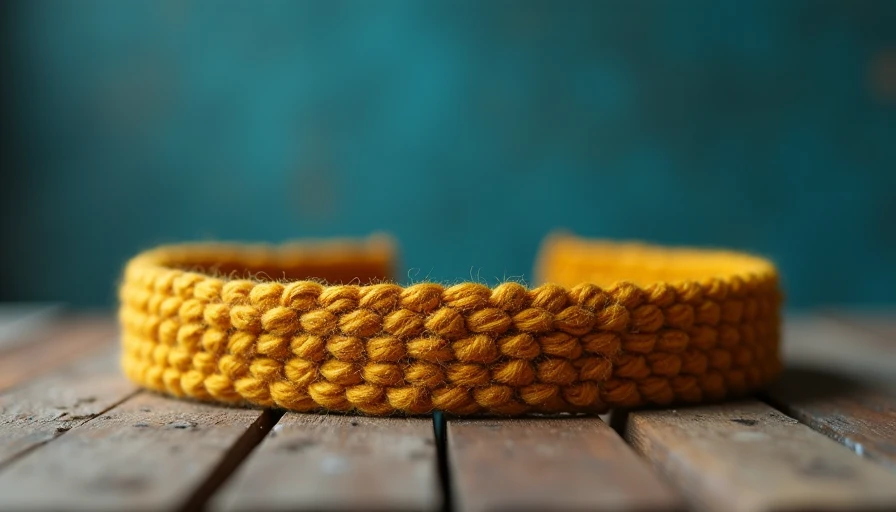
Measure your head circumference — typically 21-23 inches for adults. For a standard knotted headband, cut a rectangle that is about 20 inches long and 4 inches wide. If you want a wider band, increase the width, but keep the length to allow for stretch. For a twisted style, cut a strip 22 inches long and 3 inches wide. Your exact dimensions can vary; remember, you can always trim later. This **headband how to** works with any size.
Step 2: Choose Your Method — Sewn vs. No-Sew
No-Sew Method (Perfect for Beginners)
Fold the fabric strip lengthwise with right sides together, and use fabric glue along the long edge. Press firmly and let dry. Once dry, you have a tube. Turn it right side out — a safety pin can help feed it through. Tie the ends together into a knot, adjust the fit on your head, and snip off the excess tails. That's it! This version is great for elastic-free headbands.
Sewn Method (More Durable)
Fold the fabric strip in half lengthwise with right sides together. Pin along the long edge. Sew a ¼-inch seam allowance along that edge, leaving both short ends open. Turn the tube right side out and press flat. Now you have a fabric tube ready for elastic.
Step 3: Attach the Elastic (For a Secure Fit)
For the sewn version, cut a piece of elastic about 5-6 inches long (adjust based on your head size — aim for a snug but not tight fit). Insert the elastic into one end of the fabric tube, safety-pin the end of the elastic to help guide it. When about ½ inch of elastic remains at the opening, stitch across the end of the tube to secure the elastic. Repeat on the other end: pull the elastic, gather the fabric, and stitch the second end closed. This gives a stretchy headband that will stay put.
Step 4: Style Your Thrifted Headband
Now the fun part. Here's how to wear your creation:
- **Classic:** Place the headband over your hair, just behind the hairline, with the knot or seam at the top of your head or behind your ear.
- **Boho:** Let the ends hang loose or tie a small knot on top.
- **Twisted:** For the no-sew version, twist the fabric several times before tying it into a knot for a rope-like look.
- **Headwrap:** Use a wider piece of fabric to create a full headwrap, folding and tucking the ends.
This **headband how to** is just the start. Once you master these basics, you can experiment with different fabrics, widths, and embellishments.
Troubleshooting Common Issues
- **Too loose?** Cut the elastic shorter or tie a tighter knot.
- **Slips off?** Try a wider elastic or add a few small stitches to the fabric at the back to create grip.
- **Fabric fraying?** Use pinking shears or a dot of fray check on the raw edges.
- **Bulky seam?** Press the seam to one side after turning, or try a French seam for a cleaner finish.

More Ideas for Upcycled Headbands
Don't stop at scarves! Here are other thrifted items you can transform with this **headband how to**:
- **A linen napkin** — cut into a strip (cotton napkins are great too).
- **The leg of a pair of jeans** — the hem gives you a ready-made finished edge.
- **A silk tie** — perfect for a skinny, polished headband.
- **A worn-out lace curtain** — add a bit of vintage charm.
Each material will give your headband a different feel. Silk slides through hair easily, while cotton stays put. Experiment and have fun.
Why Upcycling Headbands Makes Sense
Instead of buying new fast-fashion accessories, try making your own from items you already have. It saves money, reduces waste, and you get exactly the color and pattern you want. Plus, handmade headbands make thoughtful gifts for friends — they'll love that you used a vintage fabric with a story. This **headband how to** is designed to be a starting point; feel free to adapt it to your style.
Final Thoughts
We hope this **headband how to** gave you the confidence to try a simple upcycling project. Remember, no such thing as a stupid question — if you hit a snag, drop a comment below or post in our community. Happy making!


No notes yet — write the first one.