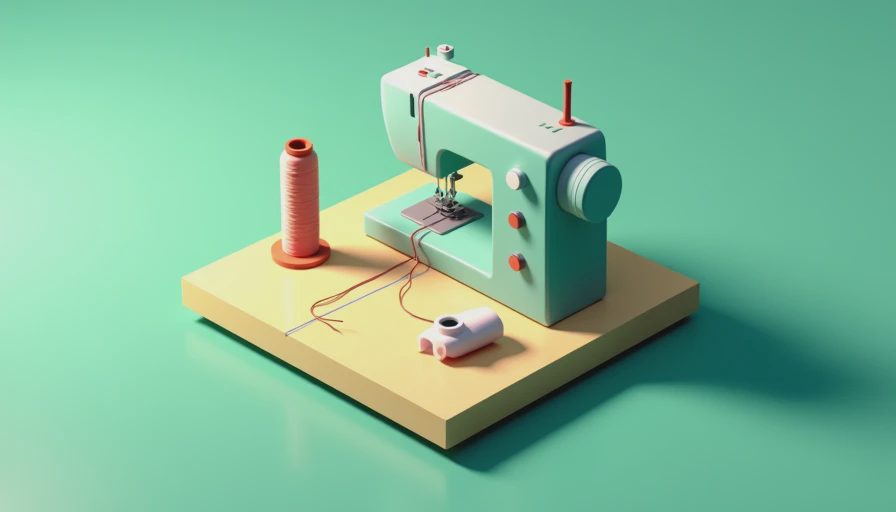
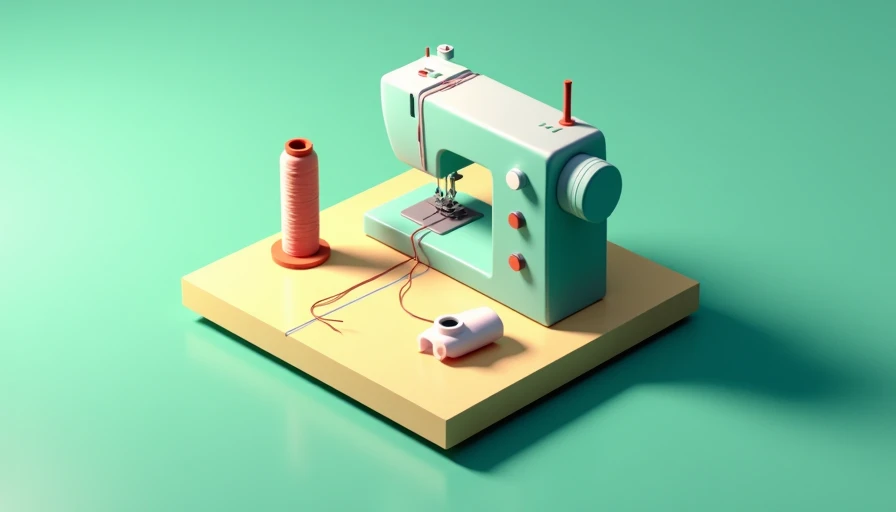
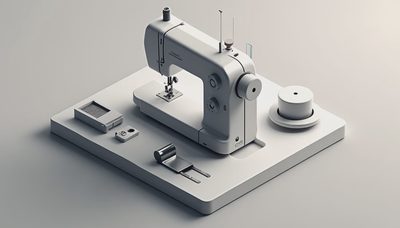
If you're new to sewing, understanding **how to thread a bobbin** is one of the first skills you'll need. No such thing as a stupid question here — we've all been there, fumbling with the thread and wondering why the machine won't cooperate. In this guide, I'll walk you through the process, share common mistakes to avoid, and give you tips that will make **how to thread a bobbin** feel like second nature.
Why Proper Bobbin Threading Matters
A well-threaded bobbin is the key to smooth, even stitches. When you learn **how to thread a bobbin** correctly, you reduce the risk of thread jams, skipped stitches, and uneven tension. I've ruined more than a few projects because I rushed this step — trust me, taking an extra minute here saves hours of frustration later. Whether you're using a vintage Singer or a modern Brother, the basics are the same.
Step-by-Step: How to Thread a Bobbin
Let's break it down so you can follow along with your own machine. Remember, every model is slightly different, but the core steps are universal.
Step 1: Wind the Bobbin
First, place your spool of thread on the spool pin. Pull the thread through the tension disc — it's usually a small metal or plastic piece near the top of the machine. Then, wrap the thread around the bobbin winder tension disc if your machine has one (check your manual). Insert the thread through one of the small holes on the bobbin from the inside out, then place the bobbin on the winder spindle. Push the winder to the right or engage it as per your machine's design. Hold the thread tail and press the foot pedal gently. The bobbin will fill evenly. Once it's full, the winder will disengage. Cut the thread.
Step 2: Insert the Bobbin into the Case
Now that the bobbin is wound, it's time to place it in the bobbin case. For top-loading machines, you'll open a small cover near the needle plate. For front-loading machines, you'll remove the bobbin case. Hold the bobbin so the thread unwinds clockwise (check your manual — some machines require counterclockwise). Place it in the case and pull the thread through the tension spring slot. You should feel a slight resistance. Leave a tail about 4 inches long.
Step 3: Install the Bobbin Case
If you're using a front-loader, insert the bobbin case back into the machine, ensuring the lever or hook aligns correctly. You should hear a click. For top-loaders, just close the cover. Now you're ready to bring the bobbin thread up.
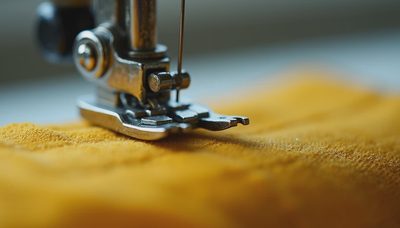
Step 4: Bring the Bobbin Thread to the Top
Hold the needle thread with your left hand. Turn the handwheel toward you until the needle goes down and comes back up. You'll see a loop of bobbin thread appear. Pull the loop gently with a pair of tweezers or your fingers until the bobbin thread comes through. Pull both threads to the back under the presser foot.
Common Mistakes and How to Fix Them
Even experienced sewists mess up **how to thread a bobbin** sometimes. Here are the most frequent issues and what to do:
- **Bobbin thread bunches underneath:** Usually caused by incorrect tension. Make sure the bobbin thread is properly seated in the tension spring. Also check that the bobbin is wound evenly — uneven winding can cause loops.
- **Machine makes a clicking noise:** This often means the bobbin case isn't fully seated. Remove and reinsert it, listening for the click.
- **Thread keeps breaking:** Check for nicks or burrs on the bobbin edge. Plastic bobbins can develop rough spots after a while; replace them if needed. Also verify you're using the right bobbin type for your machine.
- **Skipped stitches:** Could be a dull needle, but also check that the bobbin is inserted in the correct direction. Try flipping it.

Tips for Perfect Bobbin Threading Every Time
Here are a few tricks I've learned after countless hours at the machine:
- **Always use the same thread type for bobbin and needle.** Mixing different brands or weights can cause tension issues. For most projects, a good all-purpose polyester thread works great.
- **Wind bobbins at a moderate speed.** Rushing leads to loose, uneven winding. Let the machine do the work steadily.
- **Clean the bobbin area regularly.** Lint builds up and affects tension. Use a small brush every few bobbin changes.
- **Test on a scrap piece of fabric** before starting a project. If the stitches look even on both sides, you're good to go.
- **Keep spare pre-wound bobbins** handy. Buy a pack of class 15 bobbins (common for many machines) and wind them in advance. That way you can swap quickly when one runs out.
When to Ask for Help
If you've followed these steps and still can't get smooth stitches, don't hesitate to ask in the StitchSwapTalk community. No such thing as a stupid question here — someone else has probably had the same problem. Often the fix is something simple like a bent bobbin case or a misaligned tension spring. Check your machine's manual first, then post a photo if you're stuck.
Mastering **how to thread a bobbin** opens up your sewing projects. Once you've got this down, you can confidently tackle hems, alterations, and full garment constructions. Happy sewing!


No notes yet — write the first one.