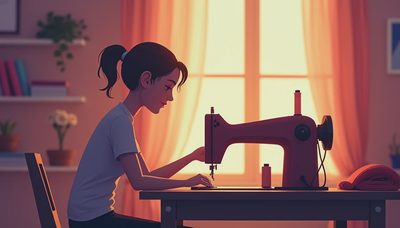
If you're new to DIY upcycling, understanding the basic **parts of stitching machine** is your first step toward confident alterations. No such thing as a stupid question here — let's walk through the key components you'll encounter on your sewing journey. Whether you're shortening thrift store jeans or patching a vintage jacket, knowing what each part does will save you time, frustration, and maybe a broken needle or two.
The Anatomy of a Stitching Machine: What to Look For
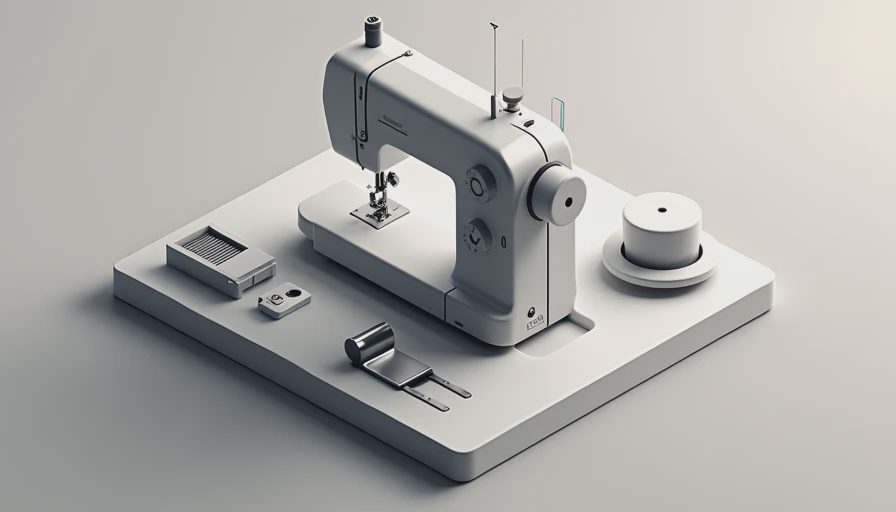
Every modern home sewing machine (or “stitching machine,” as some folks call it) shares a set of core parts. Here’s what you’ll find on most models, from a $20 thrift store find to a brand-new mechanical machine.
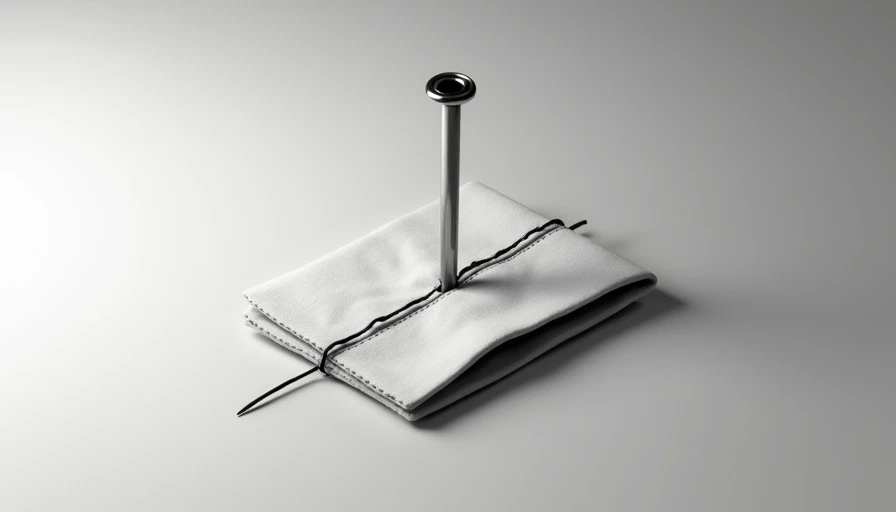
- **Needle and Needle Clamp** – The pointy star of the show. The clamp holds the needle in place. Always turn the handwheel toward you to make sure the needle is properly inserted.
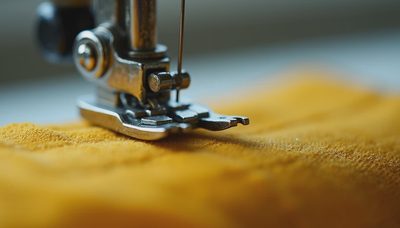
- **Presser Foot** – This little foot presses down on the fabric, keeping it flat as you sew. Different feet (zipper, buttonhole, walking) do different jobs.
- **Feed Dogs** – Those little metal teeth under the needle plate that pull the fabric through. If they’re not moving, check your stitch length dial or drop-feed setting.
- **Bobbin and Bobbin Case** – The bobbin supplies the bottom thread. Winding it evenly is a skill you’ll master quickly (I definitely broke a few early on).
- **Tension Dial** – Controls how tight the upper thread is. Balanced tension means the top and bobbin threads lock in the middle of the fabric.
- **Stitch Length Dial** – Turn this to adjust how long each stitch is. Longer for basting, shorter for delicate fabrics.
- **Handwheel** – On the right side. Turn it toward you (never backward!) to raise or lower the needle manually.
- **Reverse Lever** – Push this to sew backward. Essential for locking stitches at the start and end of a seam.

Key Parts You'll Use Every Time
When you start actually sewing, a few **parts of stitching machine** become your everyday pals. The presser foot and feed dogs work together like a handshake. If your fabric isn’t feeding smoothly, lift the presser foot and check that the feed dogs are up (there’s often a little switch hidden on the back).
The bobbin winder is another part you’ll use constantly. On most machines, it’s a little plastic or metal pin on top. Pop a full spool of thread onto the top pin, then wind the bobbin until it’s evenly filled. An unevenly wound bobbin can cause those frustrating thread nests on the underside of your project.
Don’t forget the stitch selector—either a dial or buttons. For basic upcycling (hemming, taking in sides), a straight stitch and a zigzag are really all you need. Many older mechanical machines last for decades because they have fewer parts that can break.
Troubleshooting Common Part Issues
Even with a solid understanding of the **parts of stitching machine**, things go wrong. Here’s what I’ve learned from my own thrift-store machine disasters:
- **Machine jams?** Often the bobbin case is misaligned. Remove the bobbin, clean out any lint, and reinsert it until it clicks.
- **Skipped stitches?** Check your needle. A dull or bent needle is the #1 cause. Replace it after every large project (or immediately if you hit a pin—oops).
- **Upper thread breaks?** The tension might be too tight. Turn the dial down a notch and test on a scrap.
- **Fabric won’t move?** Feed dogs might be lowered. Look for a slide lever near the needle plate.
No machine is perfect. I once bought a vintage Singer from a garage sale—the bobbin winder was totally dead. But because I knew which part was failing, I could decide whether to fix it (a $15 replacement part online) or pass it along to someone with more patience.
Choosing a Used Machine with Solid Parts
When you’re thrifting for a stitching machine, knowing the **parts of stitching machine** helps you spot quality. Open the bobbin case area—check for rust or caked lint. Turn the handwheel—it should move smoothly without grinding. Test the feed dogs with a piece of paper: they should pull the paper through without slipping.
Avoid machines with missing or cracked parts unless you’re willing to source replacements. Plastic gears are a red flag on used machines—they snap. Metal internals are a safer bet for longevity. Brand isn’t everything, but Janome, Brother, and old Kenmore models often have good part availability.
Final Tips for Beginner Upcyclers
Start with straight stitches on scrap fabric to get a feel for speed and tension. Keep a small screwdriver and a lint brush near your machine—you’ll use them regularly. And remember: every mistake is just practice. The more you work with the **parts of stitching machine**, the more intuitive they become.
No such thing as a stupid question here. If you’re stuck, drop a comment or join the StitchSwapTalk community—we’ve all been there. Happy stitching!

No notes yet — write the first one.