A sewing mannequin can turn an intimidating thrift-store alteration into a much calmer project. Instead of pinning a jacket around your own body or guessing where a vintage dress should be taken in, you can see the shape from every angle. No such thing as a stupid question here — let's walk through it. Whether you sew every weekend or have only hemmed one pair of jeans, the right form can help you fit, drape, and photograph your work with less frustration.
What a sewing mannequin actually does
A sewing mannequin, also called a dress form, is a padded or solid torso used to shape clothing while you work. It is not a complete replacement for trying on a garment. Human bodies move, bend, and have different posture, while a form stays still. Still, it gives you a reliable visual reference for shoulder lines, bust placement, waist shaping, side seams, and hems.
For secondhand projects, that reference is especially useful. A blazer from a resale app might have a boxy 1980s cut, while a slip dress could be cut on the bias and refuse to hang properly on a flat table. A form lets gravity do some of the testing. You can pin excess fabric, step back, and spot an uneven hem before you sew a permanent line.
The most useful forms are sturdy enough to hold pins without collapsing. A lightweight foam form can work for occasional styling, but a padded form is usually better for alterations. A collapsible shoulder design is handy for narrow necklines, while a height-adjustable stand helps with coats, gowns, and floor-length skirts.
Choosing the right size and shape
Measurements matter more than a pretty cover. Before shopping, measure your bust, waist, and hips with the tape level and comfortably snug. Compare those numbers with the form's actual measurement chart, not just labels such as small, medium, or large. A form that matches your bust but is much smaller at the waist can create misleading wrinkles and force you to pad one area heavily.
An adjustable sewing mannequin is convenient when you alter clothes for more than one person. Dial-based models can expand at the bust, waist, and hips, often with a range of several inches. Their tradeoff is that the adjustment gaps can interrupt a smooth curve. If you mostly sew for yourself, a fixed-size padded form with custom padding can produce a more natural result for less money.
Look closely at the stand and neck area. A metal tripod is more stable than a thin plastic base, especially when you are pinning denim or wool. A pinnable neck knob makes collar work easier. Prices often range from about $80 for a basic beginner form to $300 or more for a professional-quality adjustable model. Used forms can cost much less, but inspect every dial, cap, and leg joint before buying.
How to fit a form to your body
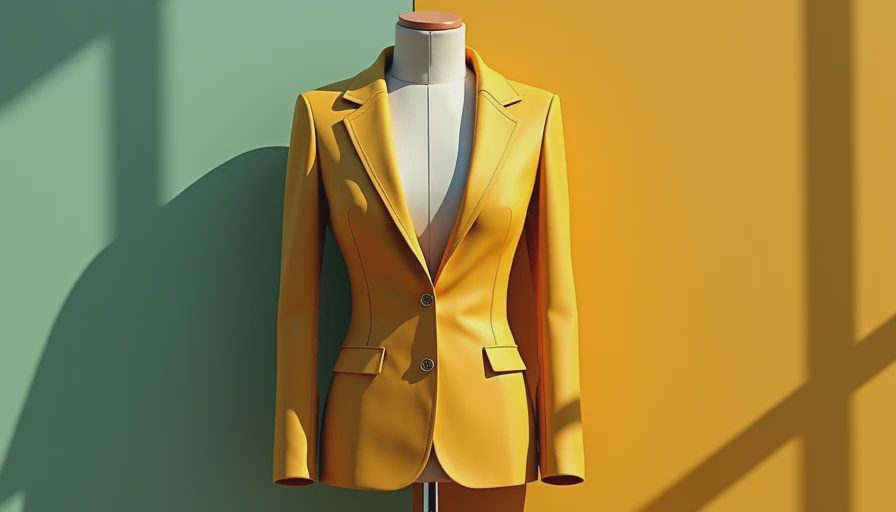
If your measurements do not match a standard form, padding can make a major difference. Start with a close-fitting T-shirt or a simple cover made from stretch fabric. Mark the bust point, waistline, and hip line so you can transfer your proportions accurately. Then add thin layers of quilt batting, fleece, or foam where the form is smaller than you are.
Use long strips rather than one bulky lump. For example, if the waist is two inches too narrow, wrap batting evenly around the torso and blend the edges at the ribs and hips. Secure the layers with a snug cover and remeasure. The goal is a smooth, gradual shape, not a lumpy form that creates imaginary seams.
Here is what went wrong + how I fixed it: I once added too much padding directly over the bust and made a thrifted button-down look permanently stretched. Removing half the batting and extending the padding toward the side seam fixed the distortion. Take photos from the front, side, and back before cutting fabric. Those images reveal balance problems that are easy to miss while standing close to the project.
Using it for thrifted and vintage clothing
Begin with a garment that is close to the desired size. A sewing mannequin is excellent for refining fit, but it cannot safely rescue a garment that is several sizes too small across the shoulders. Slip the piece onto the form, close the buttons or zipper, and smooth the fabric from the center outward. Pin only after the fabric has settled naturally.
For a loose blouse, mark the new side seam with safety pins or tailor's chalk, then remove the garment before sewing. For a skirt, establish the waistline first and check the hem with a ruler or hem marker. For a jacket, compare both shoulder seams and sleeve lengths before changing the waist. Vintage garments often have intentional ease, so do not automatically remove every fold.
A form also helps with creative upcycling. You can combine a men's shirt with a thrifted slip, test a cropped denim jacket over a dress, or drape scarf fabric into a peplum before committing to a cut. Use clips for thick layers and pins for lightweight fabric. Keep pins perpendicular to the seam line so they are easy to remove at the machine.
Common mistakes beginners can avoid
The first mistake is buying by appearance alone. A velvet-covered torso with a flimsy stand can look charming in a product photo but wobble when you pin a heavy coat. The second is trusting the size dial without measuring the finished shape. Adjustable sections can spread unevenly, leaving the bust correct while the waist becomes unrealistic.
Another common problem is treating the form like a fitting client. Always test a garment on a real person when movement, sitting, or comfort matters. A sleeve that looks perfect on a stationary form may pull when the wearer reaches forward. For knit fabric, check stretch and recovery off the form as well as on it.
Finally, do not push pins too deeply into a hollow plastic core. Pins can bend, disappear inside, or damage the surface. If the cover feels hard, reserve that area for clips or use a padded overlay. These small habits prevent the kind of tool damage that turns a bargain into an expensive replacement.
Care, storage, and buying secondhand
Keep the form away from damp basements and direct sunlight, which can weaken foam, fade fabric, or warp a wooden stand. Dust it with a soft brush and remove pins after every session. If you buy a used sewing mannequin, test all adjustment dials through their full range and check that the pole locks firmly at different heights.
Search local sewing groups, estate sales, Facebook Marketplace, and theater-costume clear-outs. A used form may show pin marks, but those are usually cosmetic. Missing feet, cracked adjustment knobs, or a bent stand are more serious. Ask for exact bust, waist, and hip measurements, plus a photo of the base. Shipping can be surprisingly expensive because forms are bulky, so a local pickup often gives you the best value.
A practical starter setup can include a fixed padded form, a sturdy stand, a 60-inch tape measure, safety pins, tailor's chalk, quilt batting, and a simple cover. That package can support alterations for thrifted dresses, shirts, skirts, and lightweight jackets without filling your sewing room with specialized equipment.
A simple first project
Start with a thrifted sleeveless dress that fits your shoulders but hangs loosely at the waist. Put it on the sewing mannequin, mark the waist at the same height all around, and pin equal amounts from both side seams. Remove the dress, baste the new seams, and try it on before final stitching. If the waist feels comfortable and the side seams hang straight, sew the seams permanently and press them open.
This small project teaches the essential rhythm: measure, place, pin, remove, baste, try on, and adjust. That process matters more than owning the most expensive form. Choose a stable model that matches your measurements, build a smooth padded shape when needed, and let the mannequin support your judgment rather than replace it. With practice, fitting a thrifted find becomes a creative step instead of a guessing game.

No notes yet — write the first one.