Learning how to make bias tape is one of those sewing skills that sounds more complicated than it really is. Bias tape is a narrow strip of fabric cut diagonally across the grain, which gives it enough stretch and flexibility to curve around necklines, armholes, quilt edges, pockets, and awkward vintage details. If you have a thrifted blouse with a worn neckline or a handmade bag that needs a cleaner edge, homemade tape can be the exact finish you need.
No such thing as a stupid question here — let's walk through it. You need fabric, a ruler, fabric scissors or a rotary cutter, a cutting mat, an iron, pins or clips, and a sewing machine or hand-sewing needle. A bias tape maker is helpful but not required. Cotton quilting fabric is the easiest place to start, while lightweight linen, rayon, or reclaimed cotton shirts can also work beautifully.
What fabric works best for bias tape
Before figuring out how to make bias tape, choose fabric with a tight, stable weave. Woven cotton is beginner-friendly because it presses sharply and does not shift much while cutting. A worn cotton button-down can provide plenty of usable fabric, and the existing shirt color can make a repair look intentional rather than patched. Avoid stretchy knits unless you specifically need knit binding, because their behavior is different and they can curl under the iron.
You can make single-fold or double-fold tape. Single-fold tape has the raw edges folded toward the center on one side, while double-fold tape is folded again so the raw edges are enclosed. For a finished binding around a neckline, double-fold tape is usually the easiest choice. Make a small sample first. This takes five minutes and shows whether the fabric is too thick for your machine foot, too slippery to press, or likely to show unwanted color through a pale garment.
The amount of fabric depends on the project. A one-yard piece of 45-inch-wide cotton can produce a surprising amount of narrow tape, but a curved neckline does not require one continuous strip if you join sections neatly. For a small pocket or sleeve opening, strips from leftover scraps are often enough.
How to cut bias strips accurately
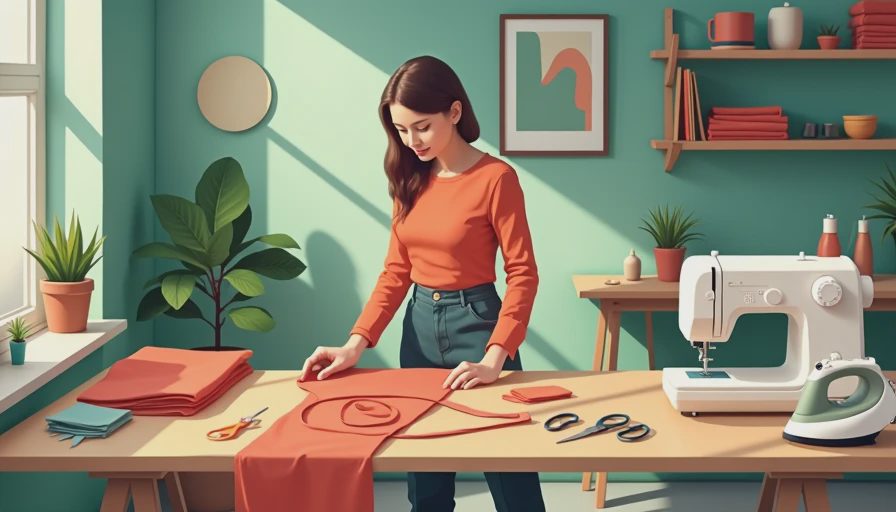
The key to how to make bias tape is cutting at roughly a 45-degree angle to the fabric grain. First, wash and press the fabric if it is washable. Smooth it on a table, then identify the selvage, which is the finished edge running along the length. Fold one corner of the fabric up to meet the opposite long edge, creating a diagonal fold. Press or finger-crease that line. It is your cutting guide.
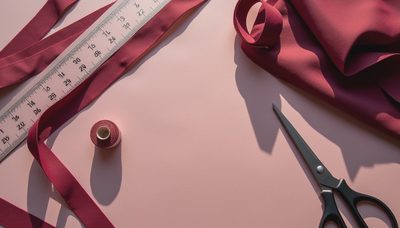
Use a ruler to mark parallel lines across the fabric. For a finished 1/2-inch binding, cut strips about 2 inches wide if you plan to fold the tape in half and wrap an edge. For a wider finished binding, start with 2 1/2- or 3-inch strips. The exact width changes with fabric thickness and seam allowance, so test one strip before cutting the entire piece.
Keep the ruler steady and make long, clean cuts. If using scissors, avoid lifting the fabric repeatedly; shifting layers create wavy strips. Rotary cutters are faster, but a sharp pair of fabric scissors works perfectly well. Mark the diagonal with a washable pen if the fold is difficult to see. Cutting carefully is more useful than rushing, especially when working with rescued fabric that has old creases or slightly uneven edges.
How to join strips without bulky seams
After cutting, place two strips right sides together at a right angle, forming an L shape. The ends should extend evenly, with the diagonal edges aligned. Draw a diagonal sewing line from the upper corner to the lower corner, then stitch across it using a small straight stitch. Trim the seam allowance to about 1/4 inch and press the seam open. This diagonal join spreads the bulk along the tape instead of creating one thick lump at a single point.
Repeat with the remaining strips until you have the length you need. Here is what went wrong in one of my early attempts: I joined the strips straight across, like a basic patchwork seam. The finished tape had obvious bumps every few inches and would not lie flat around a curve. I fixed it by unpicking the joins and sewing them diagonally. It took longer, but the repaired tape pressed smoothly and looked much more professional.
When calculating length, add extra. For a neckline, measure the opening and add at least 3 inches for joining and handling. If the fabric frays heavily, add another inch. It is frustrating to reach the end of a curve with a strip that is just short, particularly when the matching scrap has already gone into the recycling bin.

How to press and fold the tape
Pressing is where how to make bias tape starts looking like a finished sewing supply. Set the iron to the fabric's safe temperature and press the joined strip flat first. Then fold both long raw edges toward the center and press. A commercial bias tape maker can guide the strip as it passes through, but you can also fold each edge with your fingers and press in short sections.
For double-fold tape, fold the pressed strip in half lengthwise and press again, keeping the two folded edges aligned. Do not drag the iron aggressively, since that can stretch the diagonal strip. Lift and press instead. A little spray starch can help cotton behave, although too much starch may leave a stiff finish on soft vintage fabric. Let the tape cool flat before moving it so the folds set.
If your strip keeps twisting, check that the original cutting angle stayed consistent. Slight variation is normal, but a sharp change can create a twisted section. You can usually correct a small problem by easing the tape with your fingers while pressing. For a very slippery fabric, use clips rather than pins; pins can leave holes and may shift the layers.
How to sew bias tape onto a project
When learning how to make bias tape for clothing, attach it slowly. Open one fold and align the raw edge of the tape with the garment edge, right sides together. Stitch along the existing crease. Around curves, sew a little more slowly and lift the presser foot with the needle down when you need to reposition the fabric. Do not pull the garment through the machine, because pulling can stretch the neckline.
After stitching, wrap the tape around the raw edge and press it into place. You can stitch from the outside in the ditch of the fold, or hand-sew the inside edge for a nearly invisible finish. On a thrifted item, matching thread makes the repair discreet; contrasting thread can turn the binding into a deliberate design detail. For corners, stop just before the turn, fold the tape neatly, and continue after lowering the needle.
A walking foot is not essential, but it can help with thick layers such as denim, canvas, or several folded fabric edges. For lightweight cotton, a standard presser foot and a fresh universal needle are usually enough. Test the stitch on a scrap before sewing the actual garment.
Common problems and quick fixes
If the tape looks wavy, it was probably stretched while cutting, pressing, or attaching. Give it a light steam and let it cool without handling it. If it refuses to cover the raw edge, the starting strip was too narrow; remove it and make a wider sample rather than forcing the fold. If the seam joins show through, press the seams open and place joins away from the most visible parts of the project.
A beginner may also wonder whether the tape must be cut on the true bias every time. For curved edges, yes, the diagonal cut gives the flexibility that makes the binding lie flat. For a straight hem, a lengthwise or crosswise strip can sometimes work, but true bias remains more forgiving. That is why how to make bias tape is worth practicing even if your current project has only straight edges.
The best way to improve is to make a short batch from scraps and use it on a pocket, tote, or fabric coaster. You will quickly learn how wide to cut, how much pressure to use with the iron, and which fabrics behave well on your machine. Once those steps feel familiar, how to make bias tape becomes less of a special technique and more of a practical way to use every good piece of fabric in your stash.


No notes yet — write the first one.