Sewing bias tape is one of those techniques that looks mysterious until you see the sequence. Then it becomes a genuinely useful trick for finishing thrifted blouses, sleeveless dresses, quilts, and awkward curved seams. Bias tape is a narrow strip of fabric cut on the bias, or diagonal grain, so it can bend around curves without fighting you. No such thing as a stupid question here — let's walk through it from choosing tape to fixing the wobbly edge that nearly made me throw a project across the room.
What bias tape does and when to use it
Bias tape covers a raw fabric edge and gives it a clean, durable finish. You will see it inside handmade garments at necklines, armholes, hems, pocket openings, and waist seams. It is especially handy when a thrifted garment has a stretched neckline or when an upcycled shirt no longer has enough seam allowance for a traditional facing.
There are two common types. Single-fold tape has each long edge folded toward the center once. Double-fold tape is folded again, making it easier to wrap around an edge and stitch in one pass. Store-bought cotton tape from brands such as Wrights is convenient for cotton tops and craft projects, while handmade tape from the garment fabric usually looks more intentional. For lightweight rayon or slippery vintage fabric, a matching handmade strip often behaves better than stiff packaged tape.
Before sewing bias tape, check the tape width against the project. Half-inch finished tape is subtle on a neckline, while three-quarter-inch or one-inch tape gives more coverage on a bulky seam. The tape should fully enclose the raw edge without pulling the garment out of shape.
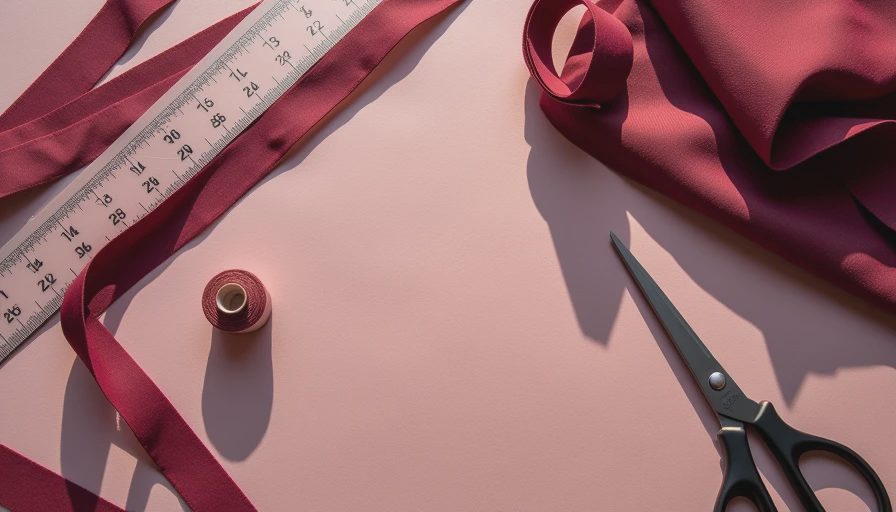
Sewing bias tape with the two-pass method
The two-pass method is the most forgiving approach for beginners because you can see both stitching lines and correct the alignment before the final pass. Start by pressing the garment edge flat. If the edge is curved, clip the seam allowance every inch or so, stopping before the stitching line. Do not cut through the finished edge.
Open one folded edge of the bias tape and place it against the right side of the garment, matching the tape fold to the raw edge. Pin or clip around the curve, keeping the tape relaxed rather than stretching it. Sewing bias tape becomes difficult when the tape is stretched during attachment; the finished neckline can pucker or feel too tight.
Stitch directly along the existing fold, usually about one-quarter inch from the raw edge. Use a regular straight stitch and a shorter length, around 2.5 millimeters, on delicate fabric. After stitching, wrap the tape over the raw edge and press it gently toward the inside. Stitch close to the folded edge from the garment's inside. A walking foot can help with slippery layers, but an ordinary foot works well if you use clips and sew slowly.
Handling corners, curves, and joins
Curves need patience more than special equipment. On an inward curve, the tape may need small clips in its seam allowance so it can spread. On an outward curve, ease the tape around the edge without stretching it. Pressing after the first stitching pass helps the tape remember the shape, especially with cotton or linen.
For a corner, sew close to the corner, stop with the needle down, and pivot. If the corner is sharp, leave the needle down while you fold the tape around the next edge, then continue stitching. On a neckline, avoid joining the tape at the center front where the seam will be obvious. The shoulder or center back is usually less distracting. Overlap the tape ends by about half an inch, then trim away bulk before the final pressing.
Here's what went wrong + how I fixed it: On one rescued linen tank, I joined the tape too close to the underarm. The seam created a hard lump that showed through the fabric. I unpicked only the last few inches, moved the join toward the shoulder, trimmed the layers diagonally, and pressed with a cloth between the iron and the linen. The repair disappeared after the second stitching pass.
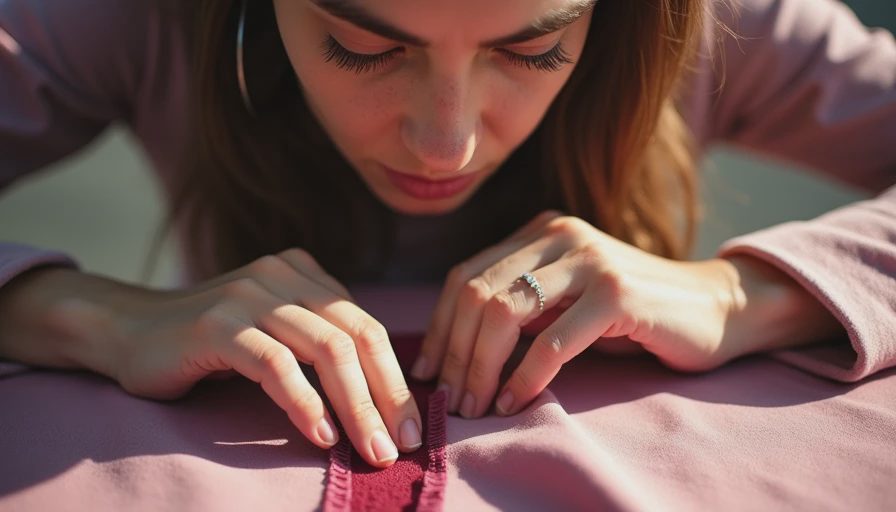
Sewing bias tape on a neckline without puckering
A neckline is a common first project, but it exposes every tension problem. Staystitch the neckline first if the fabric is loosely woven or likely to stretch. Staystitching is a line of stitching inside the seam allowance that stabilizes the curve; it is not meant to remain visible on the finished garment.
When sewing bias tape around a neckline, keep the garment flat on the table and let the tape follow the curve naturally. Do not pull the front and back apart to make the neckline look straight. That temporarily changes the shape and usually creates ripples when you release it. Use plenty of clips, especially near the shoulder seams, and remove each one before it reaches the presser foot.
After the inside stitching, turn the garment right side out and inspect the edge before finishing. If the tape rolls toward the outside, the second stitching line is too far from the fold or the tape is too narrow. If the neckline waves, the tape was probably stretched or the garment edge was not supported. Unpick a short section rather than forcing the whole curve to behave.
Choosing tools and testing the fabric
A basic setup is enough: sharp fabric scissors, an iron, a pressing cloth, pins or sewing clips, a universal needle, matching thread, and a seam ripper. A seam gauge helps keep the attachment line consistent. For lightweight vintage fabric, use a fresh 70/10 needle and fine polyester thread. Medium cotton usually works with an 80/12 universal needle.
Always test sewing bias tape on a scrap containing the same fabric layers as the garment. Sew a curve, press it, and tug the edge lightly. Test the thread color in daylight; a color that looks perfect under a sewing lamp can be noticeably bright near a neckline. Test whether the tape shows through from the outside, too. Black tape on thin white cotton is a design choice, not a hidden finish.
Buying or making the right tape
Packaged tape saves time, but its limited colors and firm texture do not suit every refashion. Making your own tape lets you match a vintage print or reuse fabric from a damaged skirt. Cut strips diagonally across the grain, join them with diagonal seams, and press the seam allowances open. A bias tape maker can fold the strip quickly, though careful pressing with a steam iron also works.
For a first attempt, buy a small package of inexpensive cotton tape rather than cutting into your best deadstock fabric. Once you understand the width and handling, make a sample from the project fabric. Satin, rayon, and loosely woven cloth can be frustrating because they shift, but spray starch, temporary basting, and a slower machine speed make them manageable.
A simple finishing checklist
Before sewing bias tape, confirm that the raw edge is even and the tape is wide enough to cover it. After the first pass, check that the garment has not stretched. Before the final pass, press the tape over the edge and look from both sides. Stitch slowly around curves, backstitch only where the seam will not create a lump, and trim bulky intersections.
If your first result is not perfectly straight, do not discard the garment. Small variations often disappear after laundering and wearing, especially on casual cotton pieces. If a section is visibly twisted, unpick that section, flatten the fabric, and restitch with less tension. Sewing bias tape is a skill built through short practice samples, not a test of whether you are a real sewist. Try it on a thrifted pillowcase or worn-out shirt first, then bring the technique to the vintage piece you actually love.



No notes yet — write the first one.