If you are wondering where to find diy tutorials for a thrifted dress, oversized jacket, or pair of jeans, you are in the right place. The internet is packed with sewing and upcycling advice, but not every tutorial explains fabric choice, tool settings, or what to do when the first attempt goes sideways. A good guide should help you understand the process, not just show you a polished final photo. No such thing as a stupid question here, so let’s walk through the best places to learn and how to spot instructions that are actually beginner-friendly.
Start with a Specific Project Question
The most useful search begins with the garment and the change you want to make. “How do I fix clothes?” is too broad to produce helpful results. Try “shorten a knit dress without a serger,” “turn men’s jeans into a skirt,” or “remove a thrift store odor from wool.” These phrases tell the tutorial creator what problem you are facing and often bring up more practical instructions.
When deciding where to find diy tutorials, include the fabric whenever you know it. Cotton poplin, stretch denim, polyester satin, and wool all behave differently under scissors, heat, thread, and dye. A hem tutorial for woven linen will not automatically work on a stretchy T-shirt. Look for guides that show the inside of the garment, identify the seam allowance, and explain whether the project requires a sewing machine, hand needle, iron, or fabric glue.
Save two or three possible tutorials before cutting. Compare their materials lists and look for missing steps. If one guide says to “just sew the edge” without explaining how to prevent unraveling, keep searching. That small detail can decide whether your project survives its first wash.
Where to Find DIY Tutorials Online
YouTube is useful when a technique involves movement, such as threading a machine, adjusting presser-foot pressure, or inserting an invisible zipper. Pause frequently and replay the section where the creator positions the fabric. Channels focused on beginner sewing often explain terminology while demonstrating it, which is more helpful than a fast time-lapse transformation.
Blogs are often better for measured alterations. A written tutorial can show the exact length removed, the order of seams, and a printable pattern or diagram. Pinterest can help you discover ideas, but treat it as a visual index rather than proof that the linked instructions are complete. Follow the image to the original page and read the full material list before buying supplies.
Reddit communities, Facebook sewing groups, and Discord spaces are valuable when you have a strange problem that a standard tutorial does not cover. Post a clear photo, describe the fabric, and explain what you already tried. Members can often identify a twisted seam or skipped stitch quickly. If you are deciding where to find diy tutorials, remember that community answers work best alongside a structured guide, not as a replacement for one.
Check the Tutorial Before You Cut
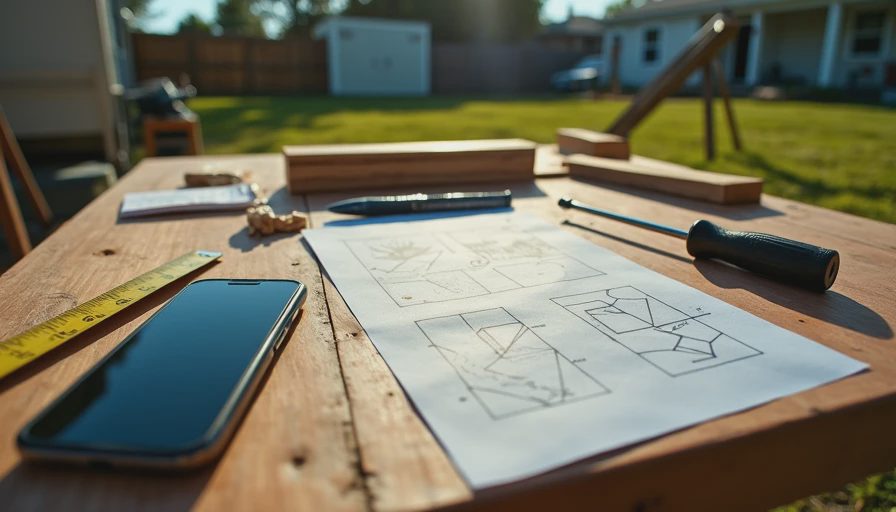
A trustworthy lesson makes the risk visible. Before starting, check whether it recommends washing the garment first, testing dye on an inside seam, or pressing the fabric before measuring. Those steps feel slow, but they prevent expensive mistakes. Thrifted clothing may shrink, bleed color, or contain old stitching that becomes weak when disturbed.
Read through the entire tutorial once. You should know what happens after the first cut, how the raw edge will be finished, and whether the original hem or waistband needs to be saved. A beginner guide should name the stitch, but it should also explain its purpose. A zigzag stitch can help control fraying, while a stretch stitch allows a knit seam to move without snapping.
Here is what belongs in a solid project guide: a complete supply list, fabric notes, measurements in inches, photographs of key steps, a realistic difficulty level, and a repair suggestion for common mistakes. If a creator promises a perfect transformation in five minutes but hides every inside seam, be cautious. Pretty results are not the same as useful instruction.
Make a Small Test Before the Main Project
Testing is the easiest way to protect a good thrift find. If you are dyeing a shirt, cut a small piece from an existing hem allowance or use a scrap with a similar fiber content. Apply the dye according to the product directions, rinse it, and let it dry before judging the color. A wet navy sample can look much darker than the finished fabric.
For sewing, practice on a spare scrap. Test thread tension, stitch length, and the pressure of the presser foot. On lightweight fabric, a short stitch may create puckering; on denim, a needle that is too small can bend or break. For hand sewing, make several sample stitches and pull the fabric gently. If the thread cuts through the cloth, use a finer thread or a larger stitch.
My most useful failure happened while cropping a button-down shirt. I measured from the front hem and forgot that the back curved lower. The result looked uneven when worn. Here’s what went wrong and how I fixed it: I marked the desired finished length while wearing the shirt, added a consistent hem allowance, and checked the side seams before cutting again. A ten-minute fitting would have saved the first cut.
Choose Tools That Match the Tutorial
You do not need a premium machine to begin. A basic mechanical sewing machine from Brother, Singer, or Janome can handle many simple woven-fabric alterations when it is cleaned, threaded correctly, and paired with the right needle. A sharp fabric shear, seam ripper, measuring tape, washable marking pen, iron, and small ruler will usually matter more than decorative accessories.
If a guide recommends a serger, find out whether it is essential or simply faster. Many knit projects can be completed on a regular machine with a zigzag or stretch stitch, followed by careful trimming. Likewise, fabric glue can help with temporary positioning, but it is not a universal substitute for stitching, especially on garments that will be washed often.
When searching where to find diy tutorials, notice whether the tools shown are ordinary and available. A guide requiring six specialty feet may be excellent for an advanced maker but frustrating for someone altering one thrifted top. The best instruction offers an accessible method and explains when an upgrade truly improves the result.

Use Tutorials for Alterations, Repairs, and Upcycling
Begin with a project that has a generous margin for error. Replacing a missing button, shortening straight-leg pants, or patching a small tear teaches useful skills without destroying the garment. Once you are comfortable, try changing a men’s shirt into a boxy vest, adding side panels to tight jeans, or combining two worn sweaters into a color-blocked cardigan.
Search by technique as your skills grow. “How to stabilize shoulder seams” will teach something different from “how to crop a sweatshirt.” “How to darn a hole in wool” is more precise than “repair sweater.” This approach also helps you reuse one tutorial across several pieces instead of chasing a new trend for every garment.
A useful habit is keeping a project note on your phone. Record the fabric fiber, needle size, stitch length, dye color, and what you would change next time. If the tutorial says a medium setting worked but your machine produced loose loops, write down your adjustment. Your own notes soon become a better reference than a random saved video.
A Simple Plan for Your Next Project
If you are still asking where to find diy tutorials, use this quick process. First, photograph the garment and describe the change in one sentence. Second, search using the fabric and technique together. Third, read or watch the full lesson before purchasing supplies. Fourth, test on scrap fabric or an inconspicuous area. Fifth, measure twice and mark the finished line while wearing the garment when possible.
Finally, choose a tutorial that teaches you what to do when something fails. A skipped stitch, crooked hem, or muddy dye bath is not evidence that you cannot sew. Unpick the seam, rinse the sample, adjust one variable, and try again. Where to find diy tutorials is a useful question, but learning how to evaluate and adapt them is the skill that will keep your thrifted wardrobe growing. Start with one forgiving piece, share your progress with a supportive community, and let the imperfect first attempt teach you what the next one needs.




No notes yet — write the first one.