Learning how to sew a zipper can feel intimidating, especially when the old zipper is already removed and the fabric edges do not match perfectly. No such thing as a stupid question here — let's walk through it. With a zipper foot, a fresh needle, and a little patience, you can repair jeans, skirts, dresses, bags, and thrifted jackets without replacing the whole item.
This tutorial focuses on a standard centered zipper, the kind commonly used in skirts, dresses, and lightweight pants. Before touching the machine, inspect the garment and decide whether the zipper is actually the problem. If the teeth are missing, the slider is separating, or the tape is torn, replacement is usually more reliable than trying to revive it with pliers.
Gather the Right Tools Before You Start
For how to sew a zipper successfully, use a zipper that matches the old one in length and weight. A nylon coil zipper works well for many dresses and skirts, while a heavier molded-tooth zipper is better for casual jackets and bags. Do not force a lightweight dress zipper into thick denim; the fabric may hold, but the zipper tape can warp.
You will need matching all-purpose polyester thread, a universal 80/12 needle for medium-weight fabric, fabric scissors, pins or sewing clips, a seam ripper, an iron, and a zipper foot. A washable fabric marker is useful for marking the seam line. If you are working with denim or canvas, a 90/14 needle and heavier thread can help, although very thick thread may not pass smoothly through a small machine needle.
Press the garment before sewing. Wrinkles create false measurements and can make a zipper appear too short. If you are replacing a zipper, use the old opening as your guide rather than trusting a measurement taken from the outside of the garment.

Prepare and Pin the Zipper
Remove the old zipper carefully with a seam ripper. Work from the garment side and take out only the stitches holding the zipper tape, not the nearby construction seams. Brush away loose threads, then press both seam allowances flat. If the fabric has stretched, a narrow strip of lightweight fusible interfacing along the opening can stabilize it. Test the interfacing on a scrap first, particularly with vintage rayon, silk, or heat-sensitive synthetics.
Close the new zipper and place it beneath the opening with the zipper teeth centered between the fabric edges. The top stop should sit at the same height as the original zipper. Pin or clip one side, opening the zipper as needed so the tape lies flat. Mark the end of the zipper with a horizontal line. If the replacement is longer than the opening, do not cut off the bottom until it has been secured; stitch several tight bar tacks below the new stopping point first.
Basting is worth the extra few minutes. Hand-baste both sides with long stitches, then close and open the zipper to check for ripples. This small test catches uneven placement before permanent stitching makes the repair harder to undo.
How to Sew a Zipper Without Catching the Teeth
Install the zipper foot and thread the machine with a normal straight stitch. Set the stitch length around 2.5 millimeters for most woven fabrics. Start at the top, backstitch briefly, and sew down one side of the zipper tape. Keep the presser foot close to the teeth without sewing over them. As you approach the zipper pull, lower the needle into the fabric, lift the presser foot, and move the pull behind the foot. Lower the foot again and continue.
Repeat on the second side. To keep the waistline or top edge aligned, compare the fabric markings before stitching. The most common beginner error is sewing the second side while the zipper is positioned a few millimeters too high or low. That creates a visible step at the top even when both stitch lines look straight.
After sewing, remove the basting stitches and press the seam from the wrong side. Test the zipper slowly. If it catches, look for a stray thread, a seam allowance folding into the teeth, or stitches placed too close to the zipper coil. Never yank the pull; that can distort the tape and make a small problem permanent.
Fixes for Common Zipper Mistakes
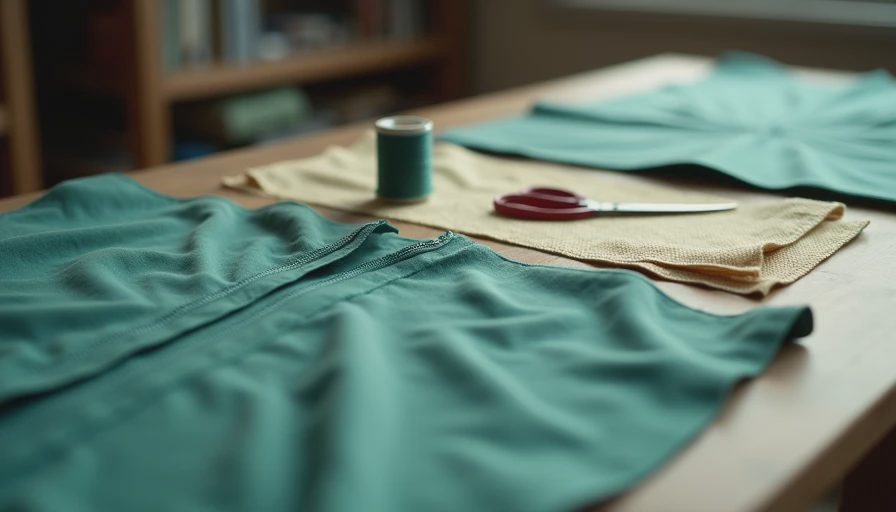
If the fabric puckers beside the zipper, the tension may be too tight, the fabric may have stretched, or the zipper tape was not secured evenly. Remove the affected section, press it flat, and rebaste before trying again. A strip of interfacing often helps soft or slippery fabric behave.
If the zipper looks crooked, close it and inspect the top edges before reaching for the seam ripper. One side may simply need to be repositioned. For a visibly uneven result, take out the stitches on the shorter-looking side and resew it while the zipper is closed. The closed zipper acts as a physical guide and keeps the two sides matched.
If the zipper will not move after sewing, check whether the thread is crossing the teeth. A zipper foot should let you sew close to the teeth, not directly over them. Carefully remove those stitches, move the foot slightly outward, and sew again. For very bulky seams, trim and grade the seam allowance so fewer layers sit beneath the tape.
How to Sew a Zipper in Thrifted Garments
Secondhand clothing often needs a little adaptation. A vintage skirt may have a wider seam allowance than a modern pattern, while an older jacket may use a metal zipper with a different top stop. Preserve the original construction whenever possible. Photograph the inside before removing anything, and save the old zipper until the repair is complete.
For a skirt with a waistband, install the zipper before closing the waistband facing. This lets you tuck the zipper tape neatly inside and keeps the top edge clean. For jeans, a standard centered zipper is not the same as a fly-front zipper. Recreating a full jeans fly requires a fly shield, facing, and topstitching, so a first repair is easier on a skirt, cushion cover, or simple pouch.
Before using a new technique on a favorite vintage piece, practice on scrap fabric with similar thickness. A ten-minute sample can reveal whether your thread, needle, stitch length, and presser foot are working together.
A Simple Final Check
Once you know how to sew a zipper, finish by checking the garment from both sides. The zipper should open smoothly, the top edges should meet, and the stitching should be secure without loose loops. Trim thread tails, press the area gently, and reinforce the bottom with a few backstitches or a small bar tack if the zipper has been shortened.
Give the finished item a full wear test. Sit down, bend, and open the zipper several times. This is especially useful for upcycled clothing because the original fabric may have weakened around the old seam. If the repair feels strained, add a little seam reinforcement rather than waiting for the stitching to fail.
How to sew a zipper is mostly a lesson in preparation, not speed. Baste first, keep the teeth clear, and fix small alignment problems before they become large ones. Your first attempt might not look store-bought, and that is fine. A clean, functional repair gives a thrifted garment more years of wear — which is exactly the point.




No notes yet — write the first one.