Dye cotton-poly blend fabric without guesswork: the dual-dye method for 65/35 and a shortcut for 50/50
What You Need (tools, materials, time, skill level)
Payoff: Dyeing a cotton-polyester blend is totally doable, but it won’t behave like 100% cotton. You’re aiming for a lighter, heathered/tonal result (not a perfectly solid fashion-color), and that’s honestly a vibe for thrift flips.
Skill level: Beginner-friendly, but you’ll be managing hot water and timing.
Time:
- Pre-wash + dyeing: 30 minutes (cotton dye bath) + 30–60 minutes (poly dye bath) depending on method
- Plus rinsing and air-dry
Materials (from the source):
- Rit Dyemore (for the polyester part of the blend)
- Rit All-Purpose (for the cotton part of the blend)
- Large stainless pot (for stovetop dyeing; *do not use food pots after*)
- Gloves (dye stains hands fast)
- Salt (fixative for cotton)
- White vinegar (helps polyester bond with dye)
Blend check (the big decision point):
- 65/35 cotton/poly (or similar): best with the dual-dye technique (All-Purpose first, then Dyemore).
- 50/50 or higher polyester: use the single-dye shortcut with Dyemore only.
How To Do It (step-by-step, in the right order)
Step 1: Pre-wash the fabric (don’t skip this)
Pre-wash removes dirt and oils so dye can actually grab evenly. The source calls out: no fabric softener.
Why this matters: cotton will soak dye eagerly, but any residue can make it go blotchy—especially in high-touch spots like collars, underarms, and waistband areas on thrifted pieces.
Step 2: Choose your method based on the blend
#### Method 1: Dual-dye technique (for 65/35 blends)
2A) Make the cotton dye bath (Rit All-Purpose + salt)
1. Fill your large stainless pot with hot water at 140°F / 60°C.
2. Add 1 bottle Rit All-Purpose.
3. Add 1 cup salt.
4. Add the fabric and soak 30 minutes, stirring.
Why the stirring: blended fabrics can dye unevenly. Movement helps prevent “fold lines” and pale patches.
2B) Rinse
Rinse with cold water.
This rinse step is doing you a favor: it clears out extra dye so you don’t muddy your next bath.
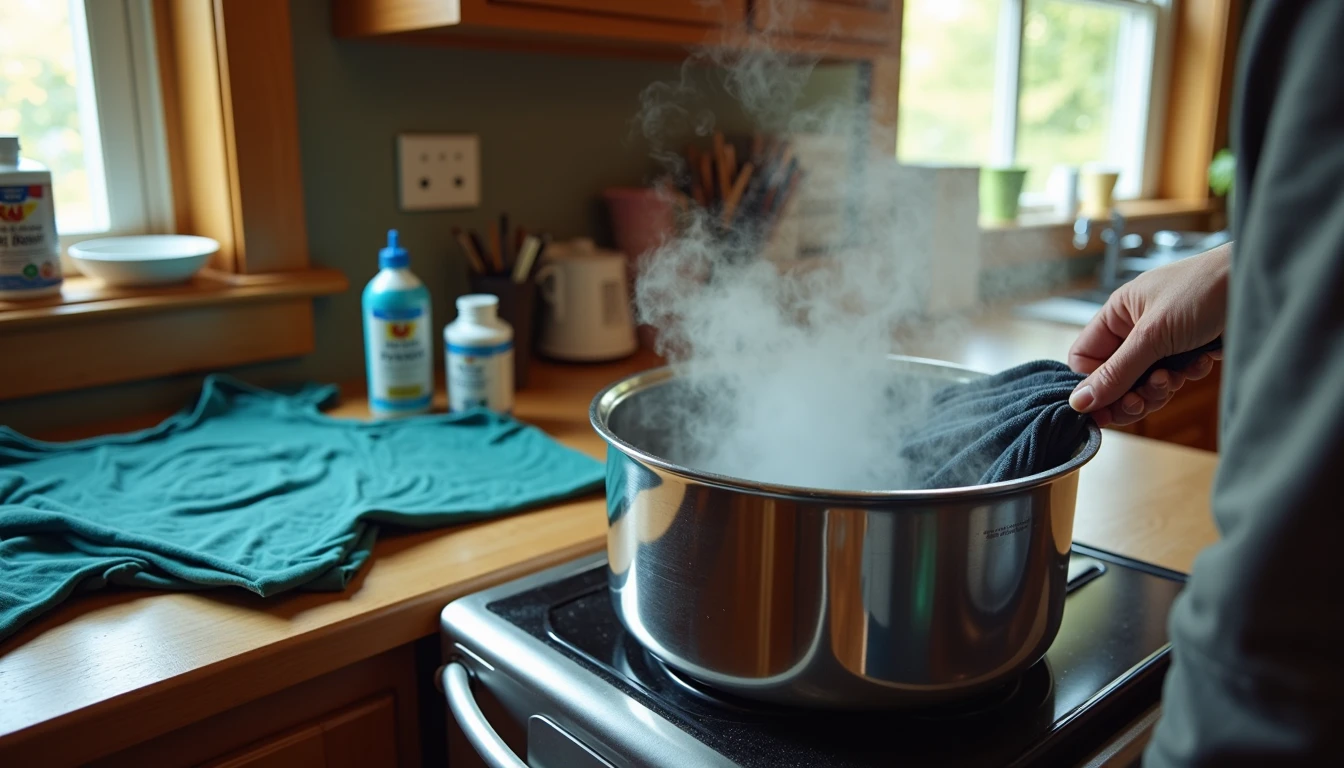
2C) Make the polyester dye bath (Rit Dyemore + vinegar)
1. Use the same pot, but with fresh water.
2. Add 1 bottle Rit Dyemore.
3. Add 1 cup white vinegar.
4. Simmer the fabric 30–60 minutes (the source notes: longer = darker polyester).
2D) Final rinse + dry
Rinse until the water runs clear, then air-dry.
Expectation check: even with perfect steps, blends usually come out softer, more heathered than the dye bottle suggests. That’s not you failing—that’s the fiber content doing its thing.
#### Method 2: Single-dye shortcut (for 50/50 or higher polyester)
If your fabric is 50%+ polyester, the source recommends:
1. Use only Rit Dyemore (skip All-Purpose).
2. Simmer in Dyemore + vinegar for 60+ minutes.
Result you’re aiming for: a muted, tonal effect, where the cotton portion tends to tint lighter.
Where It Goes Wrong (and how to recover)
1) “It came out uneven and patchy.”
Most common causes from real-life thrift fabric:
- You skipped pre-washing, or there were oils/residue.
- The fabric sat folded or didn’t get stirred enough during the soak.
Recovery move: The source suggests leaning into techniques that hide imperfections: tie-dye or dip-dye. If your first try looks blotchy, turning it into an intentional gradient can make it look designed instead of “oops.”
2) “I expected a solid, vibrant color and it’s… heathered.”
That’s normal for blends. The source is clear: don’t expect vibrant solids—embrace the textured look.
Recovery move: Reframe it as a feature. Heathering can make an upcycle look more “vintage-worn” in a good way, especially on tees and towels.
3) “I tried to dye it in the washing machine and it barely changed.”
The source says do not use washing machine dyeing for blends because they need sustained heat.
Recovery move: Switch to stovetop with the correct method. Polyester is the stubborn one—heat and time are what help Dyemore do its job.
4) “I mixed All-Purpose and Dyemore together to save time.”
The source says don’t mix them together because they require different temps.
Recovery move: Treat it as two separate jobs (cotton first, poly second). It’s slower, but it’s what gets you the most predictable result.
Pro Tips (beginner-friendly, actually useful)
- Test first: Dye a hidden seam to preview color before committing.
- Want darker? The source says: double the Dyemore dose for deeper color.
- Small projects are your friend: The source calls blends best for small projects like T-shirts and towels, where variation looks intentional.
- Use the “character” angle on purpose: If you’re dyeing faded thrift finds, unevenness often reads as “cool vintage texture” rather than a mistake.
- Project ideas straight from the source:
- Refresh old polos (especially faded uniforms)
- Make ombre curtains using dip-dye for a gradient
- Customize tote bags with stencil designs using Dyemore
Bottom Line (is it worth it?)
Dyeing cotton-poly blends is worth attempting when you’re okay with a soft, tonal finish and you can commit to stovetop heat for the full time. If you need a perfectly even, saturated solid (like brand-new retail black), blends are the situation where I’d either embrace texture or choose a different base fabric.
The best “bang for effort” is a faded tee, towel, polo, or small home textile where a little variation looks artsy—especially if you plan to lean into tie-dye or dip-dye on purpose.