If you have been hunting for a cloak sewing pattern that works with thrifted materials, you are in the right place. A cloak is one of the most forgiving and satisfying projects for a beginner sewist, and it is a perfect way to use up that beautiful vintage wool or linen you have been hoarding. No such thing as a stupid question here — let's walk through how to pick a pattern, choose fabric, and sew a cloak you will actually wear.
Why a Cloak Sewing Pattern Is Perfect for Upcycling
A cloak is basically a big rectangle or a half circle with a neckline and maybe a hood. That means you do not need a lot of shaping or fitting skills. A good cloak sewing pattern will let you use almost any fabric that drapes well — think old blankets, curtains, or oversized coats from the thrift store. I have made cloaks from a wool blanket, a linen tablecloth, and even a cashmere sweater. Here is what went wrong + how I fixed it: my first cloak from a stiff canvas came out like a cardboard tube, so stick to fabrics with some drape.
Choosing the Right Cloak Sewing Pattern for Your Skill Level
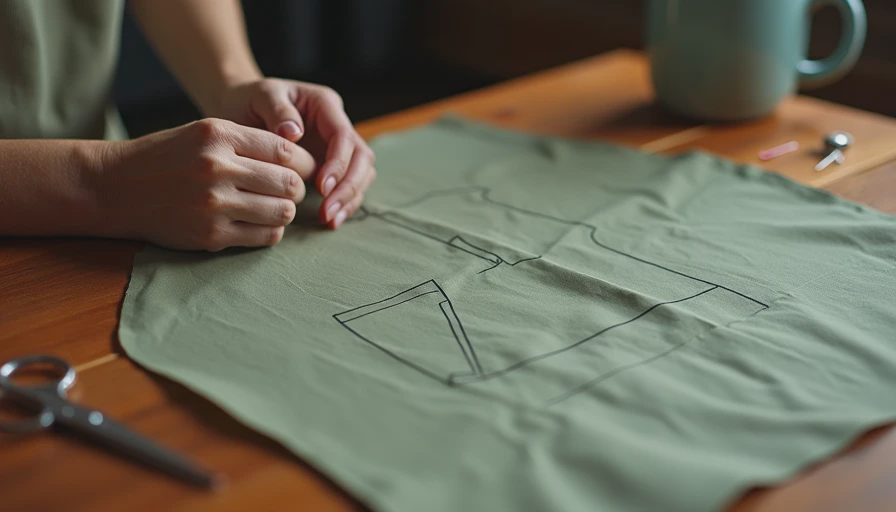
When you search for a cloak sewing pattern, you will find options ranging from a simple rectangle with a slit for the head to more tailored designs with darts and princess seams. For a first project, I recommend a pattern labeled "easy" or "beginner" — something like the Sewing Workshop's Water Tower pattern or a free PDF from Mood Fabrics. Look for patterns that include a hood if you want extra drama. Avoid patterns that require a lining unless you are comfortable with bagging out a lining. Most cloak sewing patterns come in one size fits most, but check the finished measurements to make sure the length and shoulder width work for you.
Fabric Selection for Your Cloak Sewing Pattern
Fabric choice is where upcycling really shines. Good options for a cloak include:
- Wool coating or melton (from an old coat or blanket)
- Heavy linen or cotton canvas (from drapes or upholstery fabric)
- Fleece or sweater knit (cozy but can pill)
- Velvet or velveteen (dressy but harder to sew)
Stay away from slippery fabrics like silk charmeuse or very stretchy knits unless you are experienced. A midweight woven with some body but good drape is the sweet spot. For my second cloak, I used a vintage wool blanket found at a thrift store for $8. I washed it on gentle with cold water and hung it to dry — it shrank a tiny bit, so pre-wash any fabric you upcycle.
Tools You Will Need to Sew Your Cloak
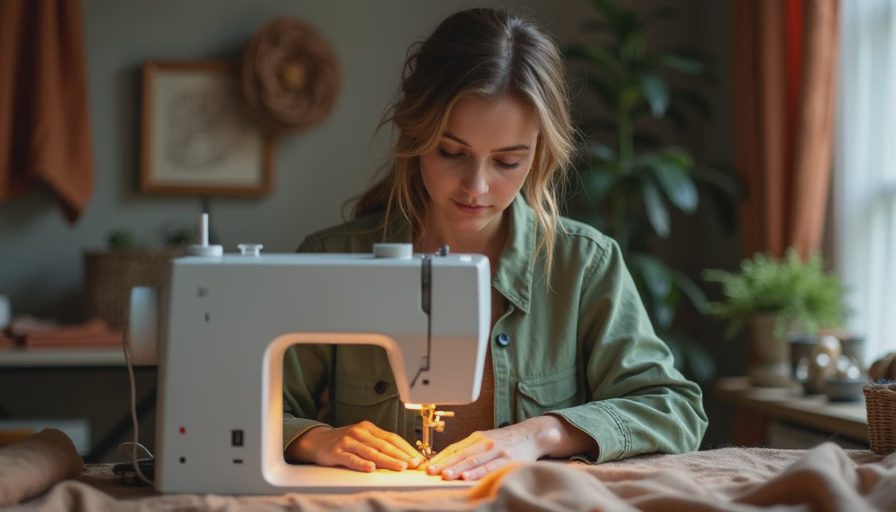
Before you cut into that fabric, gather these basics:
- Sewing machine with a straight stitch and zigzag (or a serger)
- Walking foot (helps thick layers feed evenly)
- Fabric scissors or a rotary cutter and mat
- Pins or clips — wonder clips work great on thick layers
- Matching thread — use a heavy-duty polyester or cotton-wrapped polyester
- Measuring tape and ruler
- Pattern weights (or soup cans — whatever works)
- Seam ripper (because mistakes happen)
Step-by-Step: Sewing Your Cloak Sewing Pattern
Let's go through the basic steps for a typical beginner cloak pattern:
- Cut your fabric. Lay the pattern on the fabric following the grainline. Pin or weight it down. Cut carefully, especially around curves.
- Sew shoulder seams (if your pattern has them). Use a 5/8-inch seam allowance. Press seams open or to one side — open helps with bulk.
- Attach the hood. Pin the hood right sides together, sew the center back seam, then attach to the neckline, matching notches. Clip curves to help it lie flat.
- Finish edges. A cloak edges can be faced, hemmed, or bound. For beginners, a simple rolled hem or a bias tape binding is easiest. If using bias tape, stitch it to the right side first, then fold to the wrong side and topstitch.
- Add closures. You can add a button and loop, a toggle, a hook and eye, or just let it hang open. For a thrifted touch, use a vintage button from your stash.
- Press everything. A good pressing makes a huge difference. Use steam and a press cloth for wool.
Common Cloak Sewing Pattern Mistakes and How to Fix Them
Here is what went wrong + how I fixed it on my early cloaks:
Mistake: The cloak is too short. Measure the finished length before cutting. If you are tall, add extra length to the pattern. A cloak should hit at least mid-thigh.
Mistake: The hood is too tight. Check the pattern's head circumference measurement. A hood needs ease — about 23 to 24 inches for an adult. If it is too small, add a gusset or a seam to widen it.
Mistake: The fabric is too bulky to sew. Use a walking foot and go slowly. If the machine struggles, hand crank the wheel for a few stitches. Reduce pressure on the presser foot if possible.
Adding Personal Style to Your Cloak
A cloak sewing pattern is a canvas. You can add:
- Embroidery or patches for a whimsical look
- A contrasting hood lining from scrap silk or cotton
- Pockets — patch pockets or in-seam pockets are easy to add
- A detachable brooch or pin for closure
- Lace trim along the hem for a romantic feel
Remember, upcycling gives you unique materials, so embrace the imperfections. A small stain or hole can be covered with a decorative patch or mended with visible mending.
Where to Find Free and Paid Cloak Sewing Patterns
If you are on a budget, check out:
- Mood Fabrics free patterns (search "cloak")
- Peppermint Magazine free sewing patterns
- Burda Style (they have a few cloak options)
- Etsy — Many independent designers sell PDF patterns for $5–15
- Your local library — Some have pattern collections or books with patterns
Final Thoughts on Your Cloak Sewing Pattern Project
A cloak is a fantastic gateway project for anyone learning to sew or wanting to upcycle. It is dramatic, cozy, and you will feel like a hero every time you wear it. No such thing as a stupid question here — if you get stuck, reach out to the StitchSwapTalk community. We have all been there. Grab your cloak sewing pattern, dig through your fabric stash, and start cutting. You have got this.




No notes yet — write the first one.