If you've ever rescued a button-down with a frayed neck edge or wanted to swap a plain neckline for something sharper, a collar sewing pattern is one of the smallest projects that can make the biggest difference. It is especially handy for thrifted shirts, vintage blouses, and jackets that still have good fabric but need a cleaner finish. No such thing as a stupid question here, let's walk through it.
A good collar does two jobs at once: it frames the face and it makes the whole garment look intentional. That matters when you're working with secondhand finds, because a collar that sits flat, holds its shape, and matches the rest of the garment can turn a bargain rack piece into something you actually want to wear. If you have ever tried to eyeball a new collar and ended up with one side longer than the other, you already know why a reliable collar sewing pattern saves time, fabric, and a lot of swearing at the ironing board.
Start with the collar shape that fits the garment
Before you cut anything, decide what the garment needs. A crisp pointed collar works well on men’s and women’s shirting because it looks closest to the original structure most thrifted button-downs already had. A rounded Peter Pan collar softens a plain dress or cardigan. A small stand collar is a smart fix for a neckline that feels too low or too basic. The right collar sewing pattern depends less on trend and more on what the neckline can support.
If you are tracing from an existing shirt, flatten it carefully and check both collar points, the collar stand, and the neckline seam. Many beginners only trace the visible collar and forget the stand, which is where fit problems start. If the stand is too short, the collar gapes. If it is too long, the front edges pull apart. When I am working from a thrifted shirt, I usually compare the old collar against the new piece with a ruler before I cut. That quick check catches mismatched seam allowances and saves you from recutting in a rush.
For upcycling, think about the fabric weight too. A stiff denim shirt needs a different finish than a soft rayon blouse. The stronger the fabric, the more structure the collar needs to hold a clean edge. Light cotton can take a softer shape, but it still benefits from a collar sewing pattern that includes an accurate stand and neckline curve.
Materials that make the difference between floppy and sharp
This is where a lot of DIY collar projects go sideways. The fabric might look fine, but without the right interfacing and pressing, the collar collapses by lunchtime. For most cotton shirts, a lightweight fusible interfacing is enough. For a jacket collar or a heavier overshirt, a medium-weight fusible can give better body. If you are using a delicate vintage fabric, test the fusible on a scrap first, because some old fibers do not love high heat.
You do not need a huge supply list. A few sharp pins, fabric shears or a rotary cutter, tailor's chalk, an iron, and a seam ripper will get you through most jobs. If you are buying new notions, a basic interfacing package often runs under $10, and a yard of quality cotton for practice may land somewhere around $8 to $15 depending on the store. That is still cheaper than replacing a shirt that almost fits.
When people say a collar looks professional, they usually mean three things: the edge is even, the points are clean, and the layers were pressed at each step. Pressing matters more than most beginners expect. After you stitch the collar, trim the seam allowance at the corners, clip the curves if needed, turn it carefully, and press with steam from the inside first. Then top press from the outside with a clapper or a flat book if you do not have one. That is how a simple collar sewing pattern starts looking like store-bought work.
Trace, cut, and stitch without losing the shape
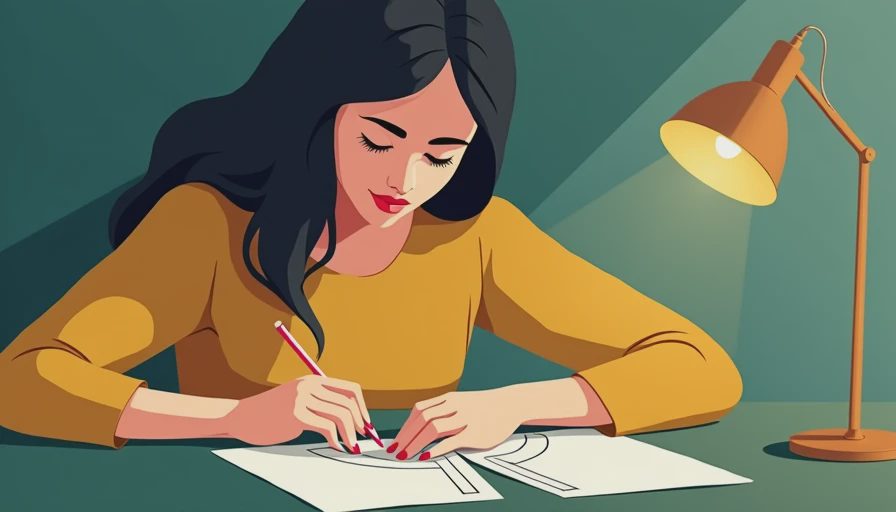
Start by tracing the pattern pieces onto paper instead of cutting your fabric first. That gives you room to make notes about grainline, seam allowance, and which edge attaches to the neckline. If you are copying from a favorite shirt, mark the center back, shoulder line, and collar roll line before you move the pieces. Those little marks are what keep the finished collar from twisting.
Cut the upper collar and undercollar accurately, then cut interfacing for the undercollar or both pieces, depending on the fabric. A common home-sewing trick is to cut the undercollar a hair smaller so the seam naturally rolls to the underside and the top side looks smooth. It sounds fussy, but it is one of the easiest ways to get a neat finish.
When stitching, sew slowly around the corners and stop with the needle down before turning. Trim the corners without cutting the stitches, then turn and poke them out gently with a point turner or a closed pair of scissors. If the collar edge looks wavy, do not keep sewing and hope it fixes itself. Unpick that section, check whether the fabric stretched, and reset it with more pins or a walking foot. That is the kind of fix that separates a usable result from a drawer full of almost-right projects.
Fix the common problems before they become permanent
A collar sewing pattern only works if the finished collar sits cleanly on the body of the garment. If the neckline is too wide, the collar may stand away from the neck instead of hugging it. If the neckline is too short, the front edge pulls and the garment feels tight at the throat. The fix is not always a whole new pattern. Sometimes you only need to shave a little off the neckline curve, true up the center back, or add a narrow facing to balance the edge.
Another problem is bulk. Heavy seam allowances can pile up where the collar stand meets the neckline, especially on thick denim or corduroy. In that case, trim the layers in stages and grade the seam allowance so the finished edge does not feel like a cardboard ridge. If the collar tips keep curling, your interfacing may be too stiff or your fabric may need a lighter hand with steam. I have had collars look perfect before pressing and then flatten into a mess because I moved the iron instead of pressing straight down. Here's what went wrong plus how I fixed it: slower presses, less sliding, and more patience than I wanted to give.
Make the pattern work for more than one garment
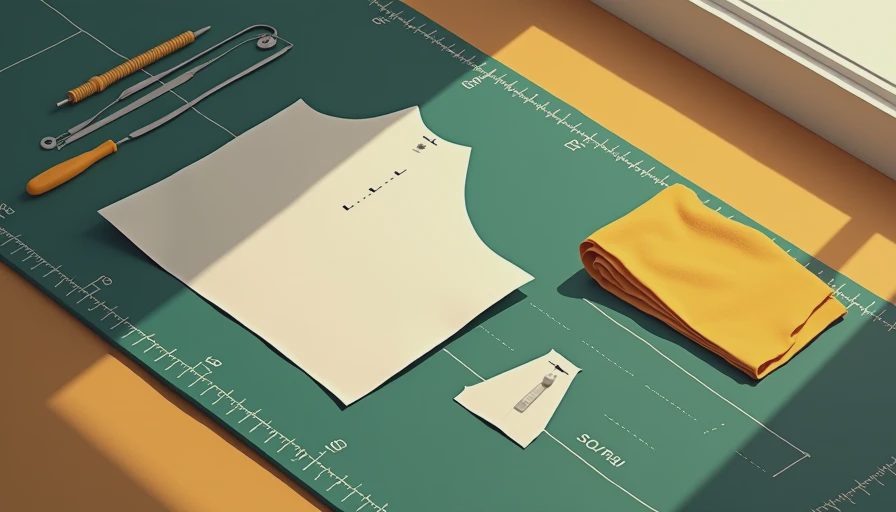
Once you have a collar that fits, reuse that collar sewing pattern across different thrifted pieces. The same base shape can be adjusted for a school-shirt remake, a cropped blouse, or a work jacket that needs more personality. Change the size of the collar point, widen the stand a little, or round the outer edge for a softer look. Those small edits are usually enough to make the same pattern feel fresh without starting from zero.
This is where secondhand shopping gets fun. A button-down with a torn body but a clean collar can donate fabric to a totally different project. A dress with a tired neckline can become a sharper, more structured piece with a new collar and a narrow facing. Even a too-large men’s shirt can turn into a boxy cropped top if you keep the collar and reshape the rest. That kind of reuse is why a collar sewing pattern is such a smart tool for upcyclers. It helps you see the good parts of a garment instead of the damage.
If you want the fastest path to a polished result, start with a shirt you already like, trace the collar, and make one test version in muslin or a cheap cotton scrap. Then compare the test collar to the original before you commit to your best thrift find. Small project, big payoff. A good collar sewing pattern gives you cleaner lines, better fit, and one more reason to keep the pieces you already own in rotation instead of sending them back to the donation pile.




No notes yet — write the first one.