Learning how to sew a button is one of those small repairs that pays you back fast. A shirt with a loose cuff button, a thrifted blazer missing one front button, or a pair of jeans with a popped waistband button can all be saved with a needle, thread, and ten calm minutes at the table. No such thing as a stupid question here — let's walk through it.
What you need before you start
You do not need a full sewing room to handle this fix. A basic kit is enough: a hand-sewing needle, matching thread, small scissors, a seam ripper, and the button itself. For shirts and light blouses, an all-purpose hand needle works well. For denim, canvas, or a heavy coat, grab a sturdier needle so you are not fighting the fabric every time you push through.
Thread choice matters more than people think. Polyester thread is a safe everyday pick because it holds up and is easy to find at Walmart, Joann, Target, or a local sewing shop. If you are mending something that gets tugged a lot, like a coat front, use a slightly thicker thread or double a length of regular thread. A thimble helps if your fingers get sore, and a bit of chalk or even a washable pen can mark where the button should sit.
If the garment came with a spare button stitched inside the side seam, use that first. It saves you from hunting for a near-match later, and it keeps the repair looking intentional instead of patched together.
The cleanest way to stitch a standard button
Start by threading your needle with about 18 to 24 inches of thread. Longer than that and the thread tangles; shorter than that and you will be rethreading every minute. Knot the end, then bring the needle up from the back side of the fabric so the knot stays hidden.
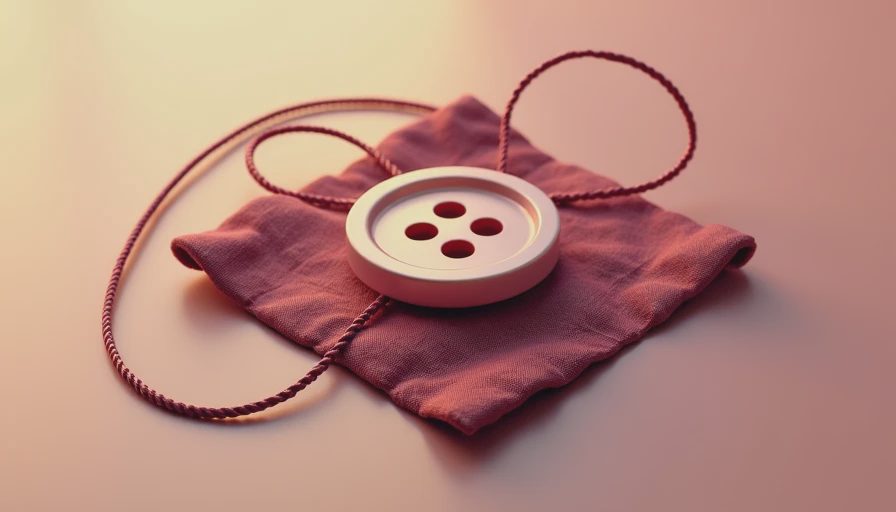
Place the button where it belongs and hold it steady. For a flat button, a toothpick or straight pin across the top of the button can leave a little space under it. That space matters because the button needs room to slide through the buttonhole without pulling the fabric tight. Then stitch through the holes four to six times, going back and forth in the same path. If the button has four holes, keep the pattern neat and match the orientation of the other buttons on the garment.
When the button feels secure, wrap the thread around the stitches a couple of times on the back, then knot it off close to the fabric. Trim the tail. The result should lie flat, sit straight, and flex without wobbling.
Build a tiny repair kit for thrift-store finds
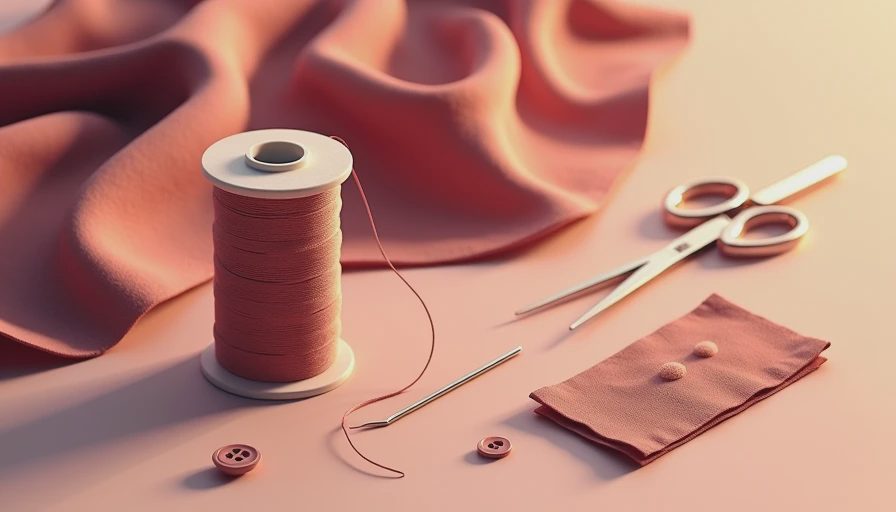
One of the best habits for secondhand shoppers is keeping a small repair pouch ready before something falls apart. It does not need to be fancy. A zip pouch with a few needles, black, white, navy, tan, and gray thread, a seam ripper, a pair of thread snips, and a handful of spare buttons covers most emergencies. You can build that kit for about $10 to $25 if you buy the basics in a craft store or a discount aisle.
I like to keep one kit at home and one in a travel bag. That has saved me from losing a favorite cardigan button while on a trip and from sending a shirt straight to the donation pile after a lunch break mishap. If you thrift a lot, save the spare buttons that come on the inside seam or hangtag. They are free insurance for the next repair.
This is also where a small seam gauge or ruler earns its keep. Matching placement matters more than people expect, especially on vintage pieces where button spacing affects the whole shape of the garment.
Special cases: jeans, coats, and vintage finds
Different garments ask for different levels of strength. Jeans often use a metal tack button, which is not sewn on like a shirt button. If the hardware is gone, a replacement kit from a sewing shop is usually the right tool for the job. Coats and heavy jackets usually need stronger thread and more passes through the fabric so the repair can handle real weight and movement.
If you are learning how to sew a button on a heavy coat, use doubled thread and take your time building a sturdy anchor on the back side. A shank button also needs a little stem of thread underneath it, not a smashed-down knot. That gap keeps the button functional instead of stiff. For vintage pieces, be gentle with brittle fabric and old buttons that can crack if you yank too hard. Sometimes the smartest move is reinforcing the spot from the inside with a small patch of cotton or fusible interfacing before you sew anything on.
The good news is that most thrifted pieces do not need perfection. They need enough structure to return to regular wear, and that is very doable.
What usually goes wrong, and the fix
The most common mistake is pulling the thread too tight. That makes the button sit flat against the fabric and can distort the area around it. If that happens, cut the stitches and redo the repair with a spacer under the button. Another common issue is using thread that is too short, which leads to weak knots and a repair that pops after one wash.
If the thread keeps tangling, shorten it and slow down. If the knot slips through the back side of thin fabric, place a small scrap of interfacing or a tiny patch on the inside to spread out the pressure. If the button looks crooked, do not leave it because the job is already halfway done. Remove it and resew it so it lines up with the others. That tiny bit of extra work saves you from a shirt front that looks off every time you wear it.
Here is another easy fix: if the buttonhole is stretched out, the problem may not be the button at all. In that case, the fabric around the hole may need a quick reinforcement stitch or a tailor-style patch, especially on older shirts and blouses.
A five-minute practice plan for the next missing button
The fastest way to get comfortable is to practice on something low-stakes. Pick an old shirt, a fabric scrap, or a thrifted piece that already needs attention. Thread your needle, make one test stitch, and check whether the thread is lying flat before you commit to the real button. If the first try looks messy, start over. That is normal. Most people need one imperfect repair before the second one starts looking clean.
A repair like this is also good value. A tailor can easily charge $8 to $20 for a small button job, and more if the garment is heavy or tricky. A cheap repair kit costs less than one alteration visit and can save several pieces in a single month. That is why I always tell beginners to keep the kit visible, not buried in a drawer.
Once you know how to sew a button, you can rescue more clothes from the donate pile, keep a favorite secondhand piece in rotation longer, and feel a lot less nervous when something pops off. That is a very good trade for ten minutes at the table.




No notes yet — write the first one.