If sewing basics feel intimidating, you are not alone. Most people do not start with a perfect hem or a fancy machine; they start with a crooked seam, a stubborn thread knot, and one shirt they really want to save. The good news is that sewing basics are enough to mend a popped seam, shorten pants, fix a loose button, and turn a thrifted find into something you actually wear. You do not need a full studio or a technical vocabulary to get moving. You need a few tools, a little practice, and a plan that keeps the first few wins simple.
What belongs on a beginner sewing table
For sewing basics, a small kit beats a giant shopping list every time. Start with sharp fabric scissors, a seam ripper, pins or clips, a measuring tape, tailor's chalk or a washable marker, hand needles, polyester thread, and a basic iron. If you plan to sew by machine, add a pack of universal needles in sizes 70/10 and 80/12, plus an all-purpose presser foot. A full-size machine from Brother, Singer, or Janome is usually easier to learn on than a tiny travel model because it handles straight seams and thicker hems more predictably. I have watched more beginners struggle with a bad machine than with a bad stitch.
A smart first buy is not the cheapest thing on the shelf; it is the tool that lets you finish a project without fighting it. If you are sewing denim, canvas tote bags, or vintage wool, a sturdy machine with adjustable stitch length matters more than extra decorative stitches. A basic machine usually runs about $120 to $250 new, while a decent used one can cost less if it comes with the foot pedal, bobbins, and manual. For hand sewing, start with thread that matches your fabric and a needle that slides through without bending. That alone makes the work feel less chaotic.
The stitches that solve most beginner problems
You do not need to master everything at once. The straight stitch handles seams, hems, and most simple repairs. The backstitch is the hand-sewing version of a lock; it keeps seams from opening when you tug on them. A zigzag stitch is useful for finishing raw edges on woven fabric or adding stretch to knits if your machine does not have a serger. If you are working on a thrifted skirt, a hem, or a ripped tote strap, those three stitches carry a lot of the load. Pressing is part of the stitch, too. A seam that has been pressed flat looks cleaner and is easier to finish.
One of the best sewing basics habits is to test on scrap fabric before touching the real garment. That is where tension issues, skipped stitches, and ugly thread colors show up early. I once tried to shorten a pair of wool trousers without testing first and ended up with a puckered hem that had to be removed twice. The fix was not magic. I swapped to a fresh needle, lowered my stitch length a little, and pressed each fold before stitching again. Small changes like that make a bigger difference than buying a fancier attachment.
How to practice without wrecking your favorite thrift find
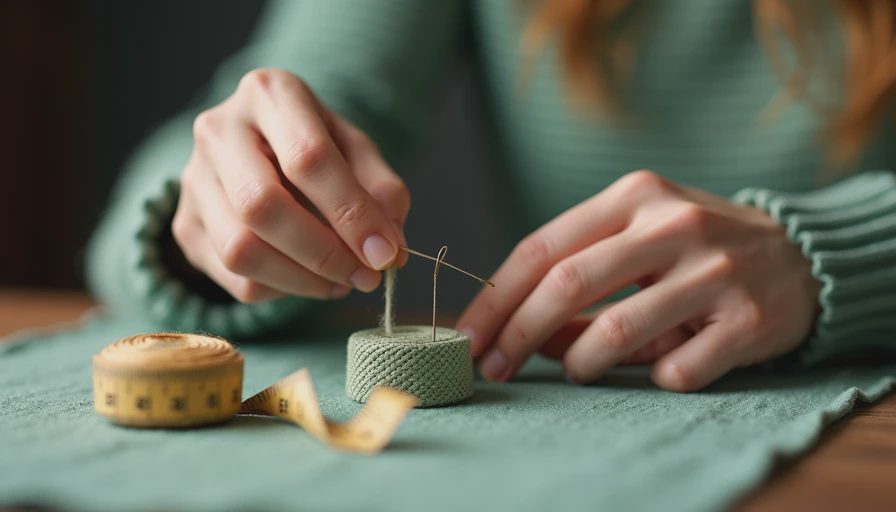
The easiest way to learn is to practice on items that are cheap, forgiving, and easy to replace. Old pillowcases, cotton sheets, oversized tees, and basic tote bags are ideal because they let you practice cutting, pinning, stitching, and pressing without panic. If you want to alter clothing, begin with a simple hem or seam repair instead of reshaping a whole jacket. That keeps the job small enough to finish in one sitting. A beginner can learn a lot by opening a side seam, trimming an inch, and re-stitching it straight. It is boring work, but it builds real confidence.
If you want a project with a visible payoff, start with a thrifted button-down shirt. You can shorten the sleeves, replace a missing button, or take in the side seams a half inch at a time. Keep a notebook of what needle, thread, and stitch length you used, because that turns trial and error into repeatable progress. This is where sewing basics start to feel useful instead of theoretical. You are not just practicing lines on fabric; you are learning how to save the things you already own.
Common mistakes and the fixes that actually help
Most beginner mistakes are fixable, and the fix is usually simpler than it looks. If the thread keeps tangling underneath, rethread the machine with the presser foot up and check that the bobbin is inserted the right way. If stitches skip, the needle may be dull, bent, or too small for the fabric. If the seam looks wavy, your stitch length may be too short for the material, or you may be stretching the fabric while you sew. Knits in particular get cranky if you pull them forward. Let the feed dogs move the fabric for you.
Another common snag is forgetting to press as you go. An iron sounds ordinary, but it is one of the most useful tools in the room. Press the seam open, press the hem fold, then stitch. That order keeps the garment from looking homemade in the bad sense. If you are using sewing basics to rescue something thrifted, clean cuts and steady pressing matter almost as much as the actual seam line. I have had so-so stitching look surprisingly polished after a good press and a trimmed seam allowance.
A first project plan you can finish this week
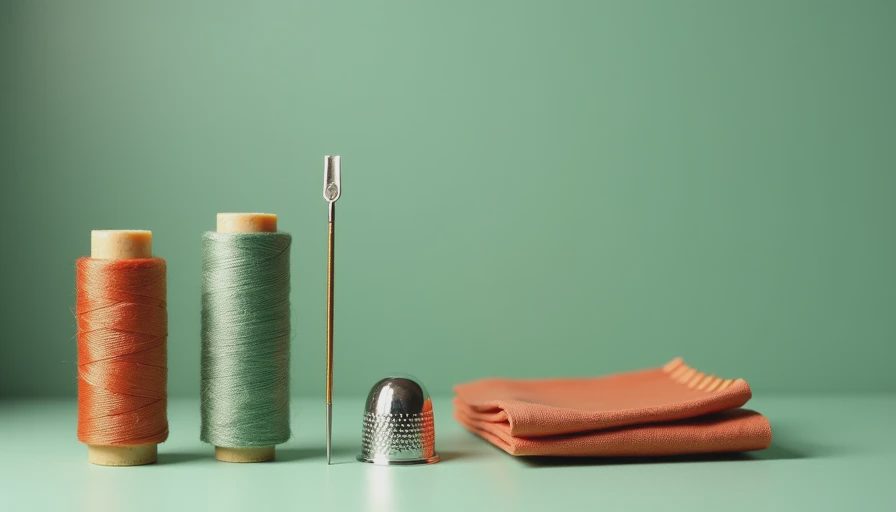
If sewing basics are the goal, choose one project that gives you a result fast. A blind hem is not the right place to begin. Instead, pick a tote bag, a throw pillow cover, or a straight pant hem. Cut your fabric or garment after measuring twice. Pin or clip the seam line. Sew slowly, stopping every few inches to make sure the layers have not shifted. Then trim loose threads, press the seam, and try the item on or use it right away. That last step matters because it turns the lesson into something real.
A simple first-win project also teaches judgment. You learn how much to trim, where fabric starts to fray, and what kind of repairs are worth the time. A $6 thrifted blazer with a missing button and a loose lining is worth a careful afternoon. A badly damaged fast-fashion top with shredded seams may not be worth the effort. That is not failure; that is learning what to save. Over time, you start seeing clothes as fabric, structure, and opportunity instead of just a rack of finished pieces.
When to upgrade your machine or tools
Once sewing basics feel steady, upgrade only where the work is slowing you down. If your hand sewing is solid but you keep mending pants by machine, a dependable used full-size machine is the best next step. If you already sew by machine and keep running into skipped stitches on denim or canvas, try a fresh needle, heavier thread, and a better presser foot before replacing the whole setup. Many people think they need an expensive machine when they really need a sharper needle and a little patience.
A good upgrade plan is simple: buy the tool that removes the biggest frustration, not the prettiest one online. For some beginners, that is a magnetic seam gauge or a rotary cutter. For others, it is a better iron or a more stable sewing table. If you are building a secondhand wardrobe, those small upgrades save money because they help you alter, mend, and keep wearing what you already love. Sewing gets more fun when the setup starts working with you instead of against you.
No such thing as a stupid question here — let's walk through it. Start with one repair, one tool kit, and one thrifted piece you actually want to wear. That is enough to turn sewing basics into a habit you can use every week.


No notes yet — write the first one.