If you have ever wanted cleaner hems on thrift flips, the simplicity bias tape maker is one of those tiny tools that earns its drawer space fast. It turns a cut strip of fabric into ready-to-use bias tape, which makes necklines, armholes, quilt edges, and bag trim look more finished without hand-folding every inch. No such thing as a stupid question here — let's walk through it.
For a beginner, the appeal is simple. Instead of pressing a long strip twice by hand, you feed the fabric through the tool and let the folds form for you. That saves time, keeps the width more even, and reduces the odds of one side drifting wider than the other. If you sew from vintage sheets, tablecloths, or old shirts, that consistency matters because reused fabric often behaves a little differently from brand-new yardage.
What this little tool actually does
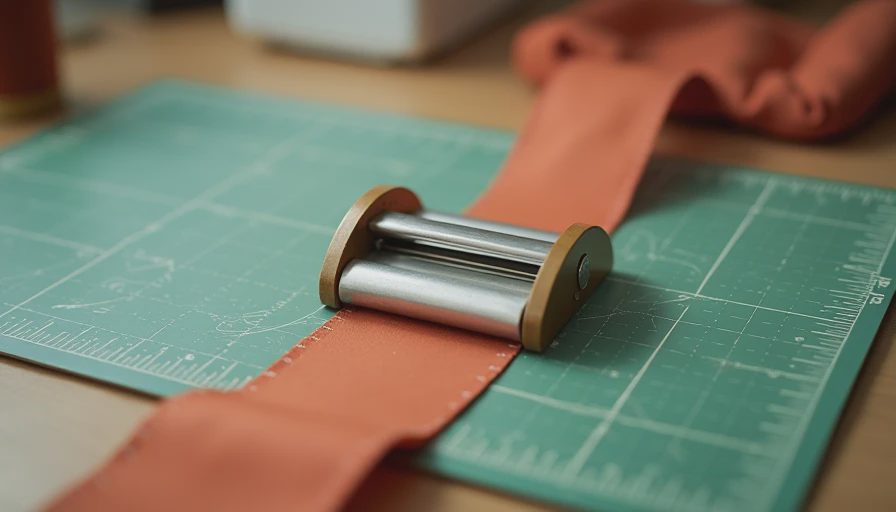
Bias tape is a strip cut at a diagonal to the fabric grain, which gives it stretch and flexibility. That makes it perfect for curving around rounded edges without puckers. The tool itself is not complicated. You cut your strip to the right width, thread it through the metal guide, and press the folded strip as it comes out the narrow end. Once it is cool, you can pin or clip it to your project and stitch it on.
The simplicity bias tape maker is best when you want a neat finish on lightweight woven fabric. Cotton quilting fabric, broadcloth, and similar materials usually feed well. It is also handy when you want to make matching tape from a printed thrifted sheet or a skirt hem that has enough usable fabric left to cut long strips. If you have only ever bought pre-made bias tape, this tool opens up more color and print options without much extra cost.
Why it fits thrift flips so well
Upcycling often means working with limited fabric. You may have enough material for a crop top, pillow cover, or tote, but not enough to buy matching trim for every seam. That is where this tool helps. A $5 to $10 single-size version can stretch the usefulness of one good thrift find. A multi-size set usually lands higher, but it can still beat buying several spools of packaged tape over time.
The simplicity bias tape maker also makes it easier to keep a project visually consistent. If you are adding binding to a robe from a vintage bedsheet, for example, matching tape made from the same fabric looks intentional instead of patched together. The same idea works for aprons, pet bandanas, quilt blocks, and inside seams you want to show off. For community sewists who like to rescue fabric instead of shopping new, that is a real win.
Another plus is control. Store-bought tape often comes in a narrow color range and can feel stiff. When you make it yourself, you choose the width, the print placement, and whether you want a crisp cotton finish or a softer drape. That is especially useful if your thrifted fabric has a bold floral, stripe, or plaid you want to repeat in the trim.
How to use it without fighting the fabric
Start by cutting a long strip on the bias. If your fabric is square, the bias direction is the diagonal line from corner to corner. A rotary cutter and mat make this easier, but sharp scissors work if that is what you have. Press the strip lightly first so the fabric lies flat, then feed the narrow end through the tool and pull the strip through gently with a pin or awl if needed.
The biggest beginner mistake is trying to rush thick fabric through too fast. If the strip is heavy denim, tightly woven canvas, or fabric with bulky seams nearby, the folds can jam. In that case, cut a wider strip, slow down, and use more heat from the iron instead of forcing the fabric. Light starch can help too, especially if the fabric feels slippery or limp.
When the folded tape comes out, press it in short sections rather than dragging the iron. That keeps the folds crisp. If the strip starts twisting, stop and realign it right away. A few extra seconds here saves a lot of trouble later when you are trying to sew a clean edge onto a neckline or hem.
Common mistakes and the easy fixes
Here is what went wrong on one of my own thrift-flip projects: I tried to make tape from a thin rayon curtain scrap, and the strip stretched before I even got to the iron. The fix was to stabilize the fabric first with a careful press and a little spray starch, then cut the strips more slowly. That is the kind of thing beginners run into all the time, and it does not mean the tool is bad. It usually means the fabric needs a little help.
Another common issue is choosing the wrong width. If you are binding a thick edge, a skinny strip can feel tight and uneven. If you are finishing a delicate neckline, a strip that is too wide adds bulk. It helps to make a small test piece before cutting all your yardage. That way you can see whether the fold looks clean and whether the tape turns smoothly around a curve.
Some sewists also expect every fabric to behave the same way. Cotton is usually cooperative. Slippery synthetics and loosely woven vintage fabric can be fussier. When that happens, slow the process down, press more, and accept that a little hand guidance is part of the job. The tool is there to reduce work, not erase every step.
Choosing the right width for the job
Most home sewing projects do well with a few standard widths. Narrow tape works for tiny finishes and binding edges that need to stay light. Medium widths are the best all-purpose choice for garments, while wider tape is useful for bag openings, blankets, and anything that needs a stronger edge. If you only want one tool, pick the width you use most often instead of chasing every option at once.
If you are shopping secondhand or comparing store shelves, look for a guide that feels sturdy and smooth at the mouth. Cheap tools can snag the fabric, which defeats the point. Clover and Dritz both have versions on the market, and many sewing shops carry similar tools in sets or single sizes. The price difference usually reflects whether you are buying one size or several, not some magical performance leap.
A simple test can help before you commit. Feed in a scrap strip and press six to eight inches. If the folds stay even and the strip moves without tugging, the tool is doing its job. If not, the fabric may be the problem, or the guide may not match the width you actually need.
Is it worth buying if you sew only sometimes?
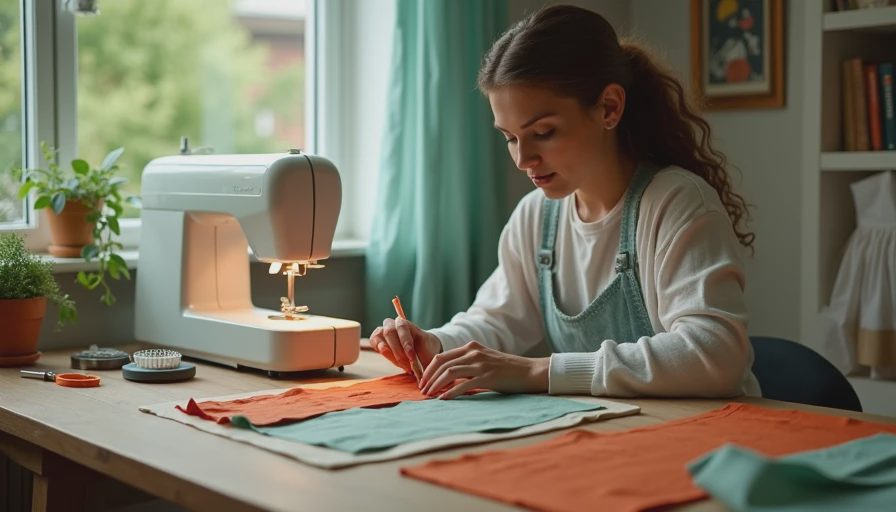
If you only mend a hem once a year, you may not need every sewing gadget on the market. But a bias tape maker is small, inexpensive, and easy to store, so it clears the usefulness bar pretty quickly. For anyone who hems pants, finishes armholes, or loves turning old fabric into something polished, it can save time and give a cleaner result than folding by hand.
The simplicity bias tape maker makes the most sense when you want repeatable results without a long setup. It is especially practical for people who work with thrifted cotton, leftover quilt fabric, or scraps from past projects. If that sounds like your sewing life, it is worth picking up one size first and seeing how often you reach for it. For small repairs, weekend upcycles, and beginner garment finishing, the simplicity bias tape maker is one of those quiet little tools that pays off every time you use it.



No notes yet — write the first one.