If you've ever tried to hem a thrifted T-shirt or finish a neckline on a vintage dress, you know the struggle. A regular sewing machine can do the job, but the result often looks, well, homemade. That's where a **coverstitch machine** comes in. It gives you that professional, store-bought finish with a clean double row of stitching on the top and a looper thread on the bottom. No more wavy hems or popped seams. Whether you're flipping jeans or upcycling old tees, a coverstitch machine can take your projects from "nice try" to "wait, did you buy that?"
What Is a Coverstitch Machine and Why Do You Need One?
A coverstitch machine is a specialized sewing machine that creates a stretchy, professional-looking hem using two or three needles and a looper thread. Unlike a standard sewing machine, it allows the fabric to stretch without breaking stitches—essential for knits and activewear. It's also great for hemming anything from leggings to curtains. For thrift flippers, this machine is a game-changer because it lets you alter found pieces without sacrificing that original, retail-quality finish.
Top Coverstitch Machine Picks for Thrift Flippers
We've tested a few coverstitch machines on actual thrift store hauls. Here are the ones that earned a spot on our bench:
- **Juki MO-1000**: This industrial-level machine is fast and reliable, but it's heavy and pricey. Worth it if you plan to flip seriously.
- **Brother 1034D**: Actually a serger, but with a coverstitch conversion kit (sold separately) it can do basic coverstitching. Not perfect, but budget-friendly for beginners.
- **Janome CoverPro 1000CPX**: A dedicated coverstitch machine that's easy to thread and adjust. Great for medium-duty fabric like T-shirts and sweatshirts.
- **Singer ProFinish 14CG754**: Another serger with coverstitch capability, but the stitch quality isn't as crisp as a dedicated machine.
Our top recommendation for most beginners is the Janome CoverPro 1000CPX. It's affordable (around $500), reliable, and easy to learn. No such thing as a stupid question here—if you're new to coverstitching, this machine won't intimidate you.
How to Use a Coverstitch Machine on Thrifted Fabrics
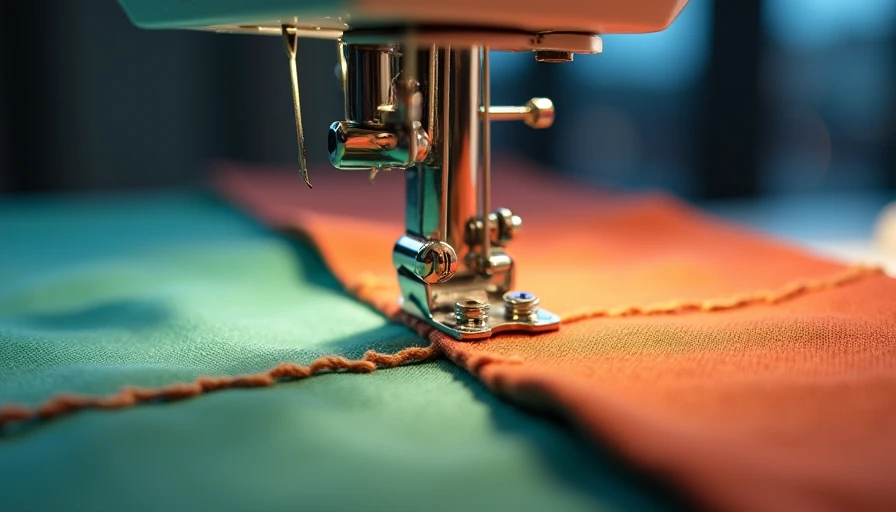
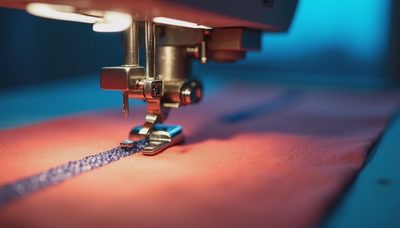
Let's walk through a real project: hemming a vintage cotton tee. Start by testing your stitches on a scrap piece of the same fabric. Set the stitch length to about 2.5–3 mm for a balanced look. Place the fabric under the presser foot with the wrong side facing up if you want the coverstitch visible on the right side. Lower the needles and press the foot pedal slowly. The machine will lay down two parallel stitches on top and a looper underneath. For knits, use a ballpoint needle to avoid snags. If you skip this step, you'll get pulled threads—trust me, I've learned the hard way.
Common Mistakes and How to Fix Them
Even experienced sewists mess up with a coverstitch machine. Here are the most common issues we've seen in our community:
- **Skipped stitches**: Usually caused by dull needles or wrong needle size. Swap out after every 8 hours of sewing.
- **Looper thread tangling**: Check that the looper is threaded correctly—it's easy to miss a guide. Re-thread from scratch.
- **Uneven stitch width**: Adjust the needle position or the stitch width dial. Most machines let you choose between 2- and 3-needle stitching.
- **Fabric puckering**: Reduce the presser foot pressure or use a walking foot attachment. Lightweight knits are especially prone.
Don't get discouraged if your first few hems look wonky. Here's what went wrong and how I fixed it: The first time I tried a coverstitch machine, I used a standard needle and the fabric puckered terribly. Switching to a ballpoint needle and lowering the tension solved it. Now I can hem a T-shirt in under two minutes.
Coverstitch Machine vs. Serger: What's the Difference?
This is a common question in our community, and it's an important one. A serger (overlock machine) trims seams and finishes edges with a multi-thread stitch, preventing fraying. A coverstitch machine creates a hem without trimming the fabric. Many sergers have a coverstitch mode, but dedicated coverstitch machines generally produce better results for hems. If you only have one machine, a serger with coverstitch capability is a fine start. But if you're serious about flipping thrifted clothing, invest in a dedicated coverstitch machine. It's the tool that will give you that "bought it on clearance" look.
Final Thoughts: Is a Coverstitch Machine Worth It?
Absolutely—if you regularly alter knits or want professional-grade hems on your upcycles. It's a bit of an investment, but you can often find used coverstitch machines on resale apps like Facebook Marketplace or eBay for half the price. Just test it before buying. For thrift flippers, a coverstitch machine pays for itself after a few flips. You'll sell pieces faster and at higher prices because the finish looks like retail. No need to gatekeep: this is the tool that will level up your sewing game.
---
*Have more questions about coverstitch machines? Drop them in the comments—no such thing as a stupid question here.*

No notes yet — write the first one.