Hemming trousers with sewing machine is one of the most useful skills for thrifted and secondhand clothing. A pair of pants can fit perfectly at the waist and hips but still puddle around your shoes. The good news is that shortening trousers is a manageable beginner project. No such thing as a stupid question here — let's walk through it.
You will need the trousers, a sewing machine, matching thread, fabric scissors, pins or sewing clips, an iron, tailor's chalk or a washable fabric marker, and a ruler or measuring tape. A seam ripper is also worth having nearby because even experienced sewists occasionally stitch something backward.
What to Check Before You Cut
Start by trying on the trousers with the shoes you expect to wear. This matters more than measuring against another pair because your shoes change where the hem should fall. Stand naturally, then ask someone to place a pin at the desired finished length. If you are working alone, use a mirror and several pins rather than trusting one mark.
For classic trousers, the front hem often rests near the top of the shoe with a small break, meaning one gentle fold in the fabric. Jeans may sit lower, while cropped pants can finish several inches above the ankle. There is no universal correct length; the goal is a balanced line that feels intentional.
Take the trousers off and lay them flat. Measure from the existing hem to your pinned mark on both legs. Do not assume the legs are identical, especially with vintage clothing. Compare the inseams and mark each leg separately. If the original hem has a distinctive cuff, decorative stitching, or heavy denim thread, pause before cutting because preserving that detail may require a different approach.
Hemming Trousers with Sewing Machine Step by Step
Turn the trousers inside out and mark the finished hemline with chalk. Next, mark a cutting line below it. For a standard turned hem, allow about 1 to 1 1/2 inches of extra fabric. That allowance gives you enough material to fold the raw edge inside and still create a stable hem. If the trousers are very lightweight, 1 inch is usually sufficient; heavier fabric benefits from the wider allowance.
Cut slowly with sharp fabric scissors. Cutting both legs together is tempting, but it can create uneven lengths, so handle one leg at a time. Remove the old hem only if it interferes with your new fold. A seam ripper is safer than pulling stitches aggressively, which can leave tiny holes or damage the cloth.
Press the new hem before sewing. Fold the raw edge up by half an inch and press it, then fold it up again to the finished line and press once more. Use a pressing cloth on delicate wool, rayon, or dark fabric that might shine under heat. Pin around the leg, placing pins perpendicular to the edge so they are easier to remove as you sew.
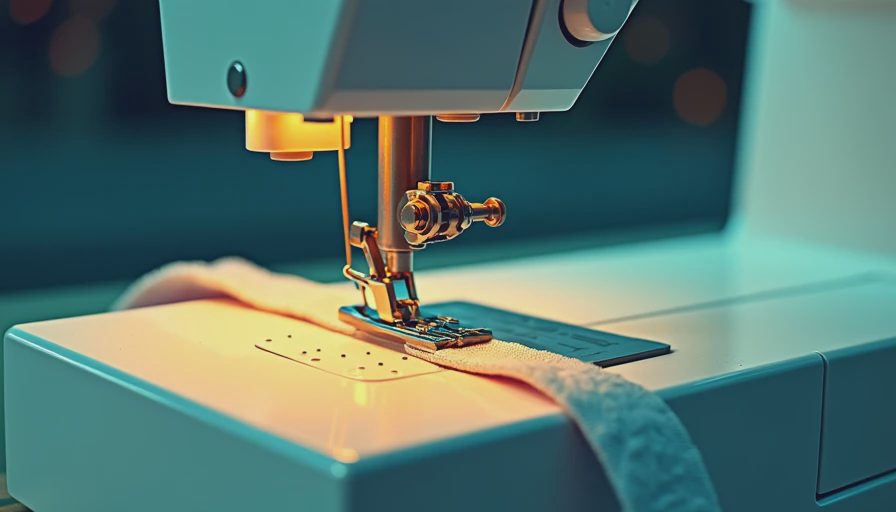
Set the machine to a straight stitch with a medium length, around 2.5 to 3 millimeters. Use thread that blends with the garment, and test the tension on a fabric scrap or an offcut from the trousers. Stitch close to the folded upper edge, keeping the seam allowance consistent. Remove pins before the presser foot reaches them rather than sewing over them.
When you reach the starting point, overlap the stitching slightly and backstitch for a few stitches. Trim the thread tails, turn the trousers right side out, and press the finished hem. The pressing step is not decoration; it settles the stitches and makes an ordinary home-sewn hem look much cleaner.
Hemming Trousers with Sewing Machine Without Losing the Original Look
Some thrifted trousers have a hem worth preserving. Jeans are the classic example: the original hem may have contrast thread, fading, or a slightly worn edge that looks much better than a fresh folded seam. In that case, measure the amount to remove and mark a cutting line above the original hem. Cut off the excess, leaving a small seam allowance, then place the original hem against the new raw edge.
Sew just above the original stitching with a sturdy needle and matching thread. This method keeps the factory-worn finish while shortening the leg. It can create a little extra bulk inside the ankle, so press the seam flat and check that it does not feel uncomfortable. For trousers with a cuff, unpick the cuff, shorten the leg above it, and reattach it at the same height.
A narrow hem is another option for lightweight linen or dress pants. Fold the raw edge once, press it, then fold it again narrowly before stitching. The narrow fold reduces bulk and gives a softer finish. Practice on a scrap first because narrow hems expose uneven sewing more than a generous folded hem.
What Went Wrong and How to Fix It
If the hem looks wavy, the usual cause is pulling the fabric while sewing. Let the feed dogs move the trousers through the machine and guide without stretching. Wavy stitching can often be improved with steam and pressing, but severe rippling may require removing the stitches and sewing again.
If one leg appears longer, put the trousers on again with the same shoes and recheck both sides. Do not judge while the garment is lying flat only; fabric can shift around the body. If you cut too much, a deeper cuff or a contrasting fabric facing can sometimes rescue the project. If the cut is dramatically short, consider turning the trousers into cropped pants or shorts instead of forcing an awkward repair.
Skipped stitches usually point to a dull, bent, or unsuitable needle. Try a fresh universal needle for woven fabric, or a denim needle for thick jeans. Heavy layers may also need a longer stitch and slower speed. If the machine struggles, hand-wheel over the thickest section rather than pressing the pedal harder.
A Simple Final Check
Before calling the project finished, inspect both hems from the outside and inside. The stitching should be secure, the folded edge should lie flat, and there should be no accidental tucks in the leg seam. Try sitting, walking, and crossing your legs. A hem that looks fine while standing can pull uncomfortably when you move.
Hemming trousers with sewing machine becomes much less intimidating when you separate the job into fitting, marking, pressing, stitching, and checking. The first pair may take an hour because you are learning where everything goes. Later pairs can take twenty to thirty minutes, especially when the fabric is cooperative. Start with inexpensive thrifted trousers, keep the original scraps for testing, and remember that an imperfect first attempt is useful practice rather than a failure.
If you are still unsure, sew a temporary basting line by hand before committing to the machine. It lets you test the length and catch mistakes early. With a little patience, hemming trousers with sewing machine can turn an almost-right secondhand find into a pair you reach for constantly.




No notes yet — write the first one.