If you're wondering **how to sharpen scissors**, you're definitely not the only one. Dull scissors are one of those tiny problems that make every sewing, mending, or upcycling project feel harder than it should. They chew fabric, bend thread, and turn a clean cut into a jagged mess. No such thing as a stupid question here — let's walk through it. Whether you found a vintage pair at a thrift store or your everyday craft scissors just stopped cutting well, there are a few safe ways to bring them back.
First, make sure the scissors are actually dull
Before you try sharpening, do a quick check. A lot of scissors do not need sharpening as much as they need cleaning or tightening. Sticky residue from tape, interfacing, labels, or old fabric glue can make the blades drag. Lint packed into the pivot screw can also keep the blades from meeting correctly.
Wipe each blade with a soft cloth and a little rubbing alcohol. If there is stubborn gunk, use warm soapy water first, then dry the scissors completely. Check the screw in the middle. If it is loose, the blades separate slightly and the scissors fold material instead of slicing it. Tightening that screw can make a shocking difference.
Now test on paper and then on scrap fabric. If the scissors still snag, slide, or leave uneven edges, it is time to sharpen. This matters especially for sewing scissors, because fabric shears need a smoother, cleaner edge than basic kitchen or kids' scissors.
The best at-home methods for how to sharpen scissors
The most reliable DIY method is using a sharpening stone or a handheld scissor sharpener made for beveled blades. If you sew often, this is worth owning. Basic sharpeners are usually inexpensive, and a small whetstone can last for years.
To use a stone, open the scissors wide. Find the beveled edge, which is the angled cutting side of each blade. Lay that bevel against the stone at the same angle it already has, then draw the blade across the stone from pivot to tip. Use light, even pressure. Usually 10 to 20 passes per blade is enough for light dullness. Then wipe away any metal filings and test again.
If you are using a scissor sharpener, follow its guide slots and pull the blade through slowly. These are easier for beginners, though not every model works well on heavy fabric shears.
Here's what belongs / what doesn't: a proper stone, a purpose-built sharpener, and patience belong. Random hacks that grind the edge unevenly do not.
Methods people suggest that do not always work
You have probably heard the old tips about cutting aluminum foil, sandpaper, or steel wool. These can help a little in some cases, but they are not magic, and they are not my first recommendation for good sewing scissors.
Cutting folded aluminum foil can remove tiny burrs and slightly improve the feel of lightly dulled household scissors. Fine sandpaper can do something similar. But neither method gives you the same control as sharpening the bevel directly. On quality fabric shears, these tricks can be inconsistent, and on already damaged blades, they usually are not enough.
Here's what went wrong + how I fixed it: I once tried the foil trick on an older thrifted pair that was badly dragging on cotton. The scissors felt a bit smoother on paper but still mangled fabric. A proper sharpening stone made the real difference.
If your scissors are cheap multiuse craft scissors, these quick hacks are okay as a temporary fix. If they are Gingher, Fiskars fabric shears, or a solid vintage dressmaking pair, skip the gimmicks and sharpen them correctly.
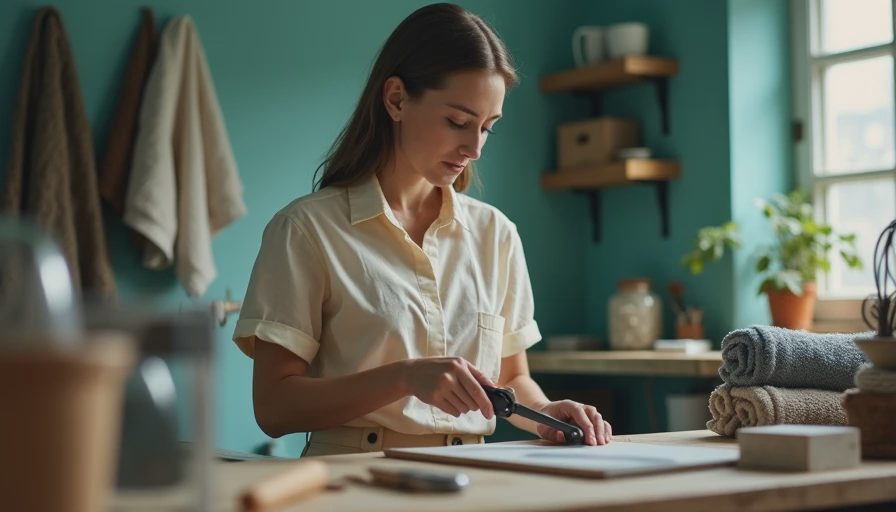
Step-by-step: how to sharpen scissors safely at home
Set yourself up on a stable table with good light. You need a cloth, a sharpening stone or scissor sharpener, and a scrap of paper and fabric for testing. Work slowly. Sharp blades plus rushing is a bad combination.
First, clean and dry the scissors. Second, if your scissors allow it, tighten the pivot screw so the blades are aligned but still open and close smoothly. Third, sharpen only the beveled side of each blade unless the maker specifically says otherwise. Most scissors have one angled side and one flatter inner side. Changing that flat inner side can ruin the cut.
Draw the blade across the stone from the base near the pivot out to the tip, keeping the original angle steady. Repeat with light pressure until the edge improves. Then lightly wipe the inner flat side once against the stone just to remove burrs, not to reshape it.

After that, wipe the blades clean, add one tiny drop of oil at the pivot if needed, and test on scrap fabric. If they still fold material instead of cutting, the issue may be alignment, blade damage, or wear beyond a simple home fix.
When to use a professional sharpening service
Sometimes the answer to **how to sharpen scissors** is: do not do it yourself. If the blades are nicked, bent, very expensive, or sentimental, a pro is the safer move. This is especially true for tailoring shears, pinking shears, and embroidery scissors with very fine points.
Professional sharpening usually costs far less than replacing a high-quality pair. For many sewing scissors, spending around $10 to $25 for proper service can be smarter than buying a new pair that cuts worse. A professional can also correct blade alignment and remove nicks evenly, which home methods cannot always do well.
Look for a local sharpener who specifically lists scissors, shears, or sewing tools, not just knives. Ask whether they handle fabric shears and whether they preserve the factory angle. That one question tells you a lot.
If your thrifted scissors are solid steel and feel well made, professional sharpening can absolutely be worth it. Some older pairs come back beautifully.
How to keep scissors sharp longer
Once you learn **how to sharpen scissors**, the next win is not needing to do it constantly. The biggest rule is simple: use fabric scissors only for fabric. Not paper. Not plastic packaging. Not zip ties. Paper dulls sewing blades faster than many beginners expect.
Store scissors dry and closed. A blade cover helps if you toss tools into a basket or sewing kit. Wipe lint and adhesive off before they build up. If the pivot starts feeling stiff, add a tiny drop of sewing machine oil or household oil and open and close the blades a few times, then wipe away the extra.
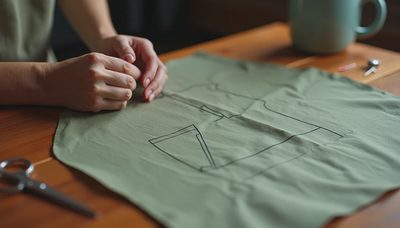
For a sewing setup, it helps to keep separate pairs: one for fabric, one for paper patterns, and one cheap pair for rough jobs. That alone can save your best shears from early dullness.
Knowing **how to sharpen scissors** is one of those practical skills that makes mending, alterations, and upcycling way more satisfying. Start with cleaning, sharpen carefully with the right tool, and call a pro when the pair really matters. A clean cut changes everything.

No notes yet — write the first one.