
Building a solid sewing foundation takes less cash than you think and saves you from the frustration of tangled threads and shrunken hems. Starting with the right machine and pre-washed fabric prevents ruined projects and keeps your budget under control. Whether you're transforming a thrifted denim jacket or making your first tote bag, these basics will help you sew with confidence.
Unlike advanced tailoring or pattern drafting, these beginner tips focus on what actually matters in the first 30 days of sewing: avoiding common traps, choosing the right tools, and finishing a project you’re proud to use. Many new sewists quit after one bad experience — usually because they bought a miniature machine or skipped pre-washing. This guide helps you skip those mistakes entirely.
What You Need to Start (No Fluff)
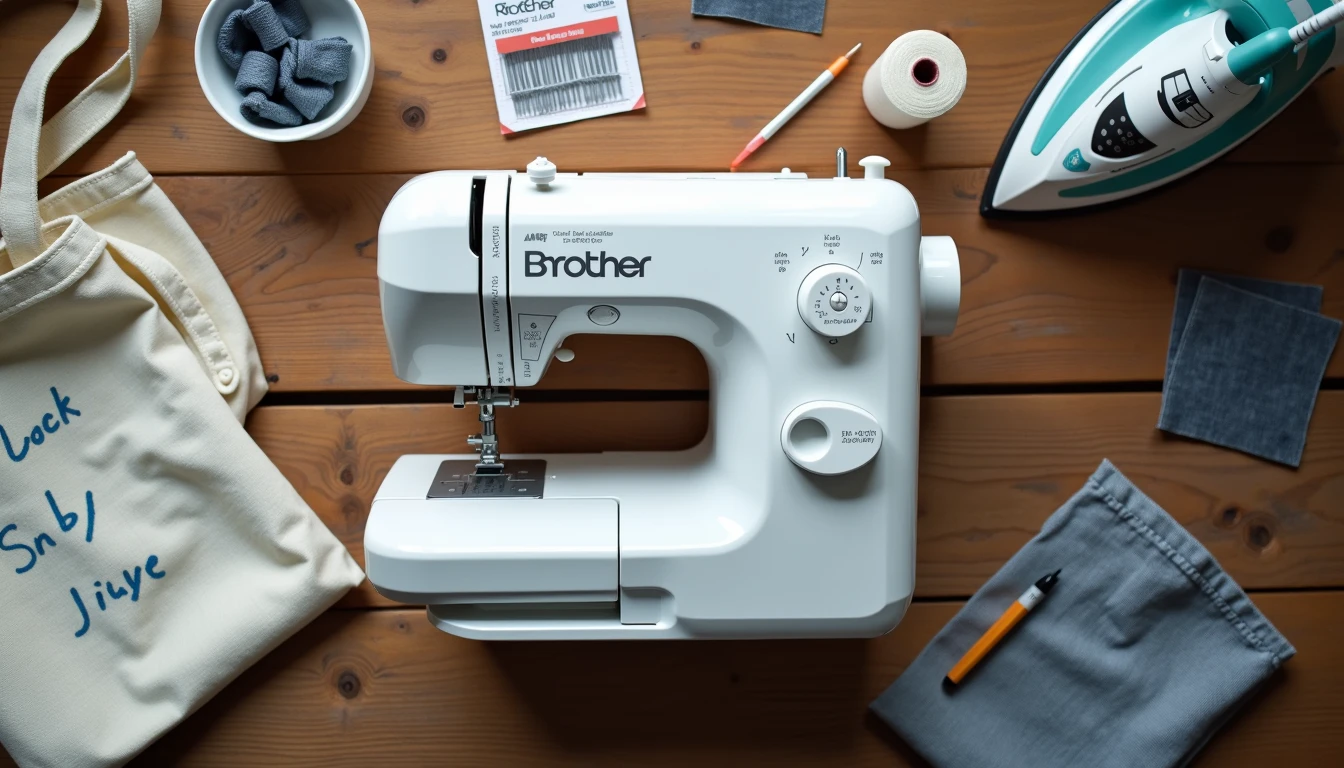
Sewing Machine: A basic Brother or similar larger model from Walmart or an equivalent retailer. Avoid miniature machines; they lack quality and dependability for hems and repairs.
Needles: General needles for cotton or quilting fabric. Specific needles for denim or stretchy jersey. Match needle type and size to your fabric.
Thread: Quality thread that matches your fabric. Cheap thread breaks easily and weakens seams.
Tools: Iron for pressing seams. Owner’s manual for machine maintenance.
Starter Projects: Pillow covers, pajama pants, a gathered skirt, or tote bags.
Skill Level: Beginner.
Time: A relaxed weekend for your first project.
How To Do It: The 10-Step Beginner Framework
1. Choose Easy Projects First
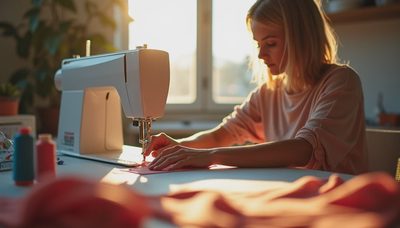
Don’t start with something too difficult or you’ll get frustrated. Build confidence with simple items like pillow covers, pajama pants, a gathered skirt, or tote bags. The goal is to finish, not to impress.
2. Pre-Wash Your Fabric
If your finished item will be washed, pre-wash the fabric before cutting. This prevents shrinkage after you sew. Use the same water temperature you plan to use later. For example, if you wash bedding in hot water, pre-wash pillowcase fabric in hot water.
3. Measure First, Cut Later
For garments, take accurate body measurements before starting. This saves fabric and time by ensuring you don’t make a piece that is too small. Measure your waist, hips, inseam, and chest depending on the project.
4. Select the Right Needle
Use a general needle for cotton or quilting fabric. Switch to the correct needle type and size for denim or stretchy jersey. A jeans needle (size 90/14) has a stronger shaft and won’t skip stitches on thick fabric.
5. Use Quality Thread
Invest in good thread that matches your fabric. Strong, durable seams depend on it. Cheap thread leaves lint inside your machine and snaps mid-seam, which is impossible to repair cleanly.
6. Practice Straight Lines
Practice stitching in a straight line on scrap fabric. This is the foundation; without it, you won’t be able to sew a consistent hem or seam. Draw lines with a ruler and stitch directly over them.
7. Experiment with Stitches
Try straight stitch, zigzag stitch, and a basic decorative stitch. Even if you don’t use them now, these skills help in future projects. Zigzag is essential for knit fabrics so the seam can stretch without breaking.
8. Press Seams as You Go
Press your seams with an iron immediately after sewing. This gives professional-looking results and makes following sewing patterns easier. Press, don’t iron back and forth — lift and set down to avoid distortion.
9. Maintain Your Machine
Keep your sewing machine clean and well-maintained. Save the owner’s manual for directions on oiling and maintenance. Lint builds up under the needle plate and inside the bobbin area after every few hours of sewing.
10. Learn to Read Patterns
Start understanding how to read sewing patterns as you progress. Look for the grainline, notch marks, and sizing chart. This turns a confusing sheet of tissue paper into a roadmap.
Where It Goes Wrong (And How to Fix It)
The Mini Machine Trap
Inexpensive miniature sewing machines seem like a good entry point, but they are difficult to use and lack the quality needed for real work. They might be okay for a child to start an interest, but if you want to sew hems, make clothing repairs, or tackle beginner projects, you need a larger machine. The tiny machines just don’t have the dependability.
Thread Snapping Mid-Seam
Using cheap thread leads to breakage mid-seam. Switch to quality thread (Gutermann, Coats, or Mettler) to avoid frustration and weak seams. Cheap thread also sheds more lint, which gunks up your tension discs.
Post-Sew Shrinkage
If you skip pre-washing, your finished item might shrink in the wash, ruining the fit. Always pre-wash fabric at the temperature you plan to use later. Cotton can shrink 5–10% in hot water.
Wrong Needle Issues
Using a general needle on denim or jersey causes skipped stitches or fabric damage. Always switch to the correct needle type and size. A ballpoint needle for jersey pushes between fibers instead of cutting them.
Skipping Measurements
For garments, not measuring first wastes fabric and time. Measure accurately before cutting to avoid making a garment that is too small. Write your measurements down and keep them with your project notes.
Pro Tips That Save Time and Money
Budget Machine Win
You don’t need to spend a lot to start. A basic Brother sewing machine from Walmart is a solid choice that suits beginner needs without breaking the bank. Look for a mechanical model (not computerized) so repairs are simple and affordable.
Stitch Practice Pays Off
Practice different stitches even if you don’t need them immediately. Knowing how to use zigzag or decorative stitches expands what you can do later. Run each stitch on a scrap of your actual project fabric before sewing the real seam.
Maintenance Routine
Keep your machine clean and refer to the owner’s manual for oiling. Regular maintenance keeps performance optimal and extends the life of your machine. Clean the bobbin area after every project.
Ironing Is Non-Negotiable
Pressing seams isn’t just for looks; it helps with pattern assembly and gives your work a professional finish. Make it a habit after every seam. A cheap iron works fine as long as it produces steam.


No notes yet — write the first one.