Nelco Sewing Machine: What to Check Before You Buy One
No such thing as a stupid question here. If you're at a thrift store and a dusty Nelco sewing machine catches your eye, you're probably wondering if it's actually worth taking home. I've been there more than once. In this guide, I'll cover what a Nelco sewing machine is, where to find one, what to check before you plug it in, how to test the stitches, and how much you should pay. By the end, you'll know whether to grab it or leave it on the shelf. And if you've never sewn before, don't worry: this is one of the most forgiving machines for beginners.
What Is a Nelco Sewing Machine, Really?
A Nelco sewing machine is a vintage Japanese import, mostly from the 1960s and 1970s. At that time, Japanese factories manufactured millions of mechanical sewing machines under a long list of names and sold them through department stores in the US and Canada. Nelco was one of those names. It wasn't flashy like a Singer 221, and it didn't have the cult following of a Necchi, but that's fine. It means you can often pick one up for less than it costs to fill your gas tank. These machines are almost entirely metal, with heavy internals that don't get tangled or jam as easily as some modern budget machines. Most are straight-stitch or zigzag models, and some have a basic stretch stitch. They're simple, which is exactly what makes them a great option when you're learning. Even if the paint is worn and the case smells like somebody's basement, the mechanics can still be perfectly sound.
Where to Find One and What to Pay
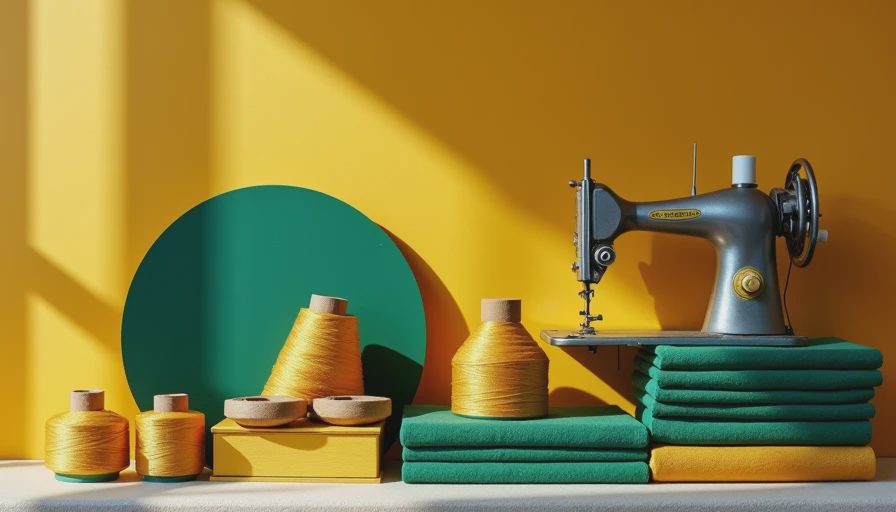
You'll find a Nelco sewing machine at estate sales, garage sales, thrift stores, and online marketplace listings. Because the name isn't a household one, these machines don't get scooped up as fast as a Singer or a Bernina. I've spotted them at Goodwill for as low as fifteen dollars, and I've also seen sellers on Craigslist ask one hundred fifty dollars because they took the time to service it. As a rough guide, budget twenty-five to fifty dollars for a machine that needs a good clean and a new belt. If it comes with the original wooden case, manual, presser feet, and bobbins, a price up to one hundred dollars is reasonable. Anything above one hundred fifty should be a machine that a repair shop has recently gone through and tested.
What to Check Before You Plug It In
Before you hand over any money, run through a quick checklist. Start with the power cord. If it's cracked, frayed, or hard as a wire, factor in a replacement cord before you decide. Then turn the hand wheel toward you by hand. It should rotate smoothly with a little resistance, not grind or screech. Next, open the hinged plate on the front and look at the bobbin area. A little dust is normal; a thick layer of lint and rust is not. Check that the needle bar moves up and down when the hand wheel turns, and look for any bent parts. Then set the machine on a solid table, plug it in, and slowly press the foot controller. Listen for a smooth, consistent hum. A purr is good. A rattle means a screw is loose, and a thunk inside the casing means something has broken loose and is bouncing around.
How to Test Stitches (and Fix the Most Common Problem)
The real test is how it sews. Thread the machine the way the guide says, but if you don't have the manual, here's what works for most vintage machines: put the spool on top, guide the thread through the top tension disc, down the guide, down to the needle, and pull an inch of thread out. Wind a bobbin the same way the machine is set up, and don't be afraid to hand-wind if the bobbin winder is stiff. Use a piece of quilter's cotton or an old bed sheet, set the stitch length to medium, and sew forward for a few inches.

Here's what went wrong with my first Nelco sewing machine: I skipped the cleaning. The bobbin case was full of old thread bits, so the tension was all over the place, and the seam looked like a toddler drew it. I cleaned it out with a stiff brush and a can of compressed air, re-threaded carefully, and the machine sewed like new. If you get loops on the top, the bobbin tension is usually too tight. If the seam is light and weak, check that the presser foot is actually pressing down. And always test reverse, because on a vintage machine the reverse lever can be sticky. If reverse works and the stitch length looks even, you've just found yourself a useful machine.
The Bottom Line: Is It Worth It for Beginners?
If you're learning to sew, a used Nelco sewing machine can be an honest, affordable first machine. The mechanical parts are understandable, the maintenance only requires basic tools, and a well-adjusted example will run for years. The same money gets you a flimsy plastic machine that's more frustrating to use and harder to repair. So if you find one that passes the checks above, especially for under seventy-five dollars, it's worth taking home. If it comes with the manual and accessories, that's a bonus. And if you're not sure about the mechanical side, find a local repair shop and ask for a quote before you buy. No such thing as a stupid question here: asking a professional to look at it is never a bad idea.
Found a Nelco sewing machine at your own thrift store? Tell us about it in the comments, or check out more vintage machine guides when you're ready to start your first upcycle project.




No notes yet — write the first one.