When you repair sewing machines, the first step is not reaching for a screwdriver. It is slowing down and figuring out what the machine is telling you. Skipped stitches, thread nests, loud rattling, and fabric that refuses to feed often come from a simple setup problem rather than a ruined machine. No such thing as a stupid question here — let's walk through it.
Start With the Easy Fixes
Before opening a vintage Kenmore, a basic Brother, or a mechanical Singer, remove the needle and unplug the machine. Check that the needle is installed with the flat side facing the correct direction for your model. A bent, dull, or incorrect needle can cause looping thread and uneven stitches. For most lightweight cotton, a universal size 80/12 needle is a practical starting point. Denim and canvas usually need a stronger denim needle, often size 90/14 or 100/16.
Rethread the upper path with the presser foot raised. That detail matters because raising the foot opens the tension discs and lets thread seat properly. Then remove and reinstall the bobbin, following the diagram printed on the machine or shown in its manual. A bobbin inserted backward can create immediate tension trouble.
If the handwheel feels stuck, do not force it. Remove the bobbin case, presser foot, and needle, then gently clear visible lint or thread. A thread tail wrapped around the hook area can stop an otherwise healthy machine. When you repair sewing machines, patience prevents a small tangle from becoming a damaged timing mechanism.
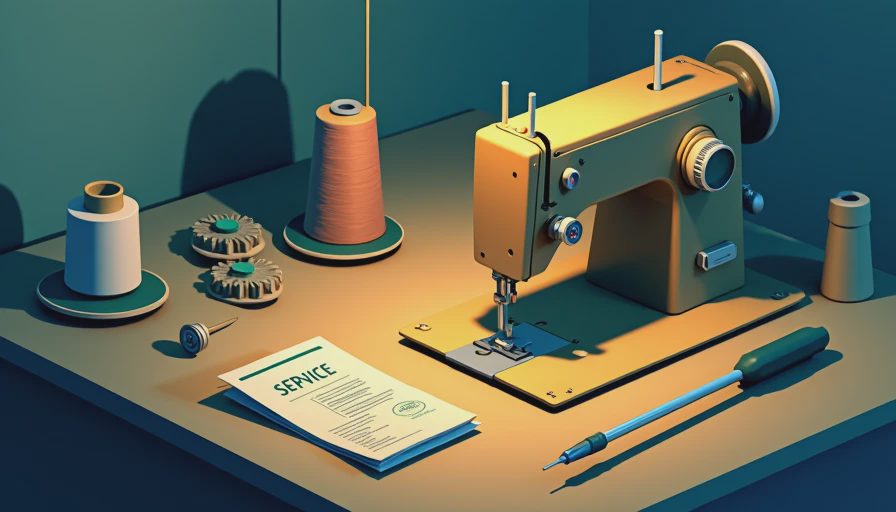
Diagnose the Stitch Problem
A useful test is a fresh piece of woven cotton in a contrasting thread color. Sew a straight line slowly, then inspect both sides. Loops on the underside usually point to an upper-threading or upper-tension issue. Loops on top can indicate a bobbin problem or excessive upper tension. Do not immediately turn the tension dial from four to nine. Change one thing at a time and sew another test line.
If stitches skip, replace the needle first. If that does not help, confirm that the needle matches the fabric and that the machine is threaded while the presser foot is raised. Stretch fabric may need a ballpoint or stretch needle, plus a longer stitch length. On an older machine, persistent skipped stitches can indicate timing that needs professional adjustment.
When you repair sewing machines with mechanical controls, listen as well as look. A steady hum is normal. Grinding, sharp clicking, or a wheel that suddenly becomes difficult to turn deserves a pause. Continuing to sew through a hard obstruction can damage gears or bend the needle bar.
Clean Without Creating New Problems
Lint gathers under the needle plate, around the feed dogs, and inside the bobbin area. Remove the needle plate if your manual allows it, then use a small brush or a vacuum designed for delicate cleaning. Avoid blasting canned air into the machine because it can push lint deeper into the mechanism. A soft makeup brush is inexpensive and surprisingly useful for vintage machines.
Oil only where the manual specifies. Some newer machines use sealed or partially sealed parts and should not be oiled by the owner. Older all-metal models may have marked oiling points, but more oil is not better. One small drop in the correct location is preferable to flooding the motor area or staining fabric.
Here is what went wrong + how I fixed it: a machine can sew beautifully after cleaning, then begin dragging because a loose thread was pushed under the needle plate during reassembly. Take a quick photo before removing parts, keep screws in a small dish, and turn the handwheel by hand before plugging the machine back in. These habits make repair sewing machines less intimidating.
Decide When to Call a Professional
Home troubleshooting is reasonable for threading, needles, bobbins, cleaning, and basic belt inspection. Professional service is a better choice when the motor smells hot, the wiring looks cracked, the handwheel will not turn, or the machine runs but the needle timing is wrong. Timing repairs require precise adjustment between the needle and bobbin hook; guessing can turn a serviceable machine into an expensive project.
A routine tune-up commonly costs roughly $80 to $180, while repairs involving a motor, wiring, or damaged gears can run higher. Ask what the diagnostic fee includes before approving work. For a common vintage model, repair can be worthwhile if the machine has a strong metal chassis, smooth control, and accessible replacement parts. For a low-cost modern machine, a major repair may cost more than replacing it.
Search for a technician who works on your machine’s era and brand. A shop experienced with vintage Singer models may not stock parts for every computerized machine, and a modern appliance repair shop may not understand an older clutch motor. Bring the foot pedal, power cord, bobbin case, and any unusual attachments to the appointment.

Buying a Used Machine That Needs Work
Secondhand machines can be excellent upcycling tools, but test before paying whenever possible. Plug the machine in, check that the light and motor work, and turn the handwheel toward you. Sew several inches on scrap fabric using both straight and zigzag stitches. Look underneath for a thread nest, but also check whether the feed dogs move the fabric consistently.
Inspect the power cord for cracking, the plastic housing for heat damage, and the needle plate for deep scratches. Missing bobbin covers, proprietary feet, and unusual power adapters can add $15 to $60 or more to the real purchase cost. A dirty machine with complete accessories is often a better buy than a clean-looking machine missing essential parts.
If you plan to repair sewing machines as a hobby, start with a common mechanical model rather than a computerized one. Manuals, bobbins, presser feet, and replacement belts are generally easier to locate. Avoid buying a machine solely because it looks charming in a thrift-store photo; decorative cases do not guarantee safe wiring or usable stitching.
A Simple Repair Bench Checklist
Keep a fresh assortment of needles, polyester all-purpose thread, small screwdrivers, a lint brush, spare bobbins that match the machine, and a bright task lamp near your sewing area. Add scrap cotton for testing and a notebook for recording tension settings. When a fix works, write down what changed. That record saves time the next time the same machine acts up.
Work in this order: unplug the machine, remove the needle, inspect the thread path, check the bobbin, clean visible lint, install a new needle, and test slowly. Never troubleshoot several adjustments at once because you will not know which change solved the problem. If a basic reset fails, stop before forcing a control or removing a timing cover.
The goal when you repair sewing machines is not to make every machine perfect. It is to restore safe, dependable stitching so a thrifted jacket, torn tote, or vintage skirt can stay in use. Start with the least invasive fix, test after every change, and ask for help when the mechanism goes beyond your comfort level. A careful beginner can solve many common problems, and every successful repair makes the next upcycling project feel more manageable.



No notes yet — write the first one.