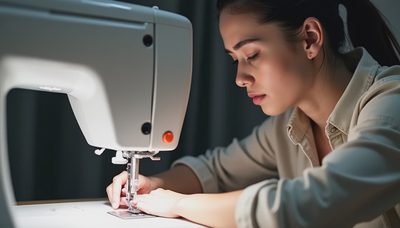
A brother sewing and quilting machine can be a useful bridge between simple clothing repairs and more ambitious quilt or upcycling projects. If you are turning thrifted curtains into tote bags, repairing denim, or learning patchwork, the right machine should feel manageable rather than intimidating. No such thing as a stupid question here — let’s walk through it. You do not need the most expensive model to get clean seams, but you do need features that match the fabrics and projects you actually plan to sew.
What to look for in a brother sewing and quilting machine
Start with the basics: a reliable straight stitch, adjustable stitch length, a zigzag stitch, a free arm for sleeves, and an easy-to-use reverse lever. Those features handle most beginner alterations. A machine with a drop-in bobbin can also make setup less frustrating because you can see when the thread is running low and usually insert the bobbin without removing a side cover.
Computerized Brother models often include a backlit display, speed control, automatic needle threading, and a selection of utility and decorative stitches. These extras are convenient, especially when you are still learning stitch settings. They do not replace good fabric handling, though. A machine with 70 stitches is not automatically better for hemming a pair of jeans than one with 20 useful stitches.
For quilting, look for a wide sewing surface or an included extension table. Extra room helps support a growing quilt sandwich instead of letting the weight pull against the needle. A walking foot, quarter-inch foot, or free-motion foot can be valuable, but confirm what is included before you pay. Presser feet are not always interchangeable across every model.
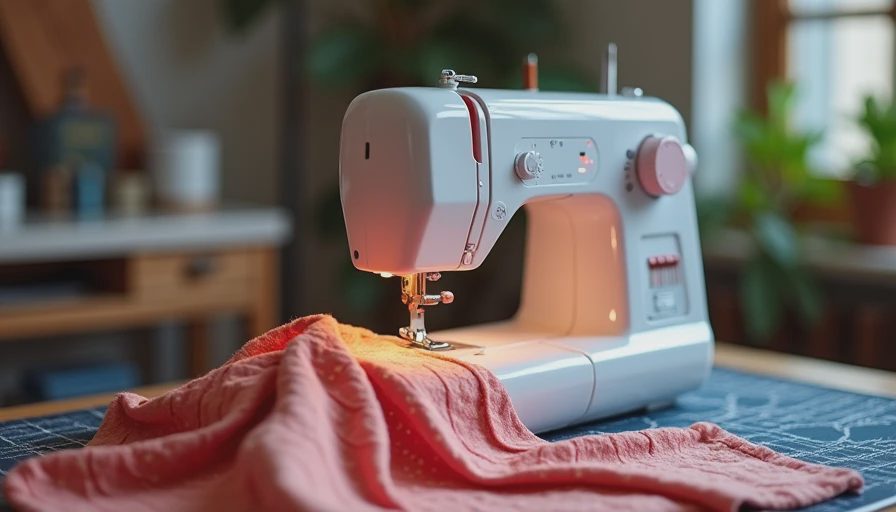
Choosing features for thrift flips and repairs
Upcycling places different demands on a machine than piecing a small quilt. A thrifted cotton shirt usually needs a neat straight stitch and a narrow zigzag for finishing edges. A denim jacket may need a strong needle, slower speed, and careful seam grading. Lightweight rayon can pucker if the tension or stitch length is wrong, so test on a scrap before sewing the garment.
A brother sewing and quilting machine with adjustable presser-foot pressure can be helpful when you work with slippery fabric, fleece, or several layers. Many entry-level machines do not offer that adjustment, and that is not a dealbreaker. You can still improve results with a fresh needle, good-quality thread, and tissue paper under a troublesome seam.
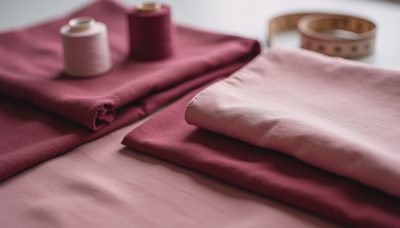
Here is what belongs in a beginner setup: universal needles in sizes 70/10 through 90/14, denim needles for heavier seams, polyester all-purpose thread, spare bobbins made for the machine, fabric scissors, a seam ripper, and an iron. The seam ripper is not a sign of failure. It is part of the process, particularly when a rescued garment has hidden damage or an old seam was sewn unevenly.
Brother models and realistic buying prices
The Brother CS7000X and similar computerized sewing machines are commonly positioned as approachable choices for general sewing, crafts, and basic quilting. Models in this category often provide multiple presser feet and built-in stitch selections. The exact package changes by retailer, so compare the included accessories rather than relying only on the model name.
A brother sewing and quilting machine in the entry-level range may sell for roughly $150 to $300 when new, while more feature-heavy computerized models can cost more. Prices change during holiday promotions and clearance events. A machine marketed as a quilting model is not necessarily a full-size long-arm machine; it is usually a domestic machine designed to handle piecing, small projects, and occasional quilt layers.
If your main goal is free-motion quilting, a straight-stitch quilting machine such as Brother’s PQ-series style of machine may be more focused than a general computerized model. It can be a better fit for someone who already knows they want quilting practice, but it is less versatile for decorative stitches and everyday garment repair. Match the machine to your project list, not to the longest feature list.
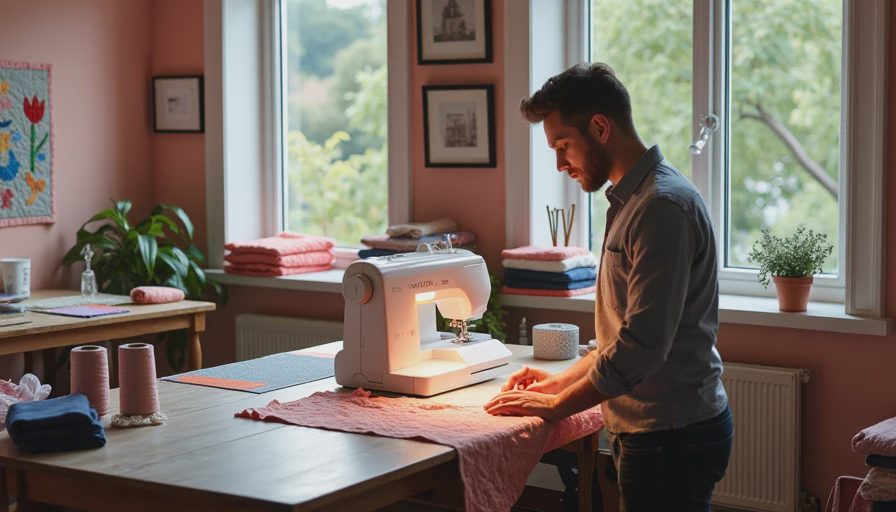
Buying a used machine without inheriting a headache
Secondhand sewing machines can be excellent thrift finds, but test before handing over your money when possible. Bring a small scrap of medium-weight cotton, a scrap of denim, and a bobbin if the seller allows testing. Check whether the handwheel turns smoothly, the needle moves up and down, the presser foot raises, and the reverse function works.
Ask whether the power cord, foot controller, bobbin cover, and presser feet are present. Replacing a missing foot can cost $10 to $30, while a missing foot controller or proprietary power supply can make a cheap listing less attractive. Look for cracked plastic around the needle area, rust on the needle plate, and thread packed underneath the bobbin case.
Test the machine with fresh thread rather than judging it by an old spool left on the spindle. Sew several inches slowly, then at normal speed. Loops underneath often point to threading or tension problems, but grinding noises, timing issues, and a needle that will not center deserve more caution. A local repair estimate can range from about $75 to well over $150, depending on the service and fault.
A simple first project and troubleshooting routine
Begin with a rectangular project such as a patchwork potholder, pillow cover, or denim pocket. Cut two fabric pieces, press them, place right sides together, and sew with a consistent seam allowance. Backstitch at the start and finish, then press the seam open or to one side. This small project teaches feeding, turning corners, trimming threads, and checking tension without risking a favorite vintage jacket.
If the stitches look uneven, stop before changing every dial at once. Rethread the upper path with the presser foot raised, insert a correctly wound bobbin, replace the needle, and test again. If the fabric is gathering, try a longer stitch, reduce tension only in small adjustments, and support the fabric instead of pulling it behind the foot. Here’s what went wrong and how I fixed it: most mysterious loops were caused by threading with the presser foot down, not a broken machine.
Is this machine right for your sewing plans?
A brother sewing and quilting machine makes sense when you want one approachable tool for mending, alterations, crafts, and occasional quilting. It is especially practical for a small sewing space because a domestic machine can handle many jobs without the cost or footprint of industrial equipment. Choose a simpler mechanical model if you prefer physical dials, or choose computerized controls if speed adjustment and stitch selection matter more.
Before buying, write down three real projects: perhaps hemming thrifted pants, repairing denim, and making a small quilt. Then confirm that the machine has the needed feet, workspace, needle compatibility, and support materials. A great deal is not a great deal if it sits unused because setup is confusing. With a few scraps, the right needle, and permission to make imperfect first seams, you can turn rescued fabric into something genuinely useful.
No notes yet — write the first one.