Learning how to take in the waist of a dress can turn an almost-right thrifted find into something you will actually wear. No such thing as a stupid question here — let’s walk through it. The basic process is simple: try on the dress, measure the extra room, pin the side seams, sew a new line, and test the fit before cutting anything. The tricky part is knowing where to remove fabric and how to keep the skirt, zipper, and bodice balanced.
This guide works best for woven fabrics such as cotton, linen, denim, polyester crepe, and many vintage dresses. Stretch knits require a slightly different approach because the fabric needs room to recover around your body. If the dress has boning, a complicated lining, a one-piece waist stay, or a zipper running through the exact area you need to alter, slow down and inspect the construction first.
Check the fit before you touch the seams
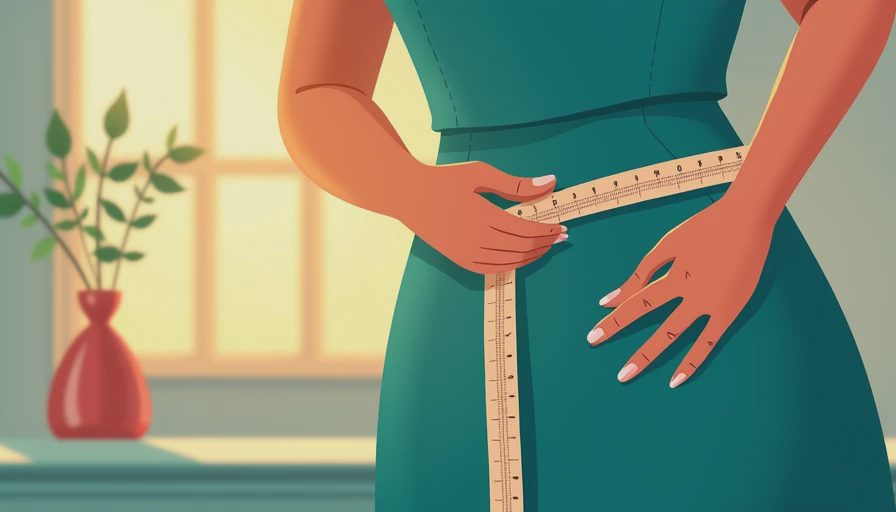
Put the dress on inside out, wearing the bra or thin layer you expect to wear with it. Stand normally rather than pulling the fabric tight. Pinch the excess at both side seams and look in a mirror. If the dress is loose by 2 inches around the waist, you usually need to remove about 1 inch from each side seam, not 2 inches from one side. Dividing the adjustment keeps the center front and center back in the right place.
Use safety pins or sewing pins to mark the new shape. Start about 2 to 3 inches above the waist and blend gradually into the original seam. Then continue a few inches below the waist so the new stitching does not create a sharp corner. Sit down, raise your arms, and take a few steps. A waist that looks perfect while standing may feel restrictive when you move.
Before marking, check whether the looseness is truly at the waist. If the bust is also too large, taking in only the waist can cause diagonal wrinkles from the armhole. If the skirt hangs unevenly after pinning, the dress may need a more complete alteration. A small waist adjustment is beginner-friendly; a major change to the bodice is a good reason to practice on a less precious garment first.

Gather the right tools and mark the new seam
For how to take in the waist of a dress safely, gather a seam ripper, fabric chalk or a washable pen, a measuring tape, pins, matching thread, an iron, and a sewing machine or hand-sewing needle. Use a fine universal needle for most woven fabrics. Delicate silk, lightweight rayon, and slippery satin need more care and are less forgiving of repeated needle holes.
Turn the dress inside out and inspect the existing seam allowance. A seam allowance of at least 1/2 inch gives you room to sew a new line. If the seam is narrow, you might need to add a small dart instead of reshaping the entire side seam. If there is a lining, outer fabric, and zipper, open only enough stitches to access the area. Do not cut away excess fabric yet.
With chalk, draw a smooth line connecting your pinned adjustment to the original seam. Remove the pins one at a time, then measure from the original seam to your chalk line at several points. The measurements should be similar on the left and right sides. This is the moment to catch an uneven adjustment. A difference of even 1/4 inch can make the dress twist around the body.
If you are unsure, baste the new seam first. Set a long stitch on the machine, sew directly over the chalk line, and leave the original seam intact. Try the dress on right side out. Basting is not wasted work; it is much faster than unpicking a short, tight permanent seam.
Sew the adjustment and protect the fabric
Once the basted fit looks right, sew the new seam with a regular stitch length, usually around 2.5 to 3 millimeters. Backstitch at the beginning and end, or secure the thread by hand if the fabric is delicate. Keep the transition gradual. A smooth curve is more comfortable and looks more professional than a sudden inward angle at the waist.
Press the new seam gently with an iron. Pressing is not just a finishing step; it settles the stitches and helps the altered area lie flat. Use a pressing cloth on synthetics, dark fabrics that might shine, and vintage materials with uncertain fiber content. Test the iron on an inside seam first.
Here is what went wrong in one common beginner attempt: the new seam was sewn only across the narrowest part of the waist, creating a visible point at the side. The fix was to unpick that short section, extend the line upward and downward, and press it over a tailor’s ham. The dress then followed the body instead of folding at one spot.
Handle zippers, linings, and darts carefully
A zipper changes the safest alteration path. If the zipper is at the center back, take equal amounts from the side seams whenever possible. This avoids shortening or distorting the zipper tape. If the side seam contains the zipper, you may need to remove and reinstall it, which is more advanced. A waist adjustment through a back zipper can work, but only if the zipper still lies flat after sewing.
For a lined dress, treat the lining and outer fabric as separate layers. First fit the outer dress, then adjust the lining to match. Avoid catching the lining tightly to the outer seam unless the original construction did so. The lining needs a little movement, or it can pull the dress upward when you sit.
Darts are another option when the side seams already line up with the body. A pair of small waist darts at the back can remove extra fabric without changing the skirt width. Mark each dart evenly, taper the stitching gradually toward the point, and press darts toward the center back unless the garment’s original design suggests otherwise.
Finish, wash, and decide whether to keep the change
After you confirm the fit, trim the excess seam allowance only if you are certain you will not need to let the dress back out. Leave a generous allowance in vintage pieces or valuable fabrics. Finish the raw edge with a zigzag stitch, pinking shears, or an overcast stitch so the fabric does not fray. For a dress with a lining, hand-sew the opening closed with small slip stitches.
Try the finished dress over your usual undergarments and check it in natural light. Look for pulling across the bust, horizontal wrinkles at the waist, or a skirt that no longer hangs straight. Wash or steam the garment according to its care label before judging the final result, because some fabrics relax after pressing or laundering.
Learning how to take in the waist of a dress is mostly an exercise in making small, reversible decisions. Pin first, baste second, sew permanently third. If the result feels too tight, remove the new stitching and move the line closer to the original seam. With a thrifted dress and a little patience, a modest alteration can save a great garment from the donation pile and give it a fit that feels intentionally made for you.





No notes yet — write the first one.