Learning how to make a shirt smaller can rescue an oversized thrift find, a stretched favorite tee, or a button-up that fits everywhere except the waist. No such thing as a stupid question here — let's walk through it. The best method depends on the fabric, how much extra room you have, and whether you want a temporary adjustment or a permanent alteration. Before cutting anything, wash the shirt according to its care label, try it on inside out, and mark the fit with safety pins or washable chalk.
Start by checking the fabric and the fit
A shirt that is one size too large is usually easy to improve. A shirt several sizes too large can become awkward if the shoulders, armholes, and neckline are all out of proportion. Put it on inside out and pinch the excess fabric at the side seams. If the shoulders already sit correctly, focus on the body. If the shoulder seam hangs several inches past your shoulder, shrinking the sides alone will not create a polished fit.
Read the fiber content before choosing a method. Cotton and cotton blends can shrink with heat, while polyester generally resists shrinking. Rayon, viscose, silk, wool, and delicate vintage fabrics can distort, felt, or lose their finish when treated aggressively. Check for stains, weak seams, and old elastic too. A fragile secondhand shirt may need gentle sewing rather than a hot dryer.
For a quick test, pin a small amount at both side seams and sit, reach, and lift your arms. You need enough ease to move comfortably. A fitted shirt still needs room across the chest and upper back, especially if the fabric does not stretch.
How to make a shirt smaller with washing and heat
If the shirt is mostly cotton and only slightly too loose, controlled washing is the simplest approach. Turn it inside out, wash it in warm water, and dry it on medium heat for a short cycle. Check the shirt every 10 to 15 minutes rather than leaving it in the dryer until completely dry. This gives you a chance to stop before the fabric shrinks more than planned.
After drying, lay the shirt flat and compare it with the original measurements. Try it on while it is fully dry. If it still needs a little adjustment, repeat a shorter warm wash and dryer cycle. Do not use this technique on a valuable vintage piece without testing first. Heat can fade dark dye, tighten the neckline, and make a graphic print crack.
Washing is not a precise alteration. It may shorten the shirt more than it narrows it, or shrink one part unevenly. I once treated a heavyweight cotton tee this way and got a tighter body but a collar that looked noticeably smaller. The fix was to stop using heat and take in the side seams instead. Shrinkage is useful for a small change, but sewing gives you much more control.
Sewing method for a clean, permanent fit
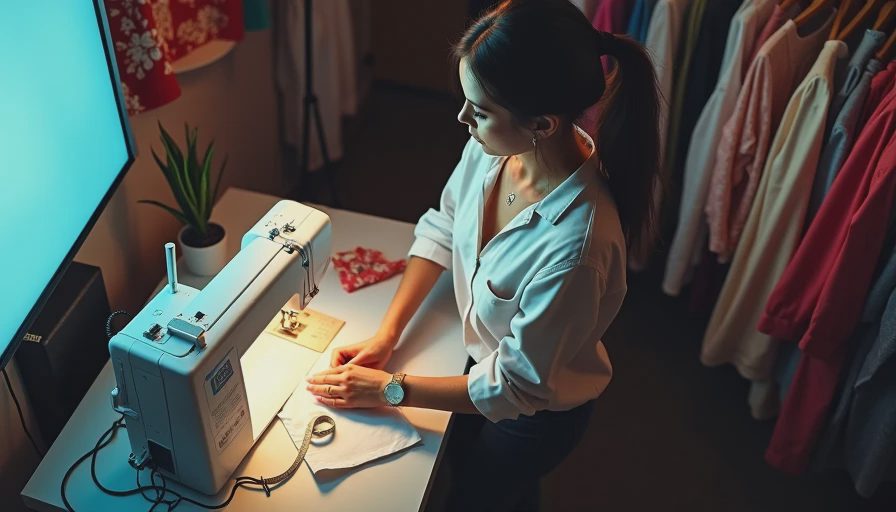
For a reliable answer to how to make a shirt smaller, use the existing side seams. You will need pins, a fabric marker or tailor's chalk, a ruler, thread, and a sewing machine or hand-sewing needle. A seam ripper is helpful if you need to remove a label or open a hem temporarily.
First, put the shirt on inside out and pin the excess fabric from the underarm down toward the hem. Keep the new line gradual. Do not create a sharp point beneath the armpit, because that can pull when you move. Remove the shirt carefully, mark the pinned line, and add about half an inch for a new seam allowance.
Sew a long basting stitch just inside the marked line. Turn the shirt right side out and try it on again. Raise your arms, bend forward, and check that the side seam does not twist. If the fit feels good, sew over the basting line with a regular straight stitch. For a stretchy knit, use a narrow zigzag or stretch stitch so the seam can move with the fabric.
Trim the excess only after you are sure the fit works. Leave roughly a half-inch seam allowance and finish the raw edge with a zigzag stitch, overlock stitch, or pinking shears. If the shirt has side vents, a curved hem, or a decorative panel, slow down near those details. Matching the original construction makes the alteration look intentional.
No-sew options for a temporary adjustment
Sometimes you need how to make a shirt smaller without committing to scissors. Fashion tape can hold a loose side seam for a few hours, although it works best on clean, dry fabric and should be tested on an inside hem. Safety pins can also gather excess fabric, but place them from the inside and use several small pins instead of one large, tight fold.
Another option is a simple back gather. Fold a small section of fabric at the center back and secure it with a decorative brooch, a covered elastic, or a small hair tie hidden beneath the fabric. This works especially well for oversized flannels and lightweight button-ups. It changes the silhouette without permanently changing the garment, which is useful when swapping clothes or deciding whether you truly like the smaller shape.
For knit tees, a narrow fabric belt or a knot at the side can create a more fitted look. Avoid tying a bulky knot directly over a pocket or printed design. These methods are styling solutions, not replacements for proper tailoring, but they are low-risk ways to test a new proportion.
Common mistakes and easy fixes
One frequent mistake when figuring out how to make a shirt smaller is removing too much from the waist while ignoring the chest. The result looks narrow when standing but pulls across the front during movement. Reopen the side seam and let out the upper section, then taper gradually toward the hem.
Another mistake is sewing directly over pins. Remove each pin before the needle reaches it, especially with a domestic machine. A bent needle can damage the fabric or send a sharp piece toward your fingers. Use a fresh universal needle for woven cotton and a ballpoint or stretch needle for jersey knits.
Do not cut away excess fabric before testing the new seam. This is the alteration version of deleting a file before saving a backup. Baste, try on, wash if necessary, and only then trim. If the shirt has a pocket, logo, or front placket, side seams are safer than trying to redraw the center front.
How to make a shirt smaller without ruining a thrift find
Start with an inexpensive shirt or one you do not mind experimenting on. Photograph the original fit, measure the chest from armpit to armpit, and record the shirt length. Those numbers give you a useful before-and-after comparison instead of relying only on a mirror.
For a basic cotton tee, expect a small improvement from controlled heat and a more dependable result from taking in the sides. For a button-up, check the shoulder position and sleeve width before changing the body. For a stretchy top, preserve stretch in every new seam. For a delicate vintage blouse, hand-baste and use the least invasive method first.
The most useful lesson is that how to make a shirt smaller is not one universal trick. Heat is fast but unpredictable, pins and tape are temporary, and sewing takes more time but produces the best control. Start with the smallest change that solves the problem, test the garment through normal movement, and keep the original fabric whenever possible. That approach saves good thrifted clothing from the donation pile and helps you build alteration confidence one shirt at a time.





No notes yet — write the first one.