Choosing a scissor for cloth can feel oddly complicated when you are staring at a wall of nearly identical handles. No such thing as a stupid question here — fabric scissors are different from office scissors, craft snips, and the pair you keep in the kitchen drawer. The right tool helps you cut thrifted shirts, denim, curtains, and delicate vintage pieces without chewing up the edges.
For most beginners, a sharp pair of dressmaking shears with long stainless steel blades is the best starting point. You do not need a $100 professional tool to hem jeans or turn a secondhand tablecloth into a skirt. A dependable pair in the $15 to $35 range can last for years when it is used only on fabric and stored safely.
What to look for before buying
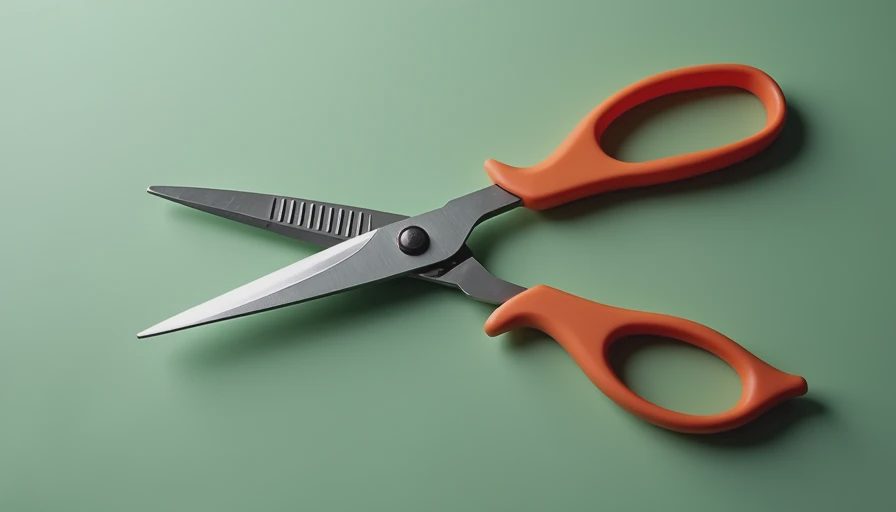
A good scissor for cloth should feel balanced in your hand, open smoothly, and close without a gritty or loose sensation. The larger finger hole normally goes around your fingers, while the smaller hole supports your thumb. Try holding the scissors with the point facing down. If your wrist twists sharply to keep the blades flat, the handle may be uncomfortable for longer cutting sessions.
Blade length matters more than many new sewists expect. Blades around 8 to 10 inches are useful for cotton, linen, rayon, and medium-weight upholstery fabric because they cover more distance with each cut. Smaller 5-inch embroidery scissors are better for trimming threads and clipping small curves, not for cutting a full pant leg. Serrated blades can grip slippery material, but they often leave a less smooth edge and are not the first choice for general garment work.
Look for a clean meeting point between the blades. Hold a scrap of fabric near the tips and make a short cut. If the fabric pushes away instead of being caught, the scissors may be poorly adjusted or dull. Brands such as Fiskars, Kai, Gingher, and Mundial offer widely available sewing scissors, but the specific model and fit matter more than the logo.
Match the scissors to the fabric
The best scissor for cloth depends on what you are cutting. Lightweight silk, lining fabric, and rayon need sharp, precise blades because a rough edge can create pulls. Cotton quilting fabric is more forgiving, while denim and canvas require strong blades and a comfortable handle. For thick felt or several layers, make fewer layers rather than forcing the tool through a stack that strains your wrist.
For stretch jersey, place the fabric on a flat surface and avoid lifting it while cutting. Stretching the material can turn a straight pattern line into a curved one after it relaxes. With velvet or corduroy, mark the wrong side and cut slowly so the pile stays oriented consistently. A scissor for cloth with a pointed tip helps around notches, but do not use that tip to stab through fabric; make a tiny snip from the edge instead.
Here is what belongs and what does not: fabric shears belong beside your sewing machine, while paper, cardboard, plastic packaging, and tape belong nowhere near their blades. Paper fibers dull scissors surprisingly quickly. Keep a separate inexpensive pair for patterns and general crafts. That small habit saves money because your good shears will not need frequent sharpening.
A beginner-friendly cutting method
Before cutting, wash or steam the garment if the material can shrink. Lay it on a large, clean table and smooth wrinkles without stretching the fabric. Place your pattern or chalk marks, then check grain lines, hems, pockets, and printed motifs. Thrifted clothing often has hidden surprises, including uneven seams and previous repairs, so inspect both sides before making an irreversible cut.
Use a scissor for cloth with the lower blade resting against the table. Keep the fabric flat and make long, steady strokes instead of opening the blades only a few millimeters. Stop with the blades partly closed, reposition them, and continue along the line. This technique produces a cleaner edge than dragging the top blade through floating fabric.
For a shirt-to-tote upcycle, remove the sleeves first, then cut the neckline and mark the bottom opening. Cut both layers together only when they are aligned and stable. If the fabric shifts, separate the layers and cut them individually. That extra minute is easier than trying to repair a lopsided bag later. I have absolutely rushed this step and ended up with handles of different widths; measuring again fixed more than better cutting technique did.
Common mistakes and simple fixes
One frequent mistake is using a blunt scissor for cloth because it technically still cuts. Dull blades force you to push harder, which can create jagged edges and hand fatigue. If cotton begins slipping between the blades, test the scissors on a small scrap. Lightly oiling the pivot can help a stiff pair, but oil will not restore damaged or permanently dull blades.
Another mistake is cutting directly on the floor. Carpet can hide pins, make fabric shift, and encourage awkward wrist angles. A kitchen table, folding cutting mat, or smooth plywood board is safer and more accurate. If your table is too small, roll the unused fabric loosely rather than bunching it beside the cutting line.
Do not try to fix a visibly nicked blade with sandpaper or a household knife. A professional sharpener is often worth the $10 to $25 fee for quality shears. Cheap promotional scissors can cost less to replace than sharpen, but a well-fitting pair from Kai or Gingher may deserve maintenance if the handles and pivot still feel solid.
Care that keeps your shears useful
Wipe fabric lint from the blades after each project with a dry soft cloth. Store the scissor for cloth closed, preferably in a sleeve, drawer, or case where it cannot fall onto a hard point. Avoid leaving it under fabric scraps, because someone may grab it for paper without realizing it is your garment tool.
If the pivot loosens, check whether the model has an adjustment screw. Tighten it in small increments and test after each adjustment. Over-tightening makes cutting tiring and can damage the joint. Never put sewing shears in a dishwasher or soak them in water; moisture can cause rust near the pivot and along tiny scratches in the metal.
A magnetic strip can be convenient, but a protected drawer is better if children or pets have access to the sewing area. Keep thread snips and small embroidery scissors nearby so you are not tempted to use large shears for every tiny task.
Choosing your first pair for an upcycle project
If you mostly alter T-shirts and cotton thrift finds, start with 8-inch dressmaking shears that feel comfortable and have a sharp point. If denim is your main material, prioritize sturdy construction and a handle that does not pinch. If you sew delicate vintage fabrics, choose precision over force and consider a separate small pair for tight curves.
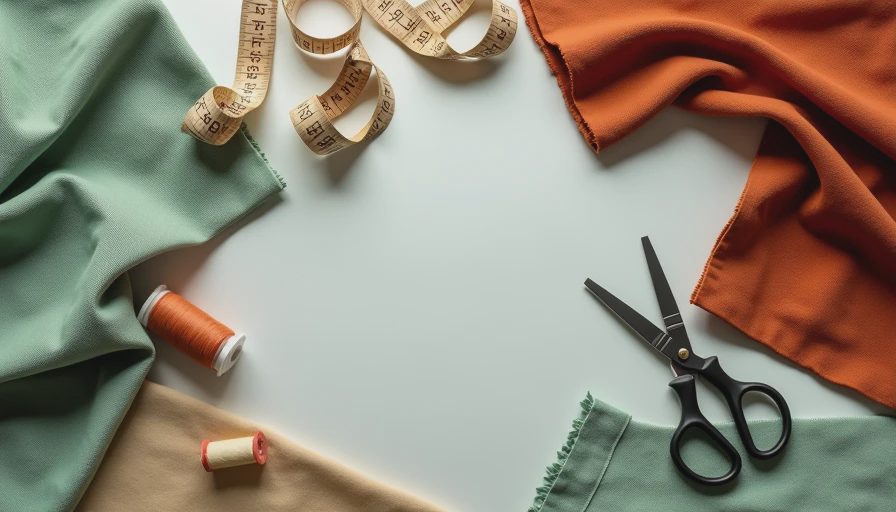
A $12 pair can work for occasional projects, while a $25 to $45 pair often offers smoother action and better comfort. You do not need to buy every specialty tool immediately. One dependable scissor for cloth, a small thread snip, washable chalk, measuring tape, and a cutting mat will handle a surprising number of repairs and transformations.
Before paying, open and close the scissors several times, inspect the tips, and test them on a fabric scrap if a store allows it. Online, read recent reviews for comments about alignment, handle comfort, and performance on the materials you actually use. Skip listings that only show a shiny product photo but provide no blade length or material information.
The goal is not to own the fanciest equipment. It is to make clean cuts confidently enough that a thrifted garment can become something you will actually wear. Start with one reliable tool, protect it from paper, and practice on a low-stakes item before cutting your best vintage find. That approach turns a confusing purchase into a useful first step at the sewing table.



No notes yet — write the first one.