A **sewing and embroidery machine** can feel like the dream tool when you thrift clothes, mend vintage finds, or want to add your own labels, patches, and decorative details. It promises two jobs in one machine, which sounds perfect on paper. In real life, the best choice depends on what you actually make most often. No such thing as a stupid question here — let's walk through it in plain language so you can figure out whether a combo machine fits your sewing table, budget, and project list.
What a sewing and embroidery machine actually does
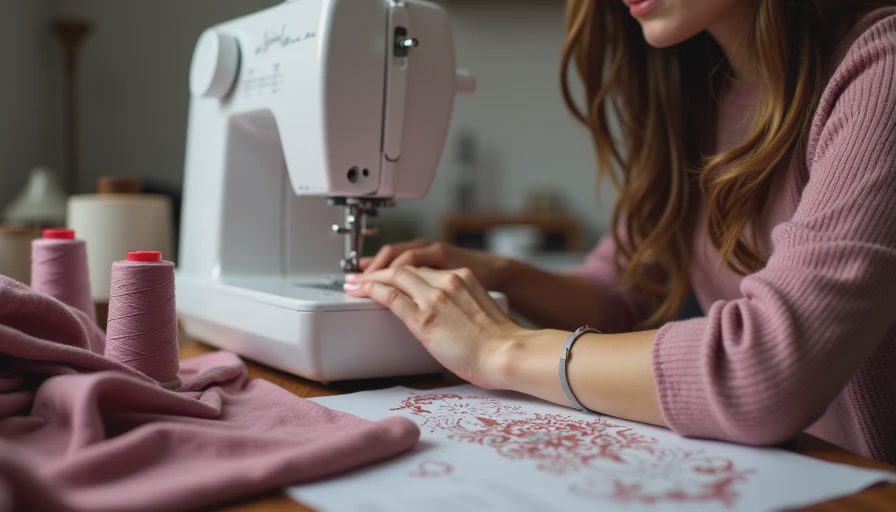
A sewing and embroidery machine combines regular garment sewing with computerized embroidery. That means it can handle practical jobs like hemming jeans, sewing seams, attaching pockets, and repairing secondhand pieces, then switch over to decorative work like monograms, floral motifs, and small patch-style designs. For upcyclers, that mix can be genuinely useful. You might shorten a thrifted dress one day and stitch a decorative cuff design on a denim jacket the next.
The part that trips up beginners is expecting one machine to do everything equally well. A combo model usually sews everyday projects well enough, but embroidery takes setup time. You need stabilizer, the right needle, the correct hoop, and a design sized for the embroidery field. Here's what went wrong + how I fixed it: the first time I embroidered on a thin thrifted tee, I skipped proper stabilizer and got puckering. Once I matched the fabric with a cutaway stabilizer and slowed down, the result looked much cleaner.
If your goal is mostly repairs and simple refashioning, a basic sewing machine might be enough. If you love custom details, gift-making, or branding your handmade swaps with tags and motifs, a sewing and embroidery machine starts making a lot more sense.
Who should buy one and who should skip it
A sewing and embroidery machine is best for a reader who already sews fairly often and knows they want decorative capability, not just the idea of it. If you regularly upcycle denim, canvas totes, overshirts, or kids' clothes, embroidery can add a lot of personality. It is also great for making visible mends look intentional instead of like a last-minute save.
Who should skip it for now? Total beginners who have not yet learned threading, tension basics, seam finishing, or how to sew in a straight line. That is not gatekeeping — it is just the honest version. Combo machines usually cost more, take more menu navigation, and can feel frustrating if you are still wrestling with bobbins. A solid entry-level sewing machine from Brother, Janome, Singer, or similar brands can be a better first buy if your budget is under about $300.
If your budget is closer to $500 to $1,200, that is where many beginner-friendly combo options start to appear. Above that, you get more embroidery space, smoother interfaces, and stronger convenience features. Here's what belongs / what doesn't: if you want to hem pants, sew tote bags, and do basic mending, you need reliability first. If you want decorative initials, jacket art, or custom patches, then the embroidery side earns its keep.
Features that matter more than flashy extras
When comparing any sewing and embroidery machine, start with the basics. First, look at embroidery field size. A small field can still do names, small motifs, and patch details, but larger jacket-back designs need more room. Second, check file compatibility and how designs are loaded. USB import is easier than older card-based systems. Third, pay attention to how easy it is to switch from sewing mode to embroidery mode.
For the sewing side, useful features include adjustable stitch length and width, a one-step buttonhole, speed control, and a drop-in bobbin with clear cover. A free arm helps with cuffs and sleeves. Good lighting matters more than people think, especially when you are trying to repair dark vintage denim at night.
Try not to get distracted by huge stitch-count lists. Hundreds of decorative stitches sound exciting, but most people use a handful regularly. Test results inside: ease of threading, smooth fabric feeding, and clear on-screen prompts matter more than having 300 stitches you never touch. If possible, read reviews from people making clothes and patches, not just holiday monograms.
Common mistakes beginners make with embroidery
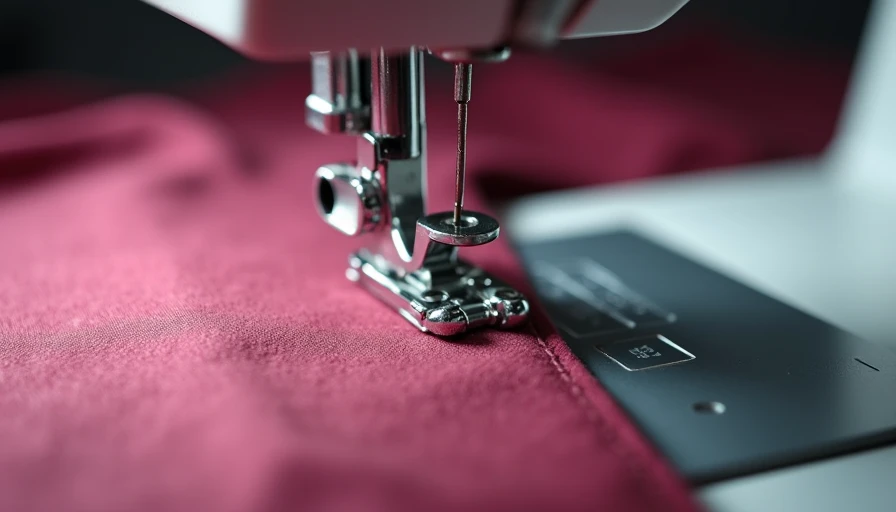
The biggest mistake is treating embroidery like regular sewing. It is not. Embroidery needs stabilization, and the wrong stabilizer can ruin the final look. Lightweight woven shirts, stretchy thrifted tees, and slippery linings all behave differently. A sewing and embroidery machine can only do its job well if the fabric is prepped correctly.
Another common problem is hooping fabric too loosely or too tightly. Too loose, and the design shifts. Too tight, and the fabric can stretch out of shape. I have also seen beginners use old thread from the bottom of a thrift-store sewing basket and then wonder why it keeps snapping. Fresh embroidery thread and the right needle save a lot of stress.
Start small. Monograms, simple flowers, and tiny border designs are better first projects than a full back-panel design on a jacket. Practice on scrap fabric that feels similar to your actual garment. If you are working on a secondhand piece, wash it first. Vintage fabrics sometimes shrink, bleed, or reveal weak spots only after cleaning, and that is much better to learn before stitching a design.
Best uses for thrift flips, mending, and custom style
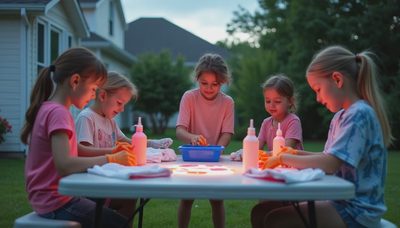
For the StitchSwapTalk crowd, the best reason to own a sewing and embroidery machine is creative reuse. You can cover a stain on a thrifted sweatshirt with a small embroidered motif, personalize a collar on a button-up, or make matching patches for a repaired pair of jeans and a tote bag. Embroidery is also helpful for making gifts feel custom without buying new fast-fashion pieces.
Visible mending is where combo machines can really shine. Decorative stitching around a patch can turn a tear into a feature. Small embroidered shapes can reinforce worn spots while adding style. Even simple lettering can make a basic thrift flip feel intentional and original.
That said, keep expectations realistic. A sewing and embroidery machine will not magically fix poor fit, bad fabric, or weak construction. Use it as part of your toolkit, not the whole solution. If the garment needs major reshaping, you still need sewing fundamentals first. But once those basics are in place, a combo machine can open up a lot of fun options.
How to choose without regretting the purchase
Start with your actual projects from the last six months. Did you mostly mend seams and shorten hems, or were you sketching patch ideas and wanting to add designs to jackets and bags? That answer matters more than marketing photos. If possible, set a clear budget for the machine plus supplies, because embroidery also means buying stabilizer, thread, needles, and sometimes extra hoops.
A good shopping checklist looks like this: easy threading, reliable basic sewing performance, simple design transfer, a field size that matches your projects, and support resources you will actually use. A machine with clear tutorials and an active user community can save hours of frustration.
If you are still unsure, the safest move is to buy for the sewing jobs first and let embroidery be the bonus. A sewing and embroidery machine is worth it when you will truly use both sides. If that sounds like you, it can become one of the most satisfying tools on your sewing table.
No notes yet — write the first one.