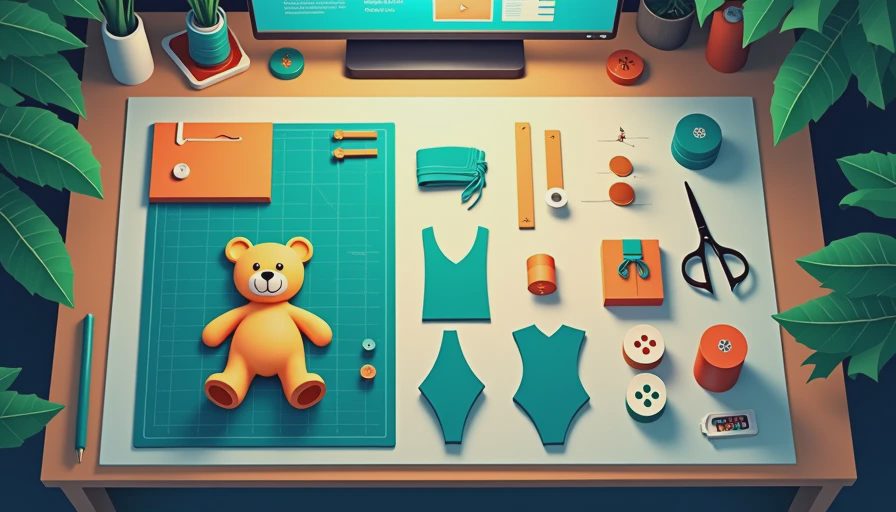
Have you ever looked at a worn-out sweater or a vintage dress and thought, "This fabric deserves a second life"? That's where a **teddy bear sewing pattern** comes in. Making your own pattern from scratch is easier than you think, and it's the perfect way to turn sentimental clothing into a cuddly keepsake. Whether you're a complete beginner or a seasoned upcycler, this guide will walk you through everything you need to create a **teddy bear sewing pattern** that's uniquely yours. No such thing as a stupid question here — let's walk through it.
Finding Inspiration in Your Closet
Before you even think about cutting, take a look at what you already own. The best **teddy bear sewing pattern** starts with fabric that has a story. Maybe it's a wool blazer from a thrift store, a cotton shirt that's too stained to wear, or a soft fleece blanket. Choose something that feels good in your hands — your teddy will thank you. Consider the weight: light cottons work well for small bears, while heavier wools or knits give a sturdy, vintage feel. Avoid fabrics that fray too much (like silk) unless you're ready for extra finishing steps.
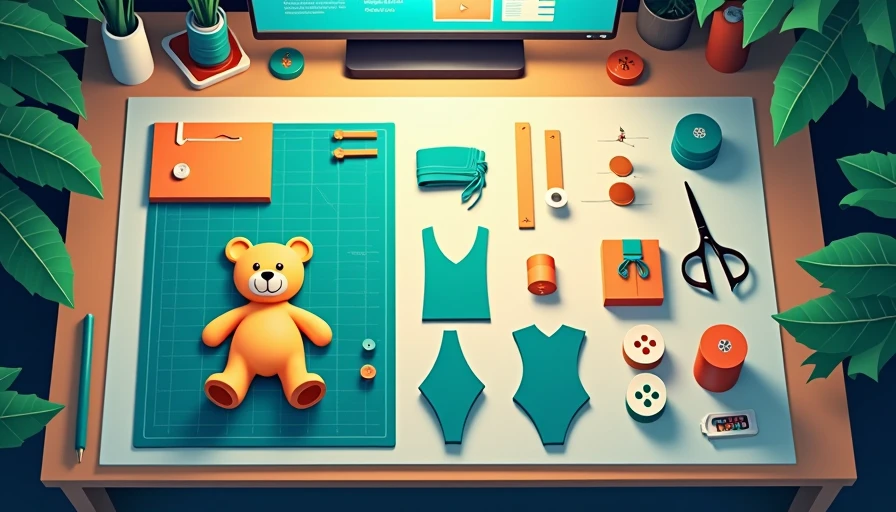
Creating Your Own Teddy Bear Sewing Pattern
Now, let's get into the actual pattern. You don't need a store-bought template; you can draft your own **teddy bear sewing pattern** using simple geometry. Here's a step-by-step method that I've used dozens of times:
- **Trace a basic shape** – Fold a piece of paper in half (like the bear will be symmetrical). Draw half the bear's body: a round head, two ears, a body, and arms/legs. Keep it simple — curves are your friend.
- **Add seam allowance** – Once you're happy with the shape, add ⅜ inch (1 cm) around the entire drawing. This is crucial so your pieces fit together.
- **Cut out your pattern piece** – Unfold it to see the full bear. Now you have one main pattern piece (front/back) and separate pieces for ears, arms, and legs if you want them.
- **Test with scrap fabric** – Pin the paper pattern to an old sheet or scrap fabric, cut it out, and quickly hand-baste the pieces together. This lets you see if the proportions look right without wasting good material. Adjust the paper pattern as needed.
- **Transfer to final fabric** – Once you're satisfied, pin your **teddy bear sewing pattern** to the thrifted garment and cut two main body pieces (if you want a front and back) or one on the fold for a seamless body. Remember to flip the pattern for the second side.
Pro tip: If you want a floppier bear, cut the body slightly larger and stuff loosely. For a firmer bear, keep it tighter and use more stuffing.
Common Beginner Mistakes and How to Fix Them
I've made every mistake in the book, so here's what I learned:
- **Pattern pieces don't match up** – This usually happens when you forget seam allowance. Always add it before cutting fabric. If you already cut, you can adjust by sewing a slightly narrower seam.
- **Ears look like pancakes** – Ears need to be small and thick. Make your ear pattern piece half the size you think it should be, and double it (cut two layers) for each ear. That gives them that cute 3D shape.
- **Arms and legs are too long** – Bear proportions are different from human ones. Keep limbs short and stubby for a classic teddy look. I aim for arms that reach just past the belly button.
- **Fabric won't stay flat** – When sewing curves, clip the seam allowance around curves (snip tiny V-shapes) so the fabric lays smooth when turned right-side out. This makes a huge difference.
Pro Tips for Upcycling Fabric into Teddy Bears
Upcycling clothes into a **teddy bear sewing pattern** is about more than just saving money — it's about memory. Here are tips from years of thrift sewing:
- **Use buttons from the original garment** for eyes or a nose. They add character and keep the item's history alive.
- **Make jointed bears** by attaching limbs with buttons and thread (like a cloth doll joint). This lets the bear sit or move its arms. There are plenty of free tutorials online.
- **Mix fabrics** – Use the main body from one garment and patches from another. A wool coat body with corduroy ears? Yes, please.
- **Always prewash your fabric** – Thrifted clothes have been worn and washed many times, but a hot wash and dry ensures they won't shrink after your bear is made.
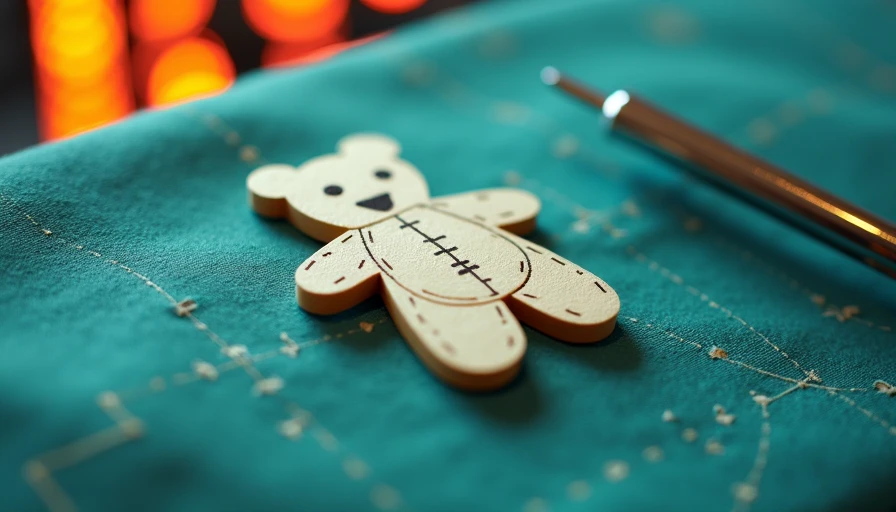
Putting It All Together: From Pattern to Finished Bear
Once you have your **teddy bear sewing pattern** and fabric, the assembly is straightforward:
- Cut two body pieces (or one on the fold), plus four ear pieces (two per ear), and four limb pieces if you're making separate arms/legs.
- Pin right sides together and sew with a ⅜ inch seam, leaving a 2-inch opening on one side of the body for turning.
- Clip curves, turn right-side out, and stuff firmly with polyester fiberfill or scrap fabric bits.
- Hand-stitch the opening closed with a ladder stitch (invisible stitch).
- Attach ears and limbs with buttons or by slip-stitching them in place. Add a stitched nose and button eyes (safety eyes work too, but buttons feel more authentic).
And just like that, you've turned an old garment into a new friend. The best thing about making your own **teddy bear sewing pattern** is that every bear is one of a kind. No two will look exactly alike, and that's the whole point.
Ready to Start?
Grab a piece of fabric from your stash and a scrap of paper. Draw a shape, cut it out, and see where it takes you. If you hit a snag, remember: no such thing as a stupid question here. Come share your results in the StitchSwapTalk community — we'd love to see your upcycled teddy bears!
Happy sewing!



No notes yet — write the first one.