If you love turning thrift-store finds into something you actually wear, Tilly and the Buttons patterns can make the whole process feel a lot less intimidating. They are known for clear instructions, approachable drafting, and projects that do not assume you already know every sewing trick. That matters when your fabric is a curtain panel, a deadstock remnant, or a tablecloth you found for $6 and want to turn into a real outfit. The sweet spot is simple: pick a pattern that matches the fabric, measure carefully, and let the pattern do the heavy lifting while you learn the rest.
Start with fabric, not inspiration
The easiest way to have a good first project is to shop your stash or your thrift finds before you pick the final garment. Look for fabric with enough body for the pattern shape you want. A crisp cotton sheet can work well for a structured top or skirt, while a soft rayon curtain is better for drape. If a pattern calls for knit fabric, do not force a woven just because it is pretty. That is how a beginner ends up with a neckline that pulls, a sleeve that fights back, and a lot of seam ripping.
A good rule is to match the project to the cloth, not the cloth to the dream. If you only have one yard of a favorite print, choose something small like a top, a cropped layer, or pockets and facings. If your thrifted fabric is wide and plain, that is your chance to cut a bigger silhouette without piecing together strange scraps. This is where the learning starts to feel practical instead of random.
Measure the finished garment, not just your body
With Tilly and the Buttons patterns, the size chart matters more than the number on the envelope. The body measurement chart is only the starting point. The more useful number is the finished garment measurement, because it tells you how much ease is built in. That helps you decide whether you want a relaxed fit for everyday wear or a closer fit that needs a little more precision.
Before cutting anything, compare your bust, waist, and hip measurements to the chart, then compare those numbers to the finished garment measurements. If you are between sizes, you can often blend sizes at the waist or hip instead of forcing one size across the whole piece. That small adjustment can save a project from looking boxy in one area and tight in another. If the pattern has a lot of ease, make a note of it before you cut your thrifted fabric. It is much easier to trim later than to add width back in.
Make a test version without wasting your good fabric
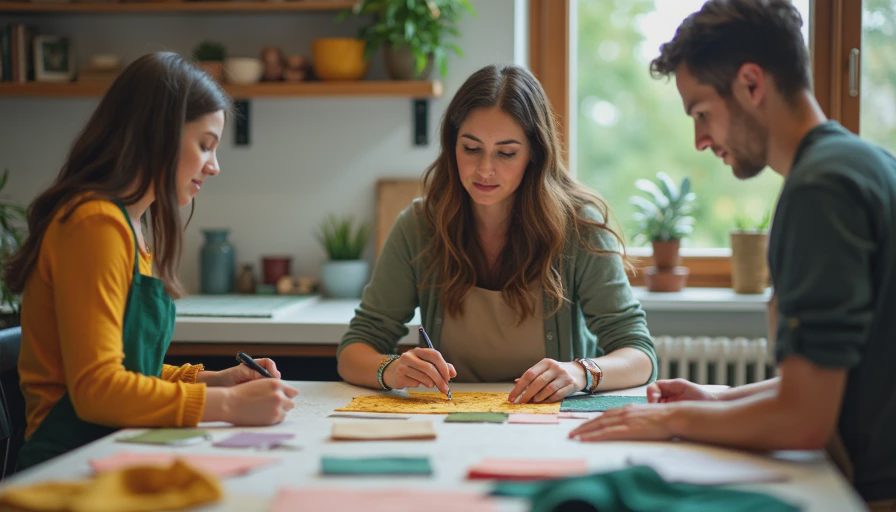
A toile does not have to be fancy. For a beginner, it can be a quick test version in cheap cotton, an old bedsheet, or a leftover piece that is close enough in weight to the real thing. The point is not perfection. The point is to see where the shoulder sits, whether the neckline feels right, and how the sleeves or waistline behave when you move.
If you are worried about time, test only the parts that matter most. For a blouse, you might sew the bodice and one sleeve. For a skirt, you might check the waistband and hip fit first. Mark the changes directly on the fabric with chalk or a washable pen, then transfer those changes back to your pattern before cutting the final version. One extra afternoon of testing can save a project from becoming the kind of almost-finished garment that lives in a drawer for a year.
Use thrifted fabric like a puzzle, not a gamble
Secondhand fabric comes with quirks, and that is normal. You may find faded fold lines, small stains, a hem that needs removing, or a print that only looks centered if you lay the pieces out carefully. Work around the flaws instead of fighting them. Place your pattern pieces on the cleanest part of the fabric first, then see what is left for sleeves, facings, or patch pockets.
This is also where grainline matters. If the fabric is twisted from years of storage, take a minute to straighten it before cutting. Press it well, square up the edges, and check whether the fabric has a clear top and bottom. A floral curtain or plaid sheet can look very different once the grain is off by an inch or two. If the fabric has a nap, like velvet or corduroy, make sure every piece runs the same direction. That small detail can make the finished piece look intentional instead of homemade in the wrong way.
Keep a small tool kit beside the machine
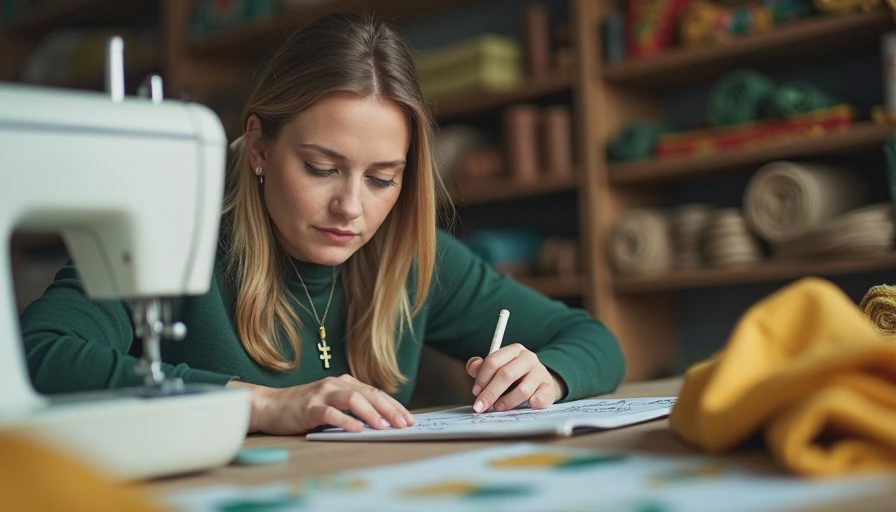
You do not need a giant sewing setup to make a solid first project. A seam ripper, sharp fabric scissors, pins or clips, a measuring tape, tailor’s chalk, and a good iron will do a lot of the work. If your thrifted fabric frays easily, pinking shears or an overcast stitch can help keep the edges under control. Fusible interfacing is also worth having on hand, especially for collars, waistbands, and facings that need a little structure.
A basic machine is enough if you keep the job simple. A Brother or Singer machine from a local shop or a well-cared-for used model can handle a lot of beginner sewing as long as the needle is fresh and the tension is set properly. If the stitches start looping or the fabric slips, pause and test on scrap first. That is not a failure. That is normal sewing life, and every sewist has been there.
A simple first-project formula that actually works
Here is the easiest way to make your first upcycled project feel manageable: choose a pattern with clear instructions, use fabric with enough body for the shape, test the fit before cutting the final version, and keep the finishing simple. Straight seams, clean hems, and a basic closure will take you farther than ambitious details on day one. If your thrifted material is special, let the fabric be the star. You do not need five tricky modifications to make it interesting.
A lot of beginners get stuck because they want the final garment to look perfect before they have even sewn the first seam. That mindset makes sewing feel heavy. Instead, aim for wearable and learn from the process. The first version might have a slightly uneven hem or a neckline that sits a little differently than expected. That is still a win if you can wear it, wash it, and understand what you would change next time.
If you want a project that feels friendly instead of fussy, Tilly and the Buttons patterns are a smart place to start. They give you structure, but they also leave room for thrifted fabric, personal style, and a little trial and error. No such thing as a stupid question here — let's walk through it, and turn the pile of promising fabric into something you will actually reach for.



No notes yet — write the first one.