The zig zag stitch is one of the most useful settings on a home sewing machine when you want to keep thrifted clothes in rotation instead of tossing them after a small rip, raw edge, or stretchy hem starts acting up. It is simple, forgiving, and very beginner-friendly. If you have ever tried to hem a knit tee with a straight stitch and watched the seam pop the first time you pulled it over your head, you already know why this matters. A little practice on scrap fabric goes a long way, and it can save you the cost of a tailor on easy repairs.
What it does for seams and hems
A zig zag stitch creates a side-to-side line that flexes with the fabric instead of locking it stiff. That makes it a smart choice for knits, swimwear, activewear, and any seam that needs a bit of give. It also helps finish raw edges so threads are less likely to fray after a few washes. On a thrifted T-shirt with a loose side seam, for example, you can clean up the repair without opening the whole garment. On a cotton skirt, you can secure a raw hem while keeping the fabric from unraveling at the edge. That is why so many sewists keep this setting in regular rotation. It is not a replacement for every specialty tool, but it is often the fastest way to make a wearable fix.
A zig zag stitch is especially helpful when a garment already has some age on it. Old knits get tired around the collar, cuffs, and hem, and a straight seam can snap in those spots. The side-to-side movement gives the thread room to stretch with the fabric. That matters if you are trying to rescue a $12 thrift find instead of buying new just because the original stitching gave up.
When to choose it over a straight stitch
Use a zig zag stitch on knit hems, elastic edges, button loops, applique patches, and seams that are likely to move a lot. It is also useful on woven fabric when you want a basic edge finish and do not have a serger nearby. The trick is to match the width and length to the job. Wider settings give more stretch, while narrower settings look cleaner on delicate repairs. For a thin jersey tee, keep the width modest so the fabric does not ripple. For a waistband or activewear side seam, give it a little more room to move.
If you are not sure whether the machine setup is right, press the fold first, then stitch a small sample on scrap fabric from the same garment or something close in weight. That tiny test can save you from puckers on the real piece. If the seam stretches while sewing, reduce the pressure, shorten the length slightly, or place a strip of lightweight stabilizer underneath. No such thing as a stupid question here, and the test scrap is usually where the answer shows up first.
How to set up the machine without overthinking it
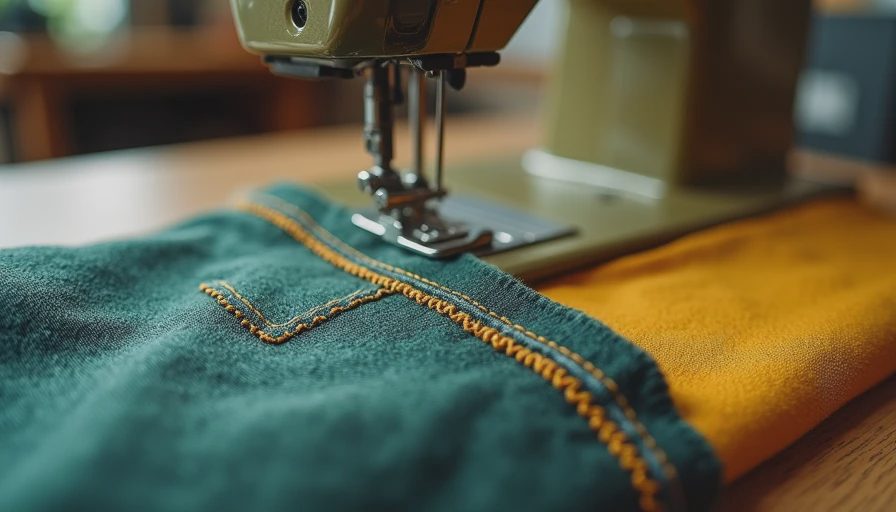
Start with all-purpose polyester thread and a fresh needle. For most medium-weight knits, a size 80/12 universal needle works fine, and a stretch needle is better when the fabric is very elastic. Set the width around 2.5 to 4 millimeters for general repair and the length around 2 to 2.5 millimeters. That gives you enough movement without making the stitches look huge. If your machine lets you adjust presser foot pressure, lower it a bit so the fabric feeds more evenly. This is one of those small settings that can make a big difference on jersey, rayon blends, and vintage tees that have already been washed a hundred times.
Most basic home machines from brands like Brother, Singer, and Janome handle this just fine. You do not need a fancy setup to begin. What matters is that the needle is sharp, the thread path is threaded correctly, and the fabric lies flat as you sew. If the stitch starts looking uneven, stop and rethread before blaming the machine. Half the time, the problem is a simple setup issue, not a bad garment.
Common mistakes and the fastest fixes
If your zig zag stitch tunnels into thin jersey, the width is probably too wide or the tension is too tight. If the stitches skip, swap in a new needle and make sure you are using the right type for stretch fabric. If the thread breaks on thick seams, slow down, shorten the width, and let the needle climb through each layer instead of forcing the fabric. On slippery lining fabric, tissue paper under the seam can help the feed dogs grip while you sew, then you tear it away afterward. That kind of low-cost fix is exactly why this stitch is so handy.
Another common issue is a wavy hem after sewing. That usually means the fabric was stretched while you moved it through the machine. Let the feed dogs do the work, guide the fabric lightly, and avoid pulling from the back. If the edge still waves, add a bit of steam with the iron and let the garment cool flat before judging the result. Sometimes the shape settles back nicely after pressing.
Upcycling projects where it earns its keep
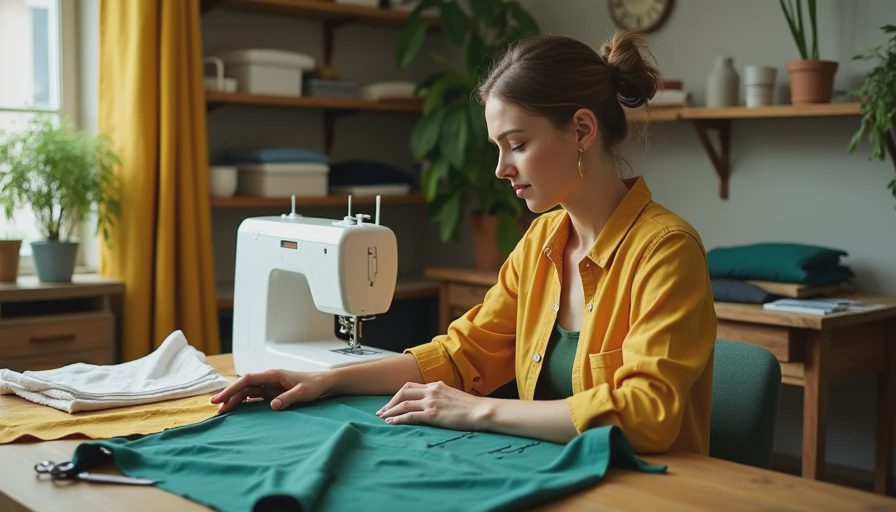
For a quick hem, the zig zag stitch can rescue a thrifted skirt that is a little too long, especially if the fabric wants to curl at the cut edge. It is also useful for patching elbow holes, fixing loose applique, tacking down pocket bags, and cleaning up raw denim edges after you shorten shorts or a jacket. I have even used it to hold a temporary repair on a coat lining before going back later with a hand stitch. That is the real value here: it buys time, keeps clothes usable, and makes a repair look intentional instead of desperate.
If you like secondhand shopping, this is one of the first machine skills that pays you back fast. A small stain, frayed hem, or popped seam becomes less scary when you know you can stabilize it in minutes. You do not need perfect stitches. You need a repair that holds up through washing, wearing, and the next thrift-store outing.
Quick answers before you start sewing
Is a narrow stitch always better? Not always. A narrower line can look cleaner, but stretchier fabric usually needs a wider setting to move comfortably. Can you use it on woven fabric? Yes, especially for a simple edge finish or a small patch, though a straight seam still makes more sense for many flat-wear repairs. Does it replace a serger? Not exactly. A serger is faster and neater for finishing lots of raw edges, but most beginners do not need one to start fixing clothes.
If you are standing at your machine wondering whether to try it, the answer is usually yes. Test first, adjust once, and keep going. That is the whole spirit of mending: learn the stitch, make the fix, and give the garment another season in your closet. No shame, no gatekeeping, just a practical way to keep good clothes in use.




No notes yet — write the first one.