If you just brought home a thrifted Brother, a hand-me-down Singer, or a basic Janome and feel stuck at square one, how to thread a sewing machine is the first skill that makes everything else easier. No such thing as a stupid question here — threading looks fussy until you see the path once. The goal is simple: keep the thread seated in the guides, set the bobbin correctly, and avoid the tiny mistakes that cause loops, skipped stitches, and snapped thread. With a little patience, you can get from a tangled machine to a smooth test seam in about ten minutes.
How to thread a sewing machine from spool to needle
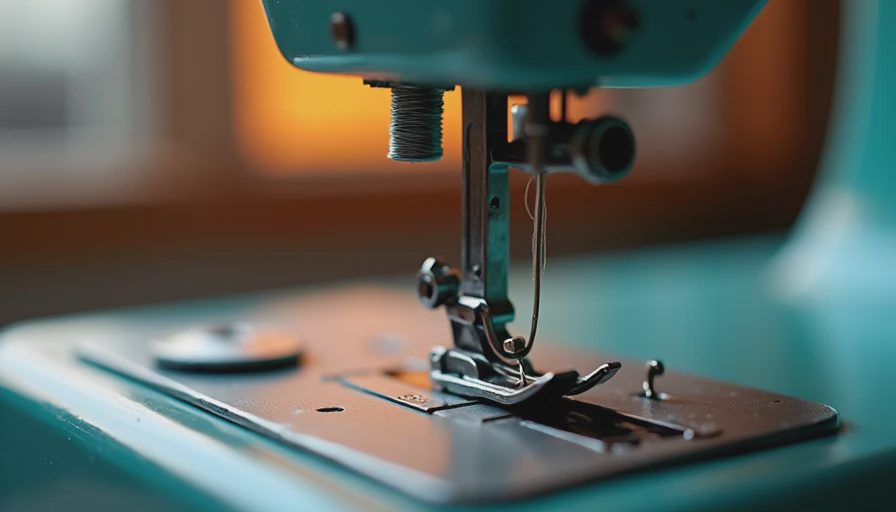
Start with the machine turned off so you can move the handwheel safely. Raise the presser foot, because that opens the tension discs and lets the thread settle where it belongs. Put the spool on the spool pin, then use the spool cap if your machine came with one. On many newer machines, especially common beginner models from Brother or Janome, the thread path is printed right on the body. Follow it in order instead of guessing. Go through the top guide, down the channel, around the tension area, up through the take-up lever, and back down to the needle bar guide if your machine has one.
When you thread the needle, raise it all the way to its highest point with the handwheel first. That makes the eye easier to reach and keeps the thread from slipping out as soon as you start sewing. If your eyesight is not loving tiny needle eyes, a needle threader is worth keeping in the drawer. It costs a few dollars and saves a lot of blinking and swearing. For a first try, use a fresh universal needle and medium-weight thread like Gutermann Sew-All or Coats & Clark. Old thread and bent needles are a classic recipe for frustration.
The other small habit that helps is keeping the thread tail under control. Leave a few inches behind the needle and under the presser foot so the machine can form the first stitch cleanly. A lot of beginner jams are just thread that was not seated all the way through the path.
Get the bobbin right before you test stitch
A lot of new sewists blame the top thread when the bobbin is actually the problem. Check whether your machine uses a top-loading bobbin or a front-loading bobbin case. Both are common, but they work a little differently. With a drop-in bobbin, the bobbin sits flat under a clear cover and the thread usually feeds counterclockwise. With a front-load system, the bobbin goes into a removable metal case and the thread direction matters there too. If the bobbin is wound unevenly or inserted backward, the stitches can look loose on one side and tight on the other.
Wind the bobbin at a steady speed so it looks even, not lumpy. A fast, sloppy wind creates uneven tension and strange stitching. If your machine came with a plastic bobbin that feels flimsy, use the right style for that model; mixing sizes is a small mistake that causes big annoyance. Once the bobbin is loaded, hold the top thread with one hand, turn the handwheel toward you with the other, and watch for the bobbin thread to pop up. That little loop is your cue that both threads are ready to start sewing.
A good habit for anyone learning how to thread a sewing machine is to test on scrap fabric before touching your project. Two layers of cotton from an old sheet are perfect. Stitch a short line, then check the top and bottom. If the stitches look balanced and the fabric feeds smoothly, you are ready. If the top thread is looping underneath, recheck that the presser foot was up while threading and that the bobbin is seated correctly.
Keep tension, needle, and thread in the same conversation
When stitches look messy, beginners often turn the tension dial right away. That is not always the fix. The cleaner move is to check the whole setup: correct needle size, fresh thread, proper bobbin insertion, and a presser foot that was lifted during threading. Tension numbers on the dial are not magic. On many home machines, a middle setting around 4 is a solid starting point for woven cotton with all-purpose thread.
Needle choice matters more than people think. A universal 80/12 is fine for quilting cotton and basic repairs. If you are sewing thick denim from a pair of thrifted jeans, switch to a stronger needle such as a 90/14 denim needle. If the needle is dull or bent, the machine can skip stitches even when everything else is correct. That is why a quick needle swap solves so many mysteries. It is a cheap fix, and it keeps you from blaming the machine when the real issue is a worn-out point.
Another helpful detail is thread quality. Bargain-bin thread can shed lint and break more often, especially in older machines. You do not need the most expensive spool on the shelf, but a consistent all-purpose polyester thread usually behaves better than mystery thread from a discount bin.
When the machine jams, slow down and retrace the path
This is the part of how to thread a sewing machine that saves the most time later: stop and retrace instead of yanking. If the machine clunks, makes a birdnest of thread under the fabric, or refuses to sew, cut the threads, raise the presser foot, and remove the fabric gently. Then rethread from the top with the needle at its highest point. That reset clears out a lot of problems in one pass. If you are using a thrift-store machine that sat in a closet for years, lint can also build up under the needle plate and around the bobbin area, so a quick clean with a small brush helps.
When people ask how to thread a sewing machine and then say the stitches still look bad, the missing detail is often user flow, not machine quality. The thread may have slipped out of one guide, the bobbin may be wound too loosely, or the presser foot may have been down during threading. I have had a machine run perfectly after I rethreaded it one more time with the presser foot lifted, even though I was convinced something was broken. That kind of fix is common, and it is a relief when it happens.
If your machine has a built-in needle threader, use it once you are comfortable, but do not rely on it to solve a poor thread path. It is a convenience, not a repair. The same goes for the automatic tension markings on the dial. They help, but they do not replace a clean setup.
Build a five-minute practice routine for real-life mending
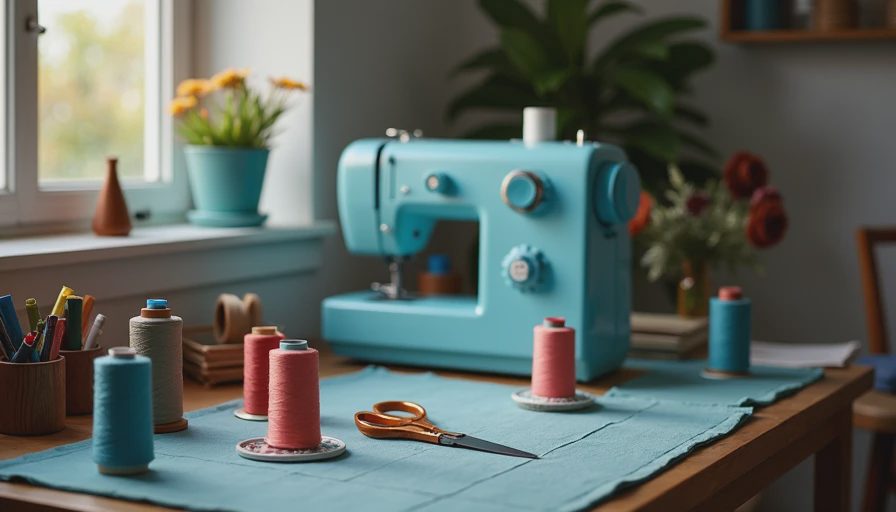
The fastest way to get comfortable is to practice on scraps before you touch a favorite thrifted skirt, a vintage curtain, or a jacket lining. Thread the machine, wind one bobbin, and sew a straight line on cotton. Then stitch a curve, a corner, and a backstitch. Those small exercises teach your hands what smooth feeding feels like. Once that becomes familiar, you will move faster on actual repairs and upcycling jobs.
If you are using a machine like a Singer Heavy Duty, a Brother CS7000X, or a Janome HD3000, the exact steps may be labeled a little differently, but the logic stays the same. Spool to guide, through tension, up the take-up lever, down to the needle, bobbin seated correctly, presser foot up while threading, then test on scrap. Keep that rhythm and you will waste less thread, less fabric, and a lot less time.
That is the part that makes a beginner feel like a real sewist: not perfection, just a repeatable process that works. Once you know how to thread a sewing machine, you can hem, mend, and alter the secondhand pieces you actually want to wear instead of letting them sit in a pile. No such thing as a stupid question here — and once the threading clicks, the rest of the project gets a lot less scary.




No notes yet — write the first one.