Ironing ham for sewing pattern pieces is one of those small sewing habits that makes a big visual difference. If you have ever pressed a bust dart flat and watched the curve turn lumpy, you already know why. A tailor's ham gives curved seams a shaped surface, so the fabric cools in the same bend it will wear on the body. That matters on princess seams, sleeve caps, collars, waist darts, and anything that needs a soft curve instead of a hard crease. No such thing as a stupid question here — let's walk through it. If you are working on a thrifted shirt, a vintage blazer, or a fresh tissue pattern, this is the tool that helps the curve look intentional instead of flattened.
Why ironing ham for sewing pattern pieces helps curved seams keep their shape
A flat ironing board is perfect for hems and straight seams, but it works against curved areas. The ham lets the seam sit on a rounded form, which means the top layer can relax while the shape sets. That is why it helps on sleeve heads, bust darts, collar rolls, and shaped waist seams. On wool, cotton twill, linen, or denim, you will see the result quickly: less rippling, fewer hard press lines, and a smoother transition between stitched areas. I like to think of it as pressing with direction instead of flattening everything into the same plane. Here is what went wrong + how I fixed it: I used to press a dart open on a hard board and then wonder why the apex looked dented. Once I pressed it over the ham and let it cool there, the curve blended into the garment instead of sitting like a ridge.
A good ham also helps the fabric remember the shape after washing and wearing. That matters when you are trying to make secondhand clothes look custom instead of merely altered. If the piece has any body at all, the ham can usually improve the finish.
How to use ironing ham for sewing pattern pieces without stretching the fabric
Start with the right heat for the cloth in front of you. Cotton and linen can handle more steam; polyester and rayon blends need a lighter touch and a press cloth. Place the curved section over the ham so the seam line rests on the rounded part, then lower the iron straight down instead of dragging. That small habit matters more than most beginners realize. When you glide the iron, the fabric can creep and grow. When you press and lift, the shape stays put. For thicker fabrics like denim or wool suiting, use steam first, then hold the piece in place until it is almost cool before moving it.
Before you press the full garment, test a scrap cut from the same fabric or a hidden seam allowance. On a bodice, I press the dart from the wide end toward the point, then roll the fabric around the ham and leave it for a few seconds. On a sleeve cap, I work in short sections instead of trying to cover the whole curve in one pass. That slower rhythm sounds fussy, but it is faster than ripping out a pressed-in wrinkle later. If the fabric starts to shine, back off the heat and add a press cloth.
Mistakes that flatten the curve
The biggest mistake is treating the ham like a tiny ironing board. If you press too hard, you can stretch the bias edge and make the seam ripple later. Another common slip is leaving the iron in one spot too long on synthetic blends; shiny patches are hard to hide on black or navy fabric. I also see beginners press the whole garment on the ham, which removes the sharp edges you actually want on shoulders, cuffs, and hems. Use the ham for the curve and the board for the straight line. If the fabric needs more body, a clapper can help trap steam and set the press, but only after the shape is right. The cool-down step matters. Pick up a warm seam too soon and it can relax back into the wrong bend.
A small correction can save a lot of seam-ripping. If a curve comes out wavy, re-wet just that area with steam, smooth it by hand, and press again with less pressure. You are aiming for shape, not force.
What belongs with the ham, and what does not
A ham is best for rounded pieces. A sleeve board is better for narrow tubes like sleeves, pant legs, and small side seams. A seam roll helps when you want one side of a seam elevated and the other side protected, which is useful on long darts, waistband seams, and narrow facings. If you are setting up a small pressing station on a budget, those three tools cover most home-sewing situations without buying a pile of gadgets. I have seen people try folded towels instead. That can work in a pinch, but towels are soft enough to let the fabric sink and lose the curve. A firm ham gives a cleaner result.
If you thrift a secondhand ham, check that the cover is tight and the stuffing feels dense. A flat, squishy one will not support the seam well. Many sewists buy a basic starter version and keep it for years, because the tool does not need to be fancy to do its job.
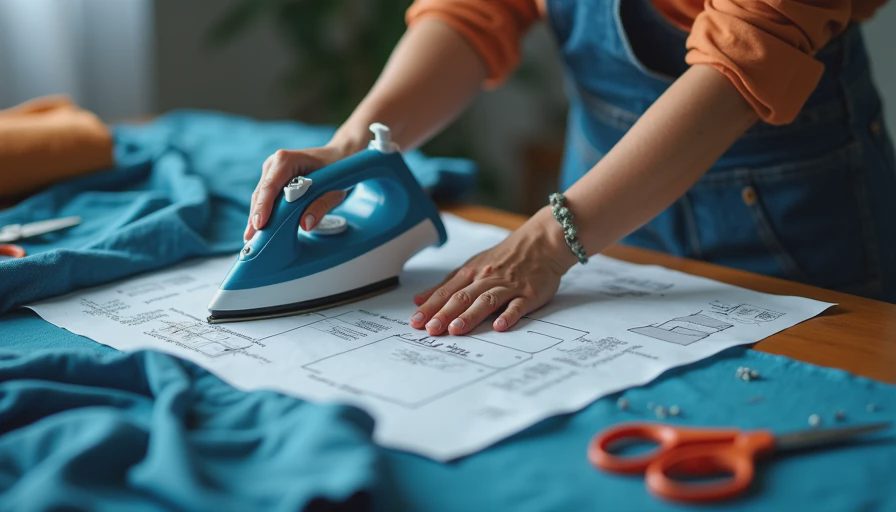
A thrifted blazer, one bust dart, and a much cleaner finish
A recent fix on a thrifted wool blazer reminded me why this tool earns a spot near the machine. The front had a shaped seam that had been pressed flat by a previous owner, and the curve kept popping open after I tried to re-stitch a torn lining. I unpicked just enough lining to reach the seam, pressed the curved area over the ham, and let the wool cool before handling it again. After that, the seam settled into the front panel instead of fighting it. The whole repair looked calmer, and the line across the bust stopped catching the eye. If you are upcycling older clothes, that difference matters. Clean pressing makes a repaired piece look intentional instead of patched.
That same approach works on dresses, shirts, and skirts with shape at the waist or bust. If a garment keeps looking slightly off even after the sewing is good, the pressing stage is usually the missing piece.
Choosing a ham that earns its shelf space
If you sew a few times a year, a store-bought ham from a common sewing brand is enough. If you sew often, it is worth getting one with a firm fill and a washable cover, because it will spend real time next to your iron. A homemade version can work too if it is packed tightly and shaped well. The key is density; a saggy ham gives you a saggy press. I have had the best luck using one that sits steady on the board without rolling around while I work.
The other thing that helps is keeping it where you can reach it. Tools that live in a drawer get forgotten, and then every curved seam gets flattened out of habit. Put the ham near the iron, pair it with a press cloth, and use it the same way every time you sew a curve. That is when ironing ham for sewing pattern pieces earns a permanent spot near the iron.



No notes yet — write the first one.