8 beginner-friendly upcycling techniques that turn thrift finds into wearable favorites
What You Need (tools, materials, time, skill level)
Upcycling can be as small as adding trims to a jacket panel or as big as turning a knit dress into a whole new silhouette. The payoff: you get a closet that feels intentional without buying new—and you learn skills that stack fast.
Skill level: true beginner to experienced (pick the technique that matches your comfort)
Time: not specified in the source (plan a weekend if you’re experimenting)
Cost: not specified in the source (you can keep it low by working from garments and remnants you already have)
Tools and materials mentioned in the source (use what you already own):
- Scissors and a needle (called out as a beginner starting point)
- Pencil and paper (for sketching ideas)
- Magazine pages + glue (to mock up fabric placement like a collage)
- Garment Designer software (optional pattern-planning aid; the source notes you can also use an existing commercial pattern or draft by hand)
- A serger (used in one example to finish edges; if you don’t have one, pick a technique that doesn’t require edge finishing, or finish edges in another way with what you do have)
Garments/material “ingredients” shown in the examples:
- Red denim jean-style jacket
- A pair of blue jeans (cut apart into pieces)
- Additional fabrics or trims
- T-shirts, sweatshirts, dress shirts (as base garments)
- Polar fleece pullover
- Denim jeans
- Remnant of a knit fabric
- Yarn and trims
- A “largish” knit dress (long knit sweater dress)
- Unraveled yarn (used for crocheted edging)
How To Do It (8 approaches you can actually try)
Below are eight techniques the source introduces (or strongly implies) across the examples. I’m writing these like I’d explain them in Stitch & Swap Talk: what you do first, why you do it in that order, and how to keep it beginner-friendly.
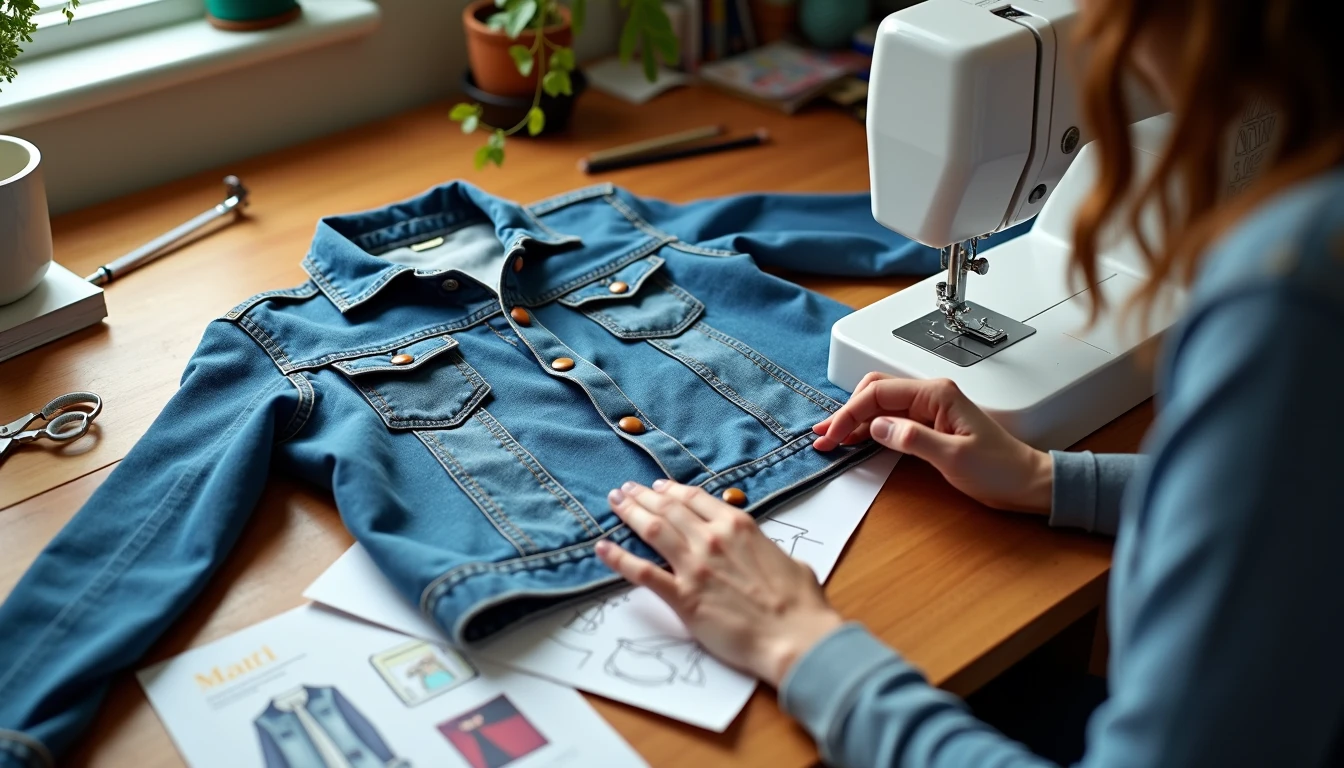
1) Create overlays on an existing garment (panel-by-panel upcycling)
This is the “add new fabric to parts of a garment” method—great for a denim or jean jacket because the panels give you built-in zones.
1. Pick a jacket with clear panels. A jean-style jacket is ideal because you can treat each section like a mini canvas.
2. Plan placement on paper first. Sketch the jacket and decide what goes where before you cut anything.
3. Mock it up with magazine collage. Cut imagery from magazine pages (standing in for fabric) and glue them onto your sketch to test the layout.
4. Harvest overlay fabric from another garment. The example uses a pair of blue jeans cut apart and “selectively curated” into pieces.
5. Apply overlays and trims in sections. Working one panel at a time keeps the project from getting overwhelming.
Why this works: you get a big visual change without having to draft a whole new pattern.
2) Use a base garment as an anchor (then “edit” it)
This is one of my favorite beginner mindsets: start with a wearable base, then change only what you need.
1. Choose your anchor: T-shirts, sweatshirts, and dress shirts all work.
2. Start slightly oversized. The source notes it helps to begin with a garment larger than you’d normally wear—extra fabric gives you options.
3. Pick one edit to start. Options given:
- Cut a new neckline
- Slash it up the center to turn it into a jacket
- Shorten the body or sleeve length
- Embellish it
4. If you’re pattern-planning: the source uses Garment Designer to design a neckline or draft an added piece, but you can also use an existing commercial pattern or draft by hand.
Why this works: you’re not “making a garment from scratch,” you’re steering an existing one.
3) Recut a neckline (a high-impact, low-material change)
This is listed as an anchor-garment edit, and it’s a classic because it changes the vibe immediately.
Basic process order:
1. Decide the new neckline shape (sketch it).
2. Recut carefully.
3. Add finishing and/or embellishment (the example dress includes accenting the collar with hand knitting).
4) Slash a top up the center to make a jacket
This is literally what it sounds like—turning a pullover into an open-front layer.
Basic process order:
1. Choose your base (T-shirt/sweatshirt/dress shirt).
2. Mark center front and plan how you want it to hang.
3. Slash up the center to open it.
4. Finish edges and add trims if desired.
5) Shorten the body or sleeves (fit + proportion fix)
This is one of the quickest ways to make thrifted pieces feel “yours,” especially if you’re working with an oversized anchor.
Basic process order:
1. Try it on and decide new length.
2. Mark the new length.
3. Cut and finish.
6) Embellish with yarn and trims (texture does a lot of heavy lifting)
The source example adds yarn and trims, plus hand knitting used to accent a collar and knit a lower sleeve.
Basic process order:
1. Choose one focal area (collar, cuffs, hem, sleeve lower section).
2. Add trims/yarn details in a controlled zone so it looks intentional.
7) Add a new component built from a pattern (like a flared skirt)
In the example dress: a polar fleece pullover becomes the top, jeans contribute material, and a flared skirt is built from a leftover remnant knit fabric.
Basic process order:
1. Start with your anchor garment and do your edits (recut neckline, shorten body).
2. Draft/plan the add-on piece (the source uses Garment Designer for the skirt).
3. Cut the add-on from a remnant knit fabric.
4. Join it to the anchor garment.
8) Full transformation: recut/restyle an existing garment into a new one
This is the bigger leap: take a garment and recut it to build a different garment entirely. The source example transforms a long knit sweater dress into a bolero jacket top.
1. Start with a “largish” knit dress. Again, bigger gives you more options.
2. Create a pattern plan. The source uses Garment Designer and also builds a full-scale polar fleece prototype to test the pattern.
3. Cut the new garment pieces.
4. Finish edges. In the example, all edges are serged.
5. Assemble pieces.
6. Add edge detail. The example uses unraveled yarn to crochet around edges for a finished look.
Why this works: you’re not limited by the original garment’s silhouette—you’re using it as fabric supply plus built-in hems/edges where possible.
Where It Goes Wrong (and how to recover)
Beginner upcycling is supposed to be a little chaotic. Here are the failure modes I see constantly in our community—and the fixes, based on the source’s workflow.
- You cut before you plan.
Sign: you’re holding two random denim pieces and hoping they become “design.”
Fix: go back to pencil-and-paper planning. Even a rough sketch plus magazine collage can save you from chaos-cuts.
- Your anchor garment is too small.
Sign: once you recut the neckline or shorten the body, you realize there’s no room to adjust.
Fix: start with a larger base next time (the source explicitly recommends this). For this project, pivot to overlays/embellishment instead of structural changes.
- You choose a “full transformation” as your first project and get stuck.
Sign: pattern confusion, pieces don’t seem to match, you don’t know what order to assemble.
Fix: copy the source’s approach: test your pattern plan with a prototype (they used polar fleece). Prototyping is not “wasted time”—it’s how you learn without ruining the garment you care about.
- Edges look messy or won’t behave.
Sign: knit fabric edges curl or stretch out; your new bolero looks wavy.
Fix: pick an edge-finishing strategy early. The source uses a serger for clean edges, and then crochet with unraveled yarn to control and decorate the edge at the same time.
Pro Tips (from a thrifter who hates wasting good fabric)
- Use the jacket’s existing panels as your design map. Denim jackets are basically pre-gridded for overlays—treat each section like a separate mini project.
- “Selective curation” is the secret sauce. Don’t feel like you must use every inch of the donor jeans. Pull the best sections (pockets, seams, worn fades) and let the rest go.
- Remnants are power. The example dress uses a leftover remnant knit fabric for a flared skirt. Remnants are perfect for add-on pieces because they force you to design efficiently.
- Prototype when the stakes are high. The source made a full-scale polar fleece prototype before cutting the knit dress transformation. If you only take one “intermediate” habit from this list, make it that.
Bottom Line (when to DIY vs. when to pause)
Try overlays, anchor-garment edits (new neckline, center slash, shortening), and simple embellishment first—they’re forgiving and teach you control. Save the full recut/restyle transformation for when you’re ready to plan a pattern and possibly prototype like the source did.
If you’re emotionally attached to the garment and you’re not ready to test on a prototype, pause and practice the technique on a less-precious thrift find first. That’s not gatekeeping—it’s how you protect the special pieces while still learning.