A flat brim cap frame set is one of those small DIY supplies that can make a thrifted hat feel completely new. If you have found a cap with a great logo, faded fabric, or a shape that almost works, the frame can help you rebuild the front and brim instead of passing it along. No such thing as a stupid question here — let's walk through it.
The basic idea is simple: a frame gives the cap its structure. It supports the crown, holds the front panel upright, and helps the brim keep a crisp, level profile. Depending on the project, you might use a replacement frame inside an existing cap, build a new crown around it, or combine parts from two damaged hats. This is especially useful for upcycling secondhand cotton, canvas, denim, and wool-blend caps.
What a cap frame actually does
A cap frame is not the same thing as a finished hat blank. It is the internal shape that controls how the hat sits. Some sets include a front support, brim insert, sizing band, or several plastic components. Others are closer to a firm mold that you cover with fabric. Read the listing carefully before buying because “frame set” can describe several different products.
For a first project, look for a lightweight, flexible frame with a smooth edge. Sharp plastic corners can rub through thin cotton, while a very rigid frame may fight your sewing machine. A medium-weight frame works well for everyday fabric and is easier to hand stitch. If you want a structured streetwear silhouette, choose a firmer set, but plan on using clips rather than pins when assembling it.
Measure the inside of the cap before ordering. Record the front-to-back depth, side-to-side width, and approximate head circumference. A frame that is only slightly too large can create puckering around the sweatband. A frame that is too small will leave a loose crown that collapses when worn. Keeping those three measurements in your phone saves a surprising amount of guesswork when shopping resale listings.
Choosing fabric from a thrifted cap
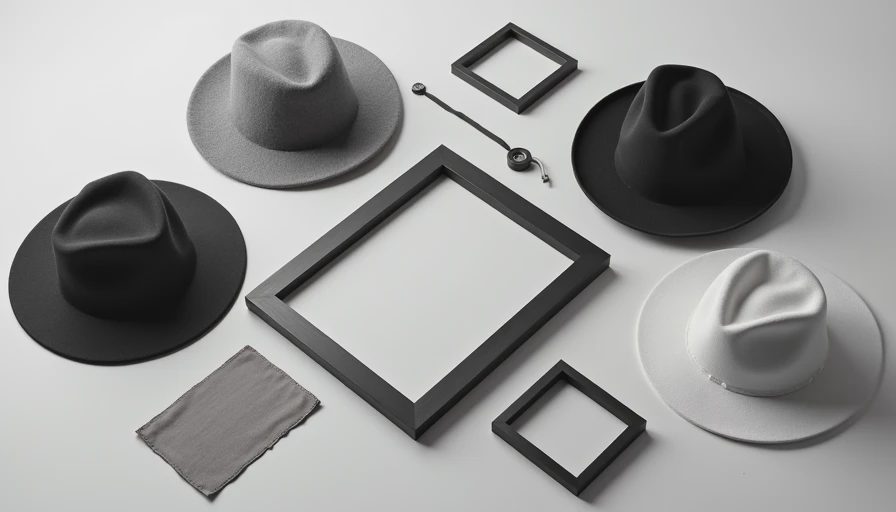
The best fabric for a flat brim cap frame set has enough body to hold a seam but still bends around the crown. Midweight cotton twill, canvas, denim, corduroy, and old workwear shirts are reliable choices. Thin T-shirt jersey usually stretches out, and slippery polyester can shift while you sew. Those fabrics are not impossible, but they are frustrating for a first attempt.
Before cutting, inspect the garment under bright light. Look for deodorant marks, moth damage, sun weakness, and seams that have already started unraveling. Wash the fabric using the care instructions, then press it flat. Do not skip this step with denim or cotton because shrinkage after assembly can distort the crown.
A useful beginner trick is to cut a paper pattern from the original cap. Carefully open one seam, trace each panel onto paper, and label the pieces as front left, front right, side, and back. Add a seam allowance that matches your existing cap, usually around three-eighths of an inch. Photograph the original before taking it apart. Once the pieces are separated, the correct order can become surprisingly hard to remember.
Tools and supplies that make the job easier
You do not need an expensive studio setup. Gather sharp fabric scissors, paper scissors, a measuring tape, tailor’s chalk, clips, a seam ripper, an iron, and a hand-sewing needle. A sewing machine with a standard straight stitch is helpful, but careful hand stitching can work for repairs and lighter fabric.
Use polyester all-purpose thread for most cotton, canvas, and denim projects. Choose a longer stitch length, around 2.5 to 3 millimeters, when sewing through several layers. Very short stitches can perforate the fabric and make curved seams harder to ease. A denim needle is useful for heavy canvas or multiple layers, while a universal needle is usually enough for medium cotton.
For the brim, thin plastic from a replacement insert can be practical, but never cut random brittle packaging and assume it is safe. Test the material by flexing it repeatedly. If it whitens, cracks, or develops sharp edges, do not use it. A proper insert from a craft supplier or hat-making source is a better choice. A flat brim cap frame set should support the fabric, not create a hidden hazard.
Step-by-step assembly
Start by stabilizing the front panels. Fuse lightweight interfacing to the wrong side if the fabric feels floppy. Keep the interfacing away from the seam allowance where possible, since excess bulk can make the front difficult to turn.
Next, clip the front panels together and sew the center seam. Press the seam open or to one side according to the look you want. Attach the side panels gradually rather than forcing the entire curve at once. If the fabric wrinkles, remove the stitches in that short section and ease the curve again. This is one of those places where rushing creates more work later.
Place the frame inside the sewn crown and check the shape before attaching the brim. The frame should sit evenly without pushing the front upward. Mark the center front and center back on both the fabric and frame. Matching those marks prevents a crooked result.
Attach the brim with clips, working from the center toward each side. Sew slowly over thick areas and rotate the cap with the needle down. After the first pass, try it on before closing the sweatband. This is the moment to fix a tight temple area or a brim that tilts. Once the lining is closed, changes become much more annoying.
Here's what went wrong and how I fixed it
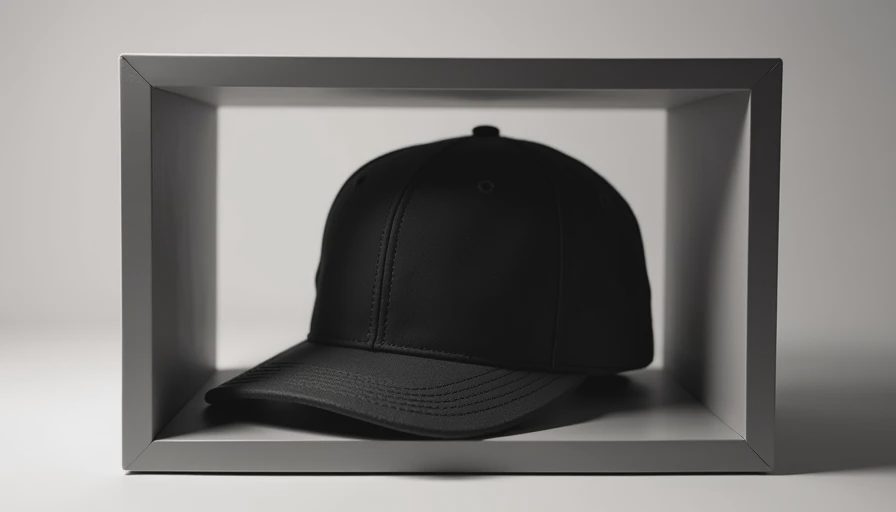
My first flat brim cap frame set project looked fine on the table but pinched at both temples. The frame was technically the correct size, yet the fabric pattern had a narrower curve than the original cap. I removed the sweatband, opened two side seams, and added a small wedge to each panel. The hat lost its tight feeling without looking stretched.
Another common problem is a brim that waves after stitching. This usually happens when the fabric and insert are not aligned or when one layer feeds faster under the presser foot. Press the fabric flat, mark the center, and use clips every inch or so. If the insert is removable, sew the fabric shell first, then slide the insert in afterward. That method often produces a cleaner edge than sewing through everything together.
A frame can also show through pale fabric. Add a thin layer of cotton batting or use a darker underlining between the frame and outer shell. Avoid excessive padding, though, because it changes the fit and can make the crown look puffy.
Customizing the finished cap
Once the structure works, personalization gets much more fun. Add a thrifted patch, contrast topstitching, a fabric-covered button, or a narrow strip of bias tape around the brim edge. For a subtle update, use matching thread and let the recycled fabric do the talking. For a bolder project, combine faded denim with a bright canvas front panel.
Test decorations before permanent attachment. Place the patch with removable fabric tape, wear the cap for ten minutes, and check whether it catches on hair or presses against your forehead. Heavy metal pins can pull a soft crown out of shape, so sew them securely or choose a lightweight embroidered patch instead.
The finished flat brim cap frame set project should feel sturdy but not armored. Bend the brim gently, inspect every seam, and trim loose threads. If the hat will be washed, confirm that every component can tolerate the same cleaning method. Spot cleaning is often safer for structured caps than repeated machine washing.
A simple shopping checklist
When comparing listings, confirm the frame dimensions, included pieces, material, and whether the brim insert is flat or pre-curved. Check customer photos when available, but focus on visible construction rather than polished product photography. A set priced around $10 to $25 can be perfectly useful for a beginner; a higher price should bring better materials, clearer measurements, or multiple sizes.
Choose a frame that matches the project you actually want to sew. If you are repairing one favorite thrifted cap, a single compatible insert is enough. If you plan to make several hats, a flat brim cap frame set with repeatable measurements will save time and make pattern drafting easier. Start with scrap fabric, accept that the first crown may teach you more than it flatters you, and keep the pieces for future experiments. That is how an ordinary secondhand find becomes a cap you will actually wear.

No notes yet — write the first one.