If you want a neat hem on a thrifted skirt, close a lining, or repair a small opening without obvious machine stitching, learning to sew a slip stitch is a great place to start. This hand-sewing technique is quiet, inexpensive, and much easier than it looks. No such thing as a stupid question here — let’s walk through it.
A slip stitch joins a folded edge to the fabric beneath it with tiny stitches that barely show on the outside. It is often used on blind hems, coat linings, pillow covers, and handmade garments. You need only a hand-sewing needle, matching thread, scissors, and an iron. A thimble can help if your fabric is tightly woven, but it is not required.
What a slip stitch does
The basic idea is simple: catch a very small amount of the main fabric, then pass the needle through the folded hem edge. Repeat this across the opening. On the outside, the thread should be almost invisible. On the inside, you will see a tidy line of small stitches along the fold.
For a vintage or secondhand garment, match the thread to the garment rather than choosing white by default. Black, navy, cream, gray, and brown can look dramatically different under natural light. If you cannot find an exact match, choose a slightly darker shade. Bright thread usually stands out more than dark thread.
Before you begin, test the stitch on a scrap of similar fabric. Lightweight cotton, wool, denim, rayon, and stretchy knits all behave differently. A stitch that disappears beautifully on a cotton skirt can pucker a slippery rayon lining. Testing takes two minutes and can save an hour of unpicking.
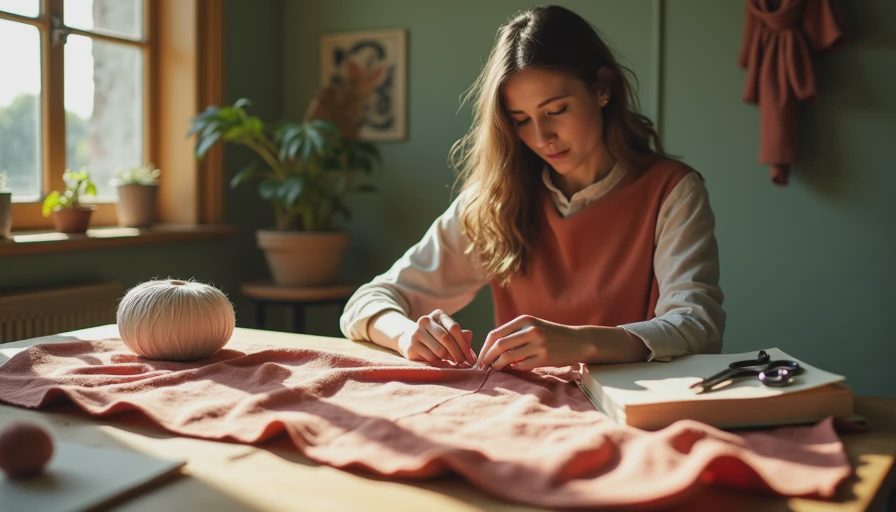
How to sew a slip stitch step by step
First, press the raw edge into the hem position. If the hem is already folded, press it flat instead of guessing where the original crease was. For a repair, press the opening edges toward the inside so the torn area forms a clean fold. Remove loose threads, but do not cut away stable fabric that could support the repair.
Thread a sharp needle with about 18 to 24 inches of thread. Longer thread tends to knot and drag. Tie a small knot at the end, then bring the needle from inside the folded hem so the knot is hidden.
Now take a tiny horizontal bite from the main garment fabric directly above the folded edge. Aim for one or two threads if possible. The needle should not travel all the way through to the outside. Pull the thread gently until the stitch lies flat, but stop before it tightens into a pucker.
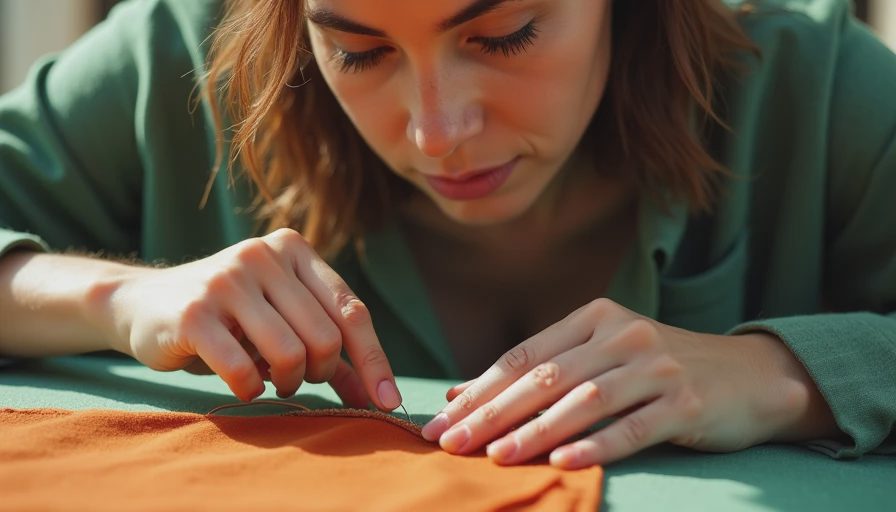
Next, insert the needle into the folded hem edge about one-quarter inch away. Travel inside the fold for a short distance, then bring the needle out at the next point. Repeat the motion: a tiny bite of garment fabric, followed by a short pass through the fold. This is how to sew a slip stitch that stays nearly invisible.
Continue in small, even intervals. For a medium-weight fabric, stitches spaced about one-quarter to three-eighths of an inch apart are usually practical. Use closer stitches around corners, curves, or areas that receive extra pulling. Every few stitches, pause and let the fabric relax so you can check for ripples.
At the end, make two small stitches in the folded area, then pass the needle through the last loop to form a knot. Hide the thread tail inside the fold and trim it. Press the finished area again with the correct heat setting for the fabric.
Common beginner mistakes and easy fixes
The most common problem is making the stitches too large. Large bites grab visible fabric and create a dotted line on the outside. If that happens, do not yank the thread. Carefully snip one or two stitches, pull them out with tweezers, and redo that section with smaller bites.
Another frequent issue is pulling the thread too tightly. The hem may look tidy while it is on the table, then pucker when the garment hangs. Let the thread rest with the same tension as the fabric. A useful test is to gently stretch the seam sideways after every few inches. If the fabric gathers, loosen the next stitch and reduce the tension.
If your knot keeps showing, start farther inside the fold. On a narrow hem, you can also bury the knot by taking the first stitch through the folded allowance rather than the garment surface. When the thread knots while you work, your length is probably too long, or the needle is twisting the thread. Let the needle hang occasionally so the thread can unwind.
Here’s what went wrong + how I fixed it: a slippery lining once shifted while I stitched, leaving a wavy hem. Pressing alone did not solve it. I basted the lining in place with long temporary stitches, pressed the edge again, and then worked the permanent stitches. The extra five minutes made the final line much straighter.
Choosing thread, needles, and fabric support
All-purpose polyester thread is a reliable choice for most clothing repairs because it has some strength and slight flexibility. Cotton thread works well for many cotton garments, especially when you want a natural matte appearance. For delicate silk or vintage rayon, use a fine sharp needle and lightweight thread so the holes do not become visible.
A size 8 or 9 sharp hand-sewing needle suits many medium-weight garments. A smaller needle can be useful for fine fabric, while a thicker needle is more comfortable for denim or wool. If pushing the needle through the fabric hurts your fingers, a metal thimble or rubber needle grip is more useful than simply forcing it.
Interfacing can support a weak repair, but use it carefully. A small piece of lightweight fusible interfacing behind a thin tear can stop the fabric from spreading. It should not replace stitching on a stressed seam, and it may change the drape of a delicate vintage piece. Always test heat and adhesive on an inconspicuous area first.
Where this stitch helps with thrifted clothes
A slip stitch is especially handy when hemming jeans without changing their original look, closing a turned-up sleeve, securing a loose pocket lining, or attaching a waistband facing. It can also close the final opening after you have turned a small handmade pouch right side out.
For a blind hem, fold the hem allowance upward, then fold the top edge back slightly so only a narrow ridge is exposed. Catch a few threads from the garment and move through the folded hem. The finished stitches should be spaced evenly and should not cross through the front of the garment.
When repairing a secondhand item, match the stitch style to the existing construction. A formal wool coat deserves small, controlled stitches. A casual cotton overshirt can tolerate slightly wider spacing. The goal is not to make the repair look factory-perfect; it is to make it secure, comfortable, and believable for the garment.
A quick finishing checklist
Before cutting your thread, inspect both sides of the fabric. The outside should be smooth, with no long visible dashes. The inside should have secure stitches without loops hanging loose. Gently pull the fabric in the direction it will move during wear. If the seam opens, add another stitch rather than tightening every existing one.
Pressing is part of the repair, not an optional decoration. Use a pressing cloth on dark, shiny, delicate, or vintage fabric. Steam can relax a wool hem, while too much heat can flatten texture or leave a shine on synthetics. When in doubt, test the iron on a hidden seam allowance.
Once you know how to sew a slip stitch, many intimidating clothing repairs become manageable. Start with a scrap, use short lengths of thread, and keep your stitches small rather than trying to work quickly. The first few inches might look uneven; that is normal. By the time you finish, your hands will understand the rhythm, and that rescued thrift find can go back into regular rotation.





No notes yet — write the first one.