If you have ever admired the clean, smooth fabric on a thrifted sweater and wondered how it was made, stockinette stitch is probably the answer. No such thing as a stupid question here — let's walk through it. This basic knitting pattern uses alternating knit and purl rows to create a polished surface that works beautifully for sweaters, hats, scarves, patches, and upcycled clothing projects.
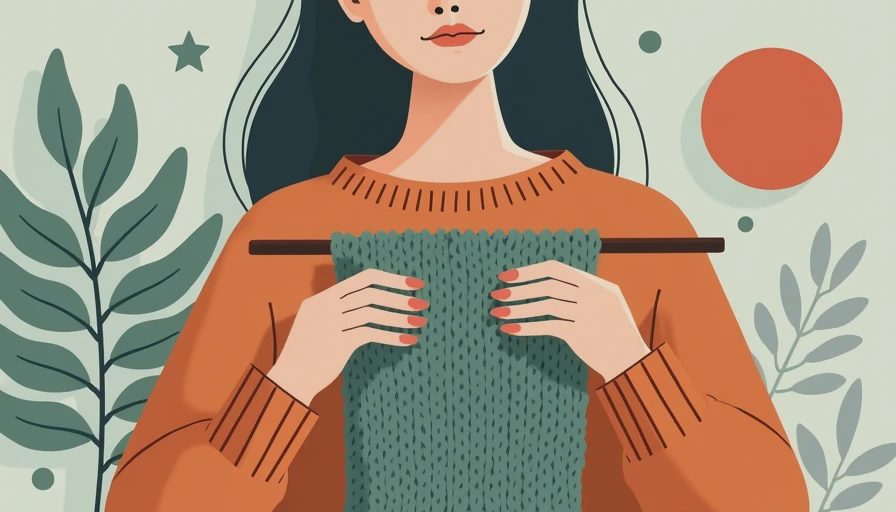
The front, or right side, shows neat V-shaped stitches. The back has small horizontal bumps called purl bumps. Once you understand that difference, this technique becomes much less mysterious and much easier to read while you work.
How stockinette stitch works
Stockinette stitch is made by knitting every stitch on the right-side row and purling every stitch on the wrong-side row. If you are knitting flat, simply turn your work after each row. Row one is knit, row two is purled, and you repeat those two rows until the fabric reaches the length you need.
When knitting in the round, the process changes slightly because you are always looking at the outside of the project. Knit every round to create the same smooth fabric. This is one reason hats and cowls can feel easier than flat rectangles for a beginner: there is no purl row to remember.
Use a simple row counter, a scrap of paper, or phone notes to track your progress. Losing your place is normal, especially when a secondhand project gets interrupted. If the front of the fabric shows Vs, you are looking at the knit side. If it shows bumps, you are looking at the purl side.
Choosing yarn and needles
A medium-weight yarn is the easiest place to start. Worsted-weight wool, acrylic, or a wool blend paired with appropriately sized needles gives you stitches large enough to see without making the fabric too loose. A smooth yarn is more forgiving than fuzzy mohair or textured novelty yarn, which can hide mistakes and make unraveling frustrating.
For a thrift-flip project, compare the yarn weight with the original garment before choosing supplies. A chunky replacement patch can look intentional on a denim jacket but awkward on a fine merino cardigan. Lion Brand Wool-Ease, Cascade 220, and similar widely available yarns are common choices for practice, although any smooth yarn with a clear label can work.
Make a small swatch before starting. Cast on about 20 stitches and work several rows. The swatch shows whether your fabric is firm enough for a cuff, flexible enough for a scarf, or too loose for a visible repair. It also lets you test color beside the item you are refreshing.
The curling problem and the honest fix
The biggest surprise with stockinette stitch is that the edges curl. The cast-on edge tends to roll toward the front, while the side edges pull inward. This is not necessarily a mistake in your knitting; it comes from the different tension created by knit and purl stitches.
Here is what went wrong + how I fixed it: I once made a beautifully even rectangular panel for a vintage-style pocket, only to discover that it rolled into a tube as soon as I released it. Blocking softened the curl but did not remove it completely. The practical fix was adding a border of garter stitch around the panel. A few rows of knit-every-row fabric at the bottom and sides gave the piece enough structure to lie flat.
Ribbing is another useful solution. Knit one, purl one ribbing works well at cuffs and hat brims, while seed stitch creates a more textured, stable edge. For a scarf, consider placing several border stitches in garter stitch before and after the main fabric.
Reading and fixing mistakes
To read stockinette stitch, look for the Vs on the knit side and the bumps on the purl side. A column of Vs should line up vertically. If one column suddenly has a horizontal bump, you probably purled a stitch on a knit row or knitted a stitch on a purl row.
The simplest repair is to undo the mistake one row at a time until you reach it. Put the needle through the live stitches, gently remove the working needle, and pull out only as far as necessary. If you are nervous, use a smaller needle or a locking stitch marker to catch the stitches before unraveling.
For a single missed stitch, a crochet hook can often ladder it back up. Pull the strand through the dropped stitch one rung at a time, then place the restored loop on your knitting needle. Do not tug aggressively; stretched yarn can leave a visible loose spot, particularly in cotton or older acrylic.
Using the fabric for upcycling
Stockinette stitch is especially useful when you want a clean, familiar look on a handmade addition. Try knitting a replacement pocket for a worn cardigan, a small elbow patch, or a contrasting panel for a thrifted sweatshirt. Match the fabric weight before attaching it. A heavy wool patch can drag a lightweight garment, while a thin acrylic piece may not protect a high-wear area.
For a neat repair, wash and dry the garment according to its care label before measuring. Lay it flat, pin the knitted piece in place, and hand-sew around the edges with matching yarn or strong thread. Use small stitches rather than pulling the patch tight. The garment needs room to move, especially around elbows and pockets.
You can also turn a failed swatch into something useful. Sew several test squares into a mug cozy, tiny pouch, or decorative panel. This is a better fate than hiding every imperfect sample in a drawer, and it gives you practice matching seams and tension.
A simple practice plan
Start with 20 stitches and work 12 rows, alternating one knit row and one purl row. Pause after every few rows to check the front and back. Then make a second sample with a four-stitch garter border on each side. Compare how the two pieces behave when laid on a table.
Next, practice fixing one intentional error. On a knit row, purl one stitch in the middle. On the next row, identify the bump and correct it on the following pass. This small exercise teaches more than making a perfect sample and never learning what a mistake looks like.
Finally, measure your swatch after resting it flat. If the stitches are too tight, try larger needles. If the fabric is floppy and the Vs look stretched, try smaller needles. There is no prize for rushing to a full sweater. A calm, readable swatch saves time and yarn later.
Stockinette stitch is simple, versatile, and worth learning even if your long-term goal is upcycling thrifted clothes rather than knitting entire garments. Let the edges curl during practice, make a few uneven rows, and fix them without judgment. With a smooth yarn, consistent tension, and a border when needed, you can turn this basic fabric into repairs and accessories that look thoughtfully made rather than accidentally patched.



No notes yet — write the first one.