A sleep mask sewing pattern is one of those small projects that pays off fast. You can use scraps, test your stitches without a big risk, and end up with something you will actually reach for on planes, in bright bedrooms, or during a midday nap. No such thing as a stupid question here — let's walk through it. If you have a few cotton scraps, some soft lining fabric, and a basic machine, you can make a mask that feels better than a cheap store-bought one and costs a lot less than the nicer satin versions at Target or Amazon.
The best part is that you do not need a complicated shape to get a good result. A sleep mask sewing pattern only has to cover the eyes, sit flat at the nose, and stay gentle around the head. That makes it a great first project for someone learning curves, seam allowance, and topstitching. It is also a smart stash-buster project if you have leftover quilting cotton, old pillowcases, or a thrifted silk scarf you have been saving for the right makeover.
What Makes a Sleep Mask Sewing Pattern Beginner-Friendly?
When I test a sleep mask sewing pattern, I look for three things: clear curve lines, simple assembly, and a design that does not require perfect precision. If the pattern uses just two main pieces plus lining, that is a good sign. If it asks for tiny darts, slippery interfacing, and a dozen confusing notches, it is probably more trouble than it is worth for a first try.
A beginner-friendly pattern should also explain whether you are using elastic, fabric ties, or a covered band. Elastic is the fastest option, usually costing only a few dollars for a yard of soft knit elastic or braided elastic. Fabric ties can feel more adjustable, but they take a little more time to sew and press. If you want a cleaner finish, look for a sleep mask sewing pattern that leaves a turning gap in one side seam or at the bottom edge, then tells you exactly where to close it by hand or with a short topstitch.
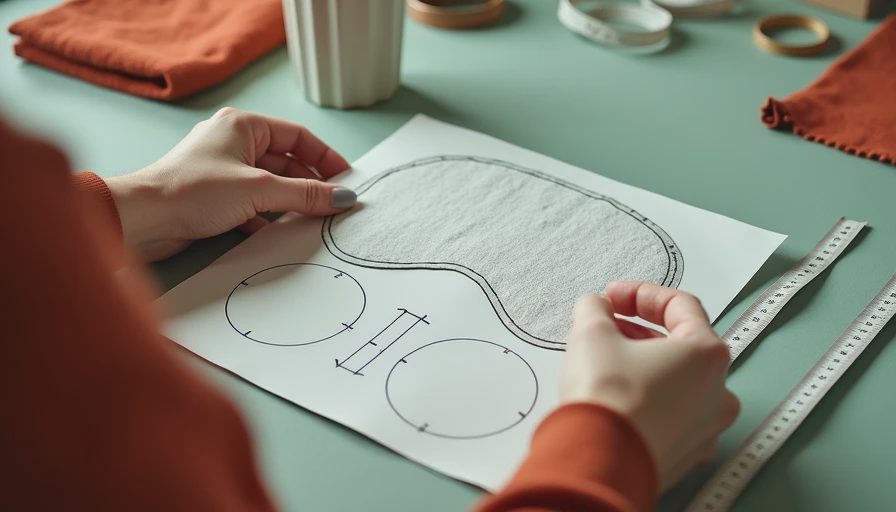
When the pattern gives you a paper template, trace it onto cardstock or an old cereal box before you cut fabric. That makes the first test version easier to handle, and it saves you from reprinting if you want to make a second one later.
Fabrics and Supplies That Actually Feel Good on Your Face
For this kind of project, the fabric choice matters more than fancy trim. A soft cotton like lawn, voile, or a smooth quilting cotton works well for the outside. For the side that touches your skin, a silky fabric feels nicest. If you have access to silk charmeuse, great. If not, a smooth rayon lining or even a clean cotton sateen can still feel comfortable. A thrifted pillowcase, a deadstock scarf, or a worn-in men’s dress shirt can all become useful material here.
If you want extra light blocking, add a layer of cotton batting or a thin fleece, but keep it light. Too much bulk makes the mask puff out and push against your eyelids. I have had better luck with a slim layer than with anything thick and squishy. For supplies, a sharp pair of fabric scissors, pins or clips, a chopstick for turning corners, and polyester thread like Gutermann are enough to get through the whole project without fuss. A Schmetz universal needle in size 80/12 is a safe choice for most woven fabrics.
Step-by-Step Sewing Without Fighting Your Machine
If you are working from a sleep mask sewing pattern, start by cutting two mirrored outer pieces and two mirrored lining pieces. If the pattern includes an optional middle layer, cut that too, but keep the edges trimmed so your seam stays manageable. Place right sides together for each pair, then sew slowly around the perimeter with a standard quarter-inch seam allowance unless the pattern says otherwise. Leave a small opening for turning.
The curve at the nose is where beginners often get nervous, but slow stitching fixes most of the drama. Sew one stitch length shorter than you might use for a tote bag, and stop with the needle down at the tightest point if you need to pivot. After sewing, clip little notches into the seam allowance on the curves, but do not cut into the stitching. That is what helps the mask turn smoothly instead of bunching up like a wadded napkin.
Once you turn it right side out, press it flat with a low-to-medium iron setting that matches your fabric. Then topstitch around the edge for a cleaner finish and to keep the lining from rolling out. If you are attaching elastic, measure loosely around the back of the head first. A band that is too tight will ruin an otherwise good mask fast.
Fit Fixes That Make It Feel More Expensive
A lot of homemade masks fail for one reason: they block light, but they do not sit comfortably. If the nose gap leaks light, try a slightly deeper curve at the center front the next time. If the mask presses too hard on the bridge of the nose, flatten that curve a little. Small changes make a big difference here.
This is also where a sleep mask sewing pattern earns its keep. A good pattern gives you a starting point, but you can still customize the height, width, and strap style. Wider masks are often better for side sleepers because they spread the pressure out. Narrow masks can work fine for travel, especially if you want a small project that folds neatly into a pouch or carry-on pocket.
If you are making gifts, sew one test version first and wear it around the house for an hour. You will notice quickly if the band slips, the seam rubs, or the mask sits too low. That one test run can save you from making three versions that all feel almost right but not quite.
Easy Ways to Make One Pattern Go Further
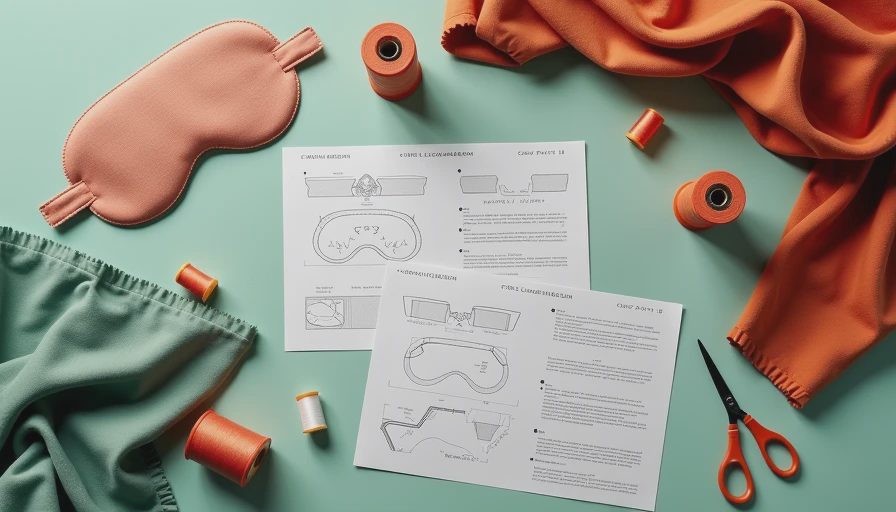
Once you have a version you like, do not stop at one. A sleep mask sewing pattern is easy to scale into a whole batch for gifts, sleepovers, travel kits, or a small secondhand shop bundle. You can swap fabrics and make each one feel different without changing the pattern at all. One could be soft cotton with a brushed flannel backing for winter. Another could use a silk scarf on the front and a leftover T-shirt knit for the back. If you want a more polished look, add piping or a small decorative label at the edge.
This is also a smart project for selling or swapping locally because the material cost stays low. If you already have scraps, one mask might cost under $5 in elastic and thread. Even if you buy fresh fabric, it is still a manageable beginner project compared with bigger garments. The real win is that you get practice cutting curves, pressing seams, and making a clean turn without committing to a huge piece of clothing.
If you have been waiting for a low-stress make, this is it. Start with a simple sleep mask sewing pattern, use the softest fabric you have on hand, and build from there. Once you make one good version, the next one goes much faster, and that is usually when the project starts feeling like a favorite habit instead of homework.



No notes yet — write the first one.