A small bust adjustment can turn a nearly perfect thrifted blouse, dress, or vintage jacket into something that actually fits. If fabric pools under your arms, the neckline stands away from your body, or darts point several inches too low, the pattern may simply have more bust room than you need. No such thing as a stupid question here — let's walk through it. This alteration is less intimidating than it sounds, especially when you start with a garment you can pin and test before cutting.
What a small bust adjustment actually fixes
A small bust adjustment removes extra room from the upper-bust area of a pattern or garment. It is not the same as making the entire top smaller. Your shoulders, waist, and hips might fit beautifully while the chest area remains too loose. Taking in every seam could distort those areas and make the garment uncomfortable.
Common clues include horizontal wrinkles pointing toward the bust, a center-front gap on a button-up shirt, excess fabric at the armhole, or a bust dart that sits too far away from your body. A loose neckline is another useful clue. Try the garment on over a thin shirt, pin the side seams, and look in a mirror before deciding where the extra fabric is coming from.
For a thrifted item, work slowly. Vintage fabric can be fragile, and old stitching may leave permanent needle marks. Use long basting stitches first, then press the garment before judging the result. Pressing often reveals whether the new shape is smooth or whether you have created a tuck that needs adjusting.

Measure before you touch the scissors
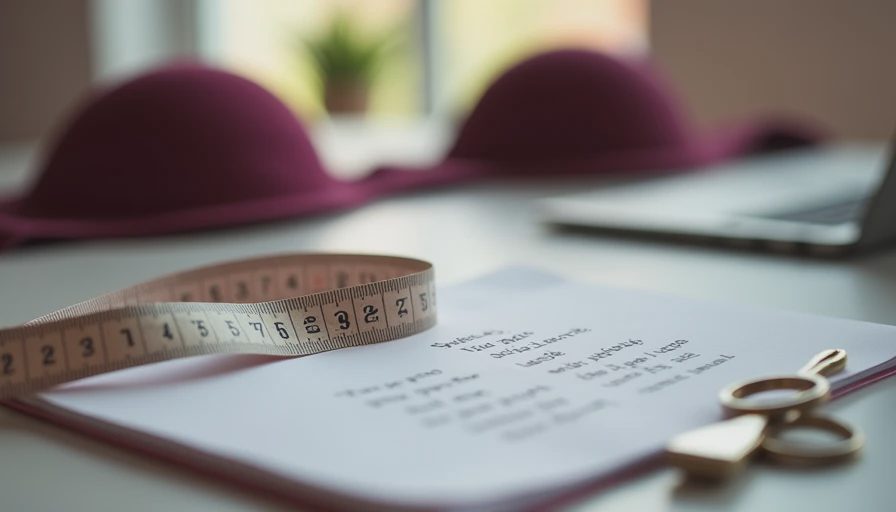
The safest small bust adjustment starts with measurements rather than guesswork. Wear the bra or camisole you expect to wear with the finished piece. Measure around your upper bust, across the fullest part of your chest, and from the shoulder or neckline to the existing dart point. Write everything down.
For a pattern, compare the upper-bust measurement with the pattern size chart, then compare the full-bust measurement. The difference helps you decide how much width to remove. A modest alteration might be one-half inch on each side of the front, while a roomier vintage bodice could need more. Divide the total change between both sides instead of removing everything from one seam.
For a finished garment, turn it inside out and mark the center of the excess fabric with chalk or a washable pen. Pin from the armhole toward the bust point, tapering the line gradually. Do not sew directly to the sharp point where the pins meet. Stop short, blend the seam, and keep the original bust point in mind so the dart does not create a prominent cone.
A small bust adjustment on a paper pattern
A small bust adjustment on a printed pattern usually uses a cut-and-spread or cut-and-close method. First, trace the front bodice onto fresh paper so the original remains available. Mark the bust point, which is generally near but not directly on the dart tip. Draw a line from the armhole to the bust point, then draw another line from the side seam or dart area toward that point.
Cut along the marked lines while leaving tiny paper hinges at the bust point. Close the unwanted width by overlapping the sections until the new measurement matches your target. The dart will become smaller or shift slightly, which is normal. Tape the pieces in place, then redraw the side seam and armhole with a smooth curve.
Use a ruler and a French curve if you have them, but do not panic if you only have a pencil and a dinner plate. The goal is a clean transition, not a museum-quality drafting setup. Add seam allowance back where needed, label the altered pattern piece, and make a quick test garment from an old sheet or inexpensive cotton.
Adjusting a finished thrifted top
The easiest small bust adjustment for a finished top is often a temporary side-seam alteration. Put the garment on inside out, pin the side seam until the fabric lies smoothly, and mark the new stitching line with chalk. Remove the garment carefully, then baste along that line. Try it on right-side out before using permanent stitches.
If the neckline still gaps, the problem may need a neckline dart, a tiny shoulder adjustment, or a strip of clear elastic along the seam. Do not automatically take in the shoulder. That can move the armhole too close to your neck and make the sleeve uncomfortable. A discreet dart hidden in a princess seam or side seam can be a better solution for structured fabric.
For button-front shirts, check the button spacing after sewing. Removing fabric can shift the front edges, so a button may need to move by about one-half inch. If the shirt pulls between buttons, use a small snap as reinforcement rather than forcing the buttons farther apart.
Fabric, darts, and pressing choices
Lightweight cotton, linen, and stable woven blends are friendly fabrics for a first attempt. Slippery rayon, satin, velvet, and very stretchy knits are less forgiving because they move while you pin. If the garment is special, test your stitch length and pressing temperature on an inside hem or scrap first.
Dart shape matters as much as dart width. A dart should taper gradually and end before the fullest part of the bust. Backstitching at the dart tip can create a bump, so sew the final inch with shorter stitches or tie the thread tails by hand. Press the dart in the direction suggested by the garment structure, usually downward for a side bust dart, and use a pressing cloth on delicate vintage material.
If the fabric puckers, the fix is usually not more tension. Remove the stitches, lengthen the dart gradually, and press with steam if the fabric allows it. Here's what went wrong + how I fixed it: on one blouse, I removed too much from the side seam, which made the armhole pinch. Returning half the width to that seam and placing the remaining adjustment in a shallow dart restored both comfort and shape.
Test the alteration before making it permanent
A fitting test should include sitting, reaching forward, lifting your arms, and wearing the undergarments you normally choose. Look for diagonal drag lines, a neckline that stays flat, and a side seam that hangs vertically. Take a quick phone photo from the front and side; problems that disappear in the mirror are often obvious in a photo.
If the garment still feels loose, make changes in small increments of one-eighth to one-quarter inch. Large corrections are harder to diagnose because several fit issues can appear at once. Mark the successful stitching line with a removable pen, then sew it permanently using a matching thread.
Keep the removed fabric whenever possible. A strip from the side seam can become a patch, a matching pocket, or a sample for future repairs. This is one reason secondhand alterations feel so satisfying: the goal is not perfection at first try, but a wearable piece that teaches you something useful.
When professional help makes sense
Some projects are worth taking to a tailor or experienced sewing friend. Beaded dresses, lined jackets, leather, fragile silk, and garments with complicated princess seams can become expensive to repair after one inaccurate cut. Ask for an estimate before work begins; a simple seam adjustment might cost around $20 to $50, while a lined jacket or formal dress can cost considerably more.
For most cotton blouses and casual dresses, a small bust adjustment is a practical weekend project. Gather chalk, pins, a seam ripper, hand needle, matching thread, an iron, and a test fabric. Take measurements, baste first, press often, and change one area at a time. Once you see how a few careful stitches rescue a promising thrift find, fitting becomes part of the hunt rather than a reason to leave the garment behind.





No notes yet — write the first one.